文章
Miss Chen
2018年07月17日

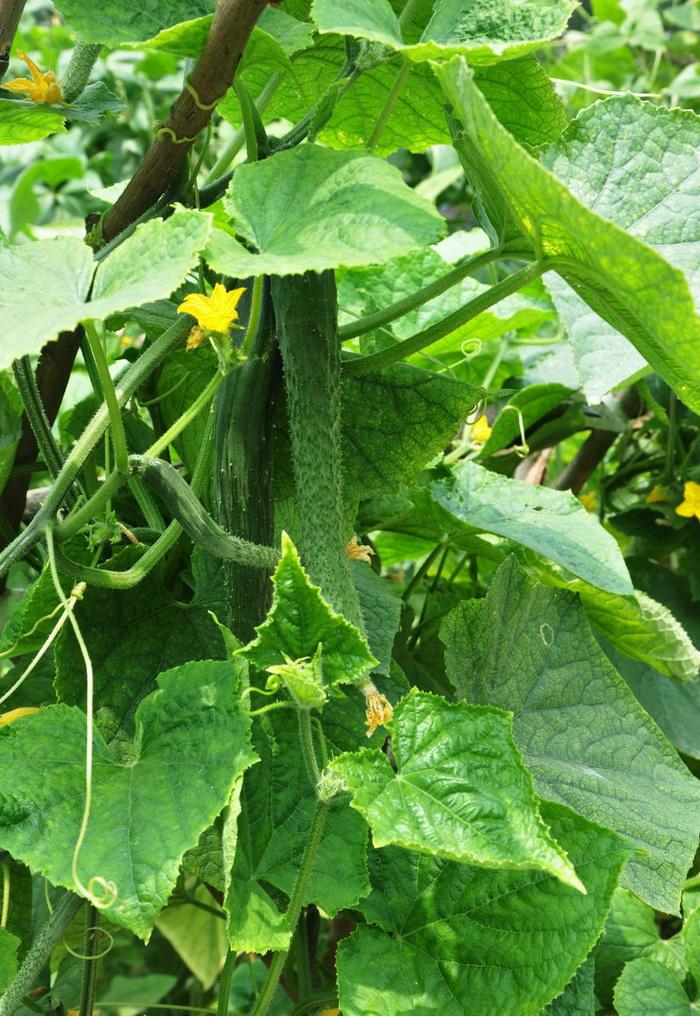
Fresh-picked cucumbers from your garden are not only healthier for you, but they taste better too. Growing cucumbers is an easy project whether it's for slicing in your salad or for pickling. There are two types of cucumbers you can grow, bush or vine. The vine type is the cucumber that will grow on the trellis, and they grow straighter and are cleaner than cucumbers that grow on the ground. Growing your cucumbers from seed will take from a month to two months depending on the size cucumber or pickle you want.
Step 1
Prepare the soil for the cucumber seeds. Place the cucumbers to the north end of the garden to avoid shading your other plants. Cultivate the soil to remove all weeds, and amend the soil for the seeds by adding compost to it and mixing it throughout. Mound the soil to two inches high and a foot apart for each plant. Do not plant the seeds until the soil temperature has reached 70 degrees.
Step 2
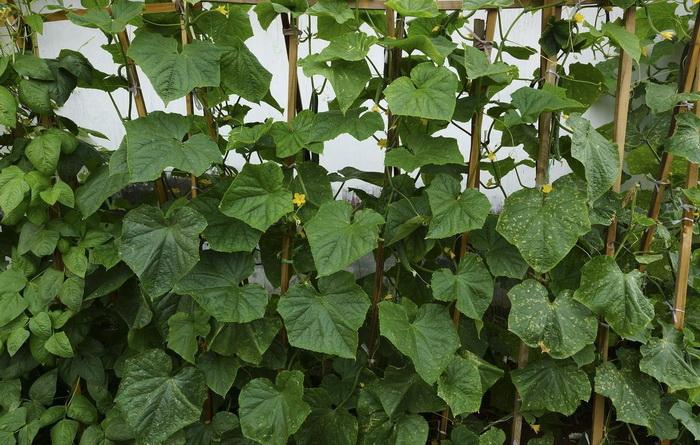
Set up the trellis to the north of the mounds. Use a side of your fence if your garden is fenced in. Other types of trellises can be used too, such as vegetable cages, A-frames or fashion your own out of bamboo poles and chicken wire. Make sure the poles are pushed well into the ground because the plants will pull on it and become heavy.
Step 3
Plant the seeds in the mounds. You can plant 3 or 4 seeds per mound, and weed out the weaker of the plants when they start to sprout, leaving only one plant per mound.
Step 4
Place the cucumber's tendrils on the trellis when they first start to show. Helping the cucumber onto the trellis is important as it will attach to anything including other plants. Once it is attached to the trellis it will continue to climb without any more help.
Step 5
Keep the soil moist as the cucumbers are growing. Try to water the ground, and keep the foliage as dry as possible to avoid moisture diseases. Fertilize with a liquid vegetable fertilizer attached to your garden hose every two weeks.
Step 6
Harvest the cucumbers when they are the size you desire. Do not let them get too large, or they will be bitter and very seedy. Cut the cucumbers from the vine; do not pull them or you will damage the vine.

Step 1
Prepare the soil for the cucumber seeds. Place the cucumbers to the north end of the garden to avoid shading your other plants. Cultivate the soil to remove all weeds, and amend the soil for the seeds by adding compost to it and mixing it throughout. Mound the soil to two inches high and a foot apart for each plant. Do not plant the seeds until the soil temperature has reached 70 degrees.
Step 2
Set up the trellis to the north of the mounds. Use a side of your fence if your garden is fenced in. Other types of trellises can be used too, such as vegetable cages, A-frames or fashion your own out of bamboo poles and chicken wire. Make sure the poles are pushed well into the ground because the plants will pull on it and become heavy.
Step 3
Plant the seeds in the mounds. You can plant 3 or 4 seeds per mound, and weed out the weaker of the plants when they start to sprout, leaving only one plant per mound.
Step 4
Place the cucumber's tendrils on the trellis when they first start to show. Helping the cucumber onto the trellis is important as it will attach to anything including other plants. Once it is attached to the trellis it will continue to climb without any more help.

Step 5
Keep the soil moist as the cucumbers are growing. Try to water the ground, and keep the foliage as dry as possible to avoid moisture diseases. Fertilize with a liquid vegetable fertilizer attached to your garden hose every two weeks.
Step 6
Harvest the cucumbers when they are the size you desire. Do not let them get too large, or they will be bitter and very seedy. Cut the cucumbers from the vine; do not pull them or you will damage the vine.
0
0
文章
Miss Chen
2018年07月17日

Knowing when to plant your vegetable garden ensures a healthy growth cycle and harvest no matter where you live. Different areas have much different planting times. Michigan gardeners, for example, have cold winters and sometimes late springs, depending on which part of the state they live in. Timing for warm-season, cool-season and tender crops varies greatly and relies heavily on soil temperature and frost dates.
Warm- Vs Cool-Season Crops

Not all vegetable crops require the same season or temperatures to grow vigorously, nor are they all equally tolerant of frost, shade, heat or snow. Warm-season crops are those that grow best during the warmer parts of the season. These include sweet corn (Zea mays var. saccharata), cucumbers (Cucumis sativa), tomatoes (Solanum lycopersicum), peppers (Capsicum spp.) and melons (Cucumis melo); all of these are tender crops that are susceptible to frost damage or even death by frost. Cool-season vegetables, on the other hand, prefer the cooler temperatures of fall and spring. Many are frost-tolerant, some to temperatures as low as 20 degrees Fahrenheit. Onions (Allium sepa), peas (Pisum sativum), spinach (Spinacia oleracea), leafy lettuces (Lactuca sativa) and cole crops (Brassica oleracea) are all cool-season vegetables. Cole crops include kale, broccoli, cauliflower, kohlrabi and cabbage. Cool-season vegetables tend to bolt, become tough or woody or have otherwise adverse flavors or textures when grown in summer.
Frost Dates

Many cool-season vegetables can handle planting times as early as the soil thaws and is workable, usually late March through early April in southern Michigan and three weeks later in the most northern parts. Tender, warm-season crops, however, require much warmer soil temperatures and must wait until the danger of frost has passed. Planting on Memorial Day is a good rule of thumb, but frost dangers occur frequently throughout much of Michigan in spring. If you plant around mid- to late May, keep an eye on the weather forecast and cover your seedlings or transplants if temperatures will fall below 40 degrees F.
Checking Soil Temperature

Checking the soil temperature helps ensure your ground is ready for various types of seeds. Different crops grow best at different soil temperatures. Purchase a soil thermometer from your local hardware store or garden center; you can also use any thermometer that has the capability of reading temperatures at different depths. Many tender warm-season crops require a soil temperature of between 64 and 75 degrees F, while tomatoes and corn grow well when planted at around 55 degrees F. Cold-tolerant crops will germinate and grow at a soil temperature of around 45 degrees F.
Days to Harvest

For fall planting, knowing the days to harvest, sometimes called days to maturity, of each crop will help you determine when to plant the seeds. The days to harvest is listed on each seed packet and determines how many days a seed takes to mature and produce harvest-ready fruit. For warm-season crops with short growing times, you can often plant twice during the summer. Subtract the days to harvest from your last average fall frost date to give you a planting date for frost-tender vegetables.
Warm- Vs Cool-Season Crops

Not all vegetable crops require the same season or temperatures to grow vigorously, nor are they all equally tolerant of frost, shade, heat or snow. Warm-season crops are those that grow best during the warmer parts of the season. These include sweet corn (Zea mays var. saccharata), cucumbers (Cucumis sativa), tomatoes (Solanum lycopersicum), peppers (Capsicum spp.) and melons (Cucumis melo); all of these are tender crops that are susceptible to frost damage or even death by frost. Cool-season vegetables, on the other hand, prefer the cooler temperatures of fall and spring. Many are frost-tolerant, some to temperatures as low as 20 degrees Fahrenheit. Onions (Allium sepa), peas (Pisum sativum), spinach (Spinacia oleracea), leafy lettuces (Lactuca sativa) and cole crops (Brassica oleracea) are all cool-season vegetables. Cole crops include kale, broccoli, cauliflower, kohlrabi and cabbage. Cool-season vegetables tend to bolt, become tough or woody or have otherwise adverse flavors or textures when grown in summer.
Frost Dates

Many cool-season vegetables can handle planting times as early as the soil thaws and is workable, usually late March through early April in southern Michigan and three weeks later in the most northern parts. Tender, warm-season crops, however, require much warmer soil temperatures and must wait until the danger of frost has passed. Planting on Memorial Day is a good rule of thumb, but frost dangers occur frequently throughout much of Michigan in spring. If you plant around mid- to late May, keep an eye on the weather forecast and cover your seedlings or transplants if temperatures will fall below 40 degrees F.
Checking Soil Temperature

Checking the soil temperature helps ensure your ground is ready for various types of seeds. Different crops grow best at different soil temperatures. Purchase a soil thermometer from your local hardware store or garden center; you can also use any thermometer that has the capability of reading temperatures at different depths. Many tender warm-season crops require a soil temperature of between 64 and 75 degrees F, while tomatoes and corn grow well when planted at around 55 degrees F. Cold-tolerant crops will germinate and grow at a soil temperature of around 45 degrees F.
Days to Harvest

For fall planting, knowing the days to harvest, sometimes called days to maturity, of each crop will help you determine when to plant the seeds. The days to harvest is listed on each seed packet and determines how many days a seed takes to mature and produce harvest-ready fruit. For warm-season crops with short growing times, you can often plant twice during the summer. Subtract the days to harvest from your last average fall frost date to give you a planting date for frost-tender vegetables.
0
0
文章
Miss Chen
2018年07月17日

If you have begun your potatoes in a greenhouse or if you need to move your potatoes to another spot in the garden , your potato plants can be safely transplanted by following a few simple steps. Potato plants should be transplanted at least three weeks before harvest on a cooler day.

Step 1
Prepare the soil where the potatoes will be transplanted. The soil should be dug up, cleared of rocks and mixed with compost in the fall. Choose a location that is sunny and that is rotational--i.e., not the same place you grew potatoes last year. Rake in fertilizer two weeks before transplanting. The soil's pH level should not be higher than 6.
Step 2
Harden the soil of potatoes to be transplanted from a greenhouse by placing them outdoors. Start hardening a week before transplanting. Place them outdoors for about one hour the first day, then gradually set them out for longer each day after.
Step 3
Dig transplant holes in the ground. The holes should be approximately six inches wide and eight inches deep, varying depending on the maturity of the plants and the size of containers they were pre-grown in. The top of the soil of the plant being transplanted should sit at surface of the ground when planted. Make the holes far enough apart that the potatoes will not be overcrowded. Give room to transplants that still have growing to do. Moisten the soil evenly before transplanting.
Step 4
Dig out potato plants to be transplanted by slicing the soil around the plant with a garden trowel. Dig far enough away from the plant so as to not hit or cut the potato in the ground. Use your hand shovel or a hoe to carefully and gently pry up the plant. Keep it packed in as much soil as possible. Promptly move the plant to its transplant hole.

Step 5
Remove potatoes grown in a container by placing one hand on the soil and around the plant, turning it upside down and tapping on the bottom of the container. Promptly move them to the transplant holes.
Step 6
Fill in any gaps in the holes with soil and smooth down the surface of the ground. Do not pack in the soil too tightly. Water thoroughly. Place a layer of mulch around the stems.

Step 1
Prepare the soil where the potatoes will be transplanted. The soil should be dug up, cleared of rocks and mixed with compost in the fall. Choose a location that is sunny and that is rotational--i.e., not the same place you grew potatoes last year. Rake in fertilizer two weeks before transplanting. The soil's pH level should not be higher than 6.
Step 2
Harden the soil of potatoes to be transplanted from a greenhouse by placing them outdoors. Start hardening a week before transplanting. Place them outdoors for about one hour the first day, then gradually set them out for longer each day after.
Step 3
Dig transplant holes in the ground. The holes should be approximately six inches wide and eight inches deep, varying depending on the maturity of the plants and the size of containers they were pre-grown in. The top of the soil of the plant being transplanted should sit at surface of the ground when planted. Make the holes far enough apart that the potatoes will not be overcrowded. Give room to transplants that still have growing to do. Moisten the soil evenly before transplanting.
Step 4
Dig out potato plants to be transplanted by slicing the soil around the plant with a garden trowel. Dig far enough away from the plant so as to not hit or cut the potato in the ground. Use your hand shovel or a hoe to carefully and gently pry up the plant. Keep it packed in as much soil as possible. Promptly move the plant to its transplant hole.

Step 5
Remove potatoes grown in a container by placing one hand on the soil and around the plant, turning it upside down and tapping on the bottom of the container. Promptly move them to the transplant holes.
Step 6
Fill in any gaps in the holes with soil and smooth down the surface of the ground. Do not pack in the soil too tightly. Water thoroughly. Place a layer of mulch around the stems.
0
0
成长记
Erika Fernanda Rodriguez Rodriguez
2018年07月17日

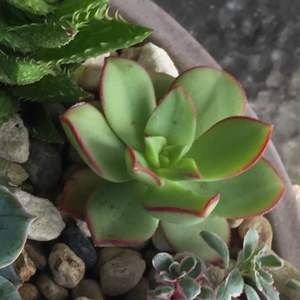
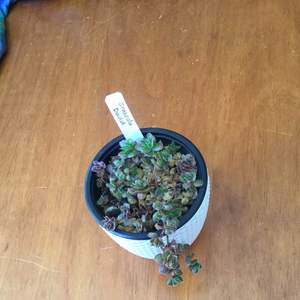
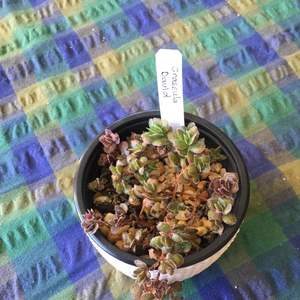
I now added "Crassula "Buddha's Temple"" in my "garden"


0
0


