成长记
kensong
2018年09月07日

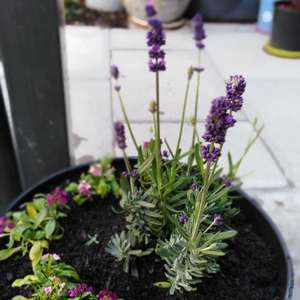
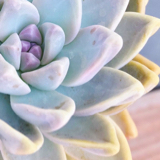
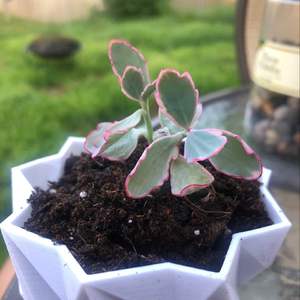
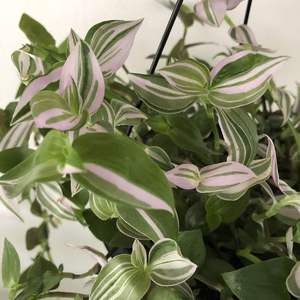
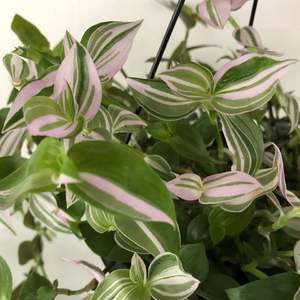
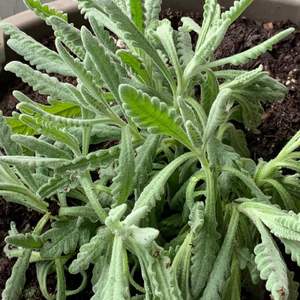
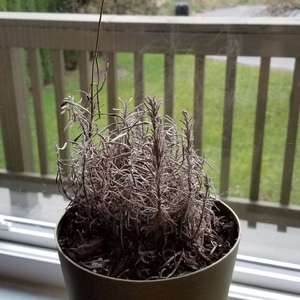
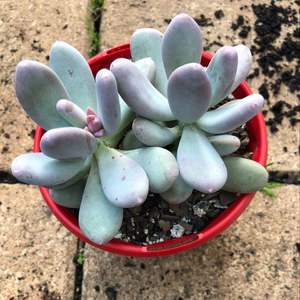
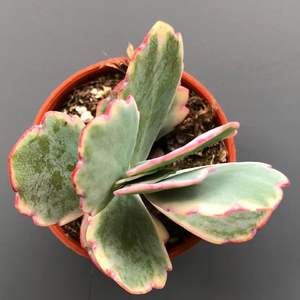
I now added "Kalanchoe Fedtschenkoi Variegata (Variegated Lavender Scallops)" in my "garden"

0
0
成长记
FieryFlame
2018年09月05日

lavender syrup
薰衣草糖浆,和奶茶咖啡都很配哦😍😍😍
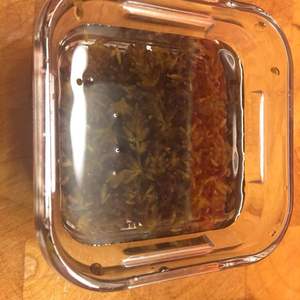

薰衣草糖浆,和奶茶咖啡都很配哦😍😍😍


0
0
FieryFlame:@Kugla Amygdala it’s one cup sugar, one cup water and one or two tbsps of lavender blossoms, mix bring them to boil and simmer 1 min. Turn off the heat and let it steep about 30min then remove the blossoms using a strainer and enjoy 😉
FieryFlame:@Kugla Amygdala yes, can be used with tea, coffee as vanilla or hazelnut syrup
Kugla Amygdala:What is that ? Is the syrup edible ?
文章
Miss Chen
2018年09月01日

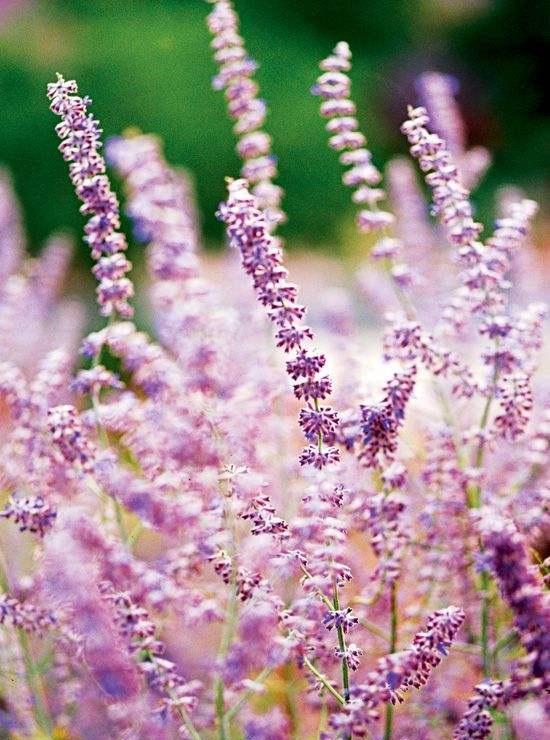
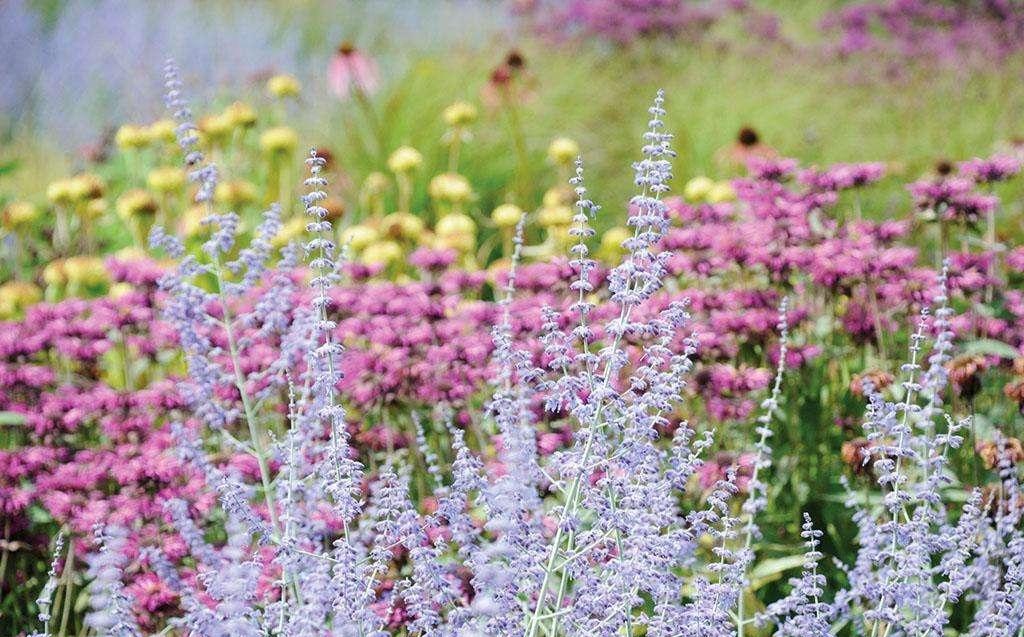
Russian sage blooms with bright purple flowers that resemble lavender, mixing well with its gray-green leaves and adding a depth of color to any garden. The hardy perennial plant is drought resistant, and though it carries the name "sage," is not part of the edible sage family. Move your Russian sage to ground that will not flood in the winter or dangerously soak the plants root system.
Preparing the Site
Loosen the soil and add compost to prepare the new growing site before transplanting Russian sage. The soil for growing Russian sage must be loose to encourage water to drain. Mixing compost into the planting site also helps drainage, and provides evenly moist soil. At any frost-free time of year, loosen the soil in the new growing site to a depth of 12 to 15 inches using a garden fork. Spread a layer of compost 2 to 4 inches thick, and mix it into the soil with the garden fork.
Digging Up Russian Sage
Russian sage requires careful removal to minimize damage to its root system. Growing 3- to 5-feet tall and 2- to 4-feet wide, Russian sage can have an extensive root system, and some damage is unavoidable. Digging up the plant carefully is unlikely to cause serious harm. Push a garden fork into the ground about 1 foot from the Russian sage's central stem, and lever the end of the fork upward. Repeat this around the plant's base, slowly working the root ball out of the soil. Wear gloves when handling the plant, since the leaves may cause irritation or an allergic reaction. Lift the plant out, and put it down on the soil's surface. Break off excess soil in areas that contain no roots, to lighten the plant's weight.
Moving Russian Sage
Take the Russian sage to its new growing site immediately after digging it up to prevent its roots from drying out. Russian sage is drought-tolerant and low-maintenance and should suffer few problems from transplanting, but replanting it right away increases the chances of success. Dig a hole 2 1/2 feet wide and as deep as the depth of the Russian sage's root ball, which is usually about 1 foot. Place the plant in the hole so that it's level and sitting at its original growing depth. You may need to add or remove soil at the base of the hole. Fill in the gaps around the root ball with dug soil, and gently firm the plant in its hole.
After Care
Regular watering helps Russian sage quickly establish in its new site. Water the Russian sage using a garden hose fitted with a spray attachment. Spray water over the root area until it begins to puddle, but avoid washing away soil. Through the rest of the growing season water Russian sage when the soil is dry to a depth of 2 inches. Russian sage grows sturdy, dense and upright if it is pruned in spring. Sterilize pruning shear blades by wiping them with a cloth that was dipped in rubbing alcohol, and prune all Russian sage stems to 6-inches tall in spring before new growth appears. Sterilize the pruning shears again after pruning.

Preparing the Site
Loosen the soil and add compost to prepare the new growing site before transplanting Russian sage. The soil for growing Russian sage must be loose to encourage water to drain. Mixing compost into the planting site also helps drainage, and provides evenly moist soil. At any frost-free time of year, loosen the soil in the new growing site to a depth of 12 to 15 inches using a garden fork. Spread a layer of compost 2 to 4 inches thick, and mix it into the soil with the garden fork.
Digging Up Russian Sage
Russian sage requires careful removal to minimize damage to its root system. Growing 3- to 5-feet tall and 2- to 4-feet wide, Russian sage can have an extensive root system, and some damage is unavoidable. Digging up the plant carefully is unlikely to cause serious harm. Push a garden fork into the ground about 1 foot from the Russian sage's central stem, and lever the end of the fork upward. Repeat this around the plant's base, slowly working the root ball out of the soil. Wear gloves when handling the plant, since the leaves may cause irritation or an allergic reaction. Lift the plant out, and put it down on the soil's surface. Break off excess soil in areas that contain no roots, to lighten the plant's weight.
Moving Russian Sage
Take the Russian sage to its new growing site immediately after digging it up to prevent its roots from drying out. Russian sage is drought-tolerant and low-maintenance and should suffer few problems from transplanting, but replanting it right away increases the chances of success. Dig a hole 2 1/2 feet wide and as deep as the depth of the Russian sage's root ball, which is usually about 1 foot. Place the plant in the hole so that it's level and sitting at its original growing depth. You may need to add or remove soil at the base of the hole. Fill in the gaps around the root ball with dug soil, and gently firm the plant in its hole.

After Care
Regular watering helps Russian sage quickly establish in its new site. Water the Russian sage using a garden hose fitted with a spray attachment. Spray water over the root area until it begins to puddle, but avoid washing away soil. Through the rest of the growing season water Russian sage when the soil is dry to a depth of 2 inches. Russian sage grows sturdy, dense and upright if it is pruned in spring. Sterilize pruning shear blades by wiping them with a cloth that was dipped in rubbing alcohol, and prune all Russian sage stems to 6-inches tall in spring before new growth appears. Sterilize the pruning shears again after pruning.
0
0
文章
Miss Chen
2018年08月29日

Fragrant lavender (Lavandula angustifolia) supplies year-round garden interest, with aromatic flowers in summer and gray-green evergreen foliage. The small shrubs grow in U.S. Department of Agriculture plant hardiness zones 5 through 9, where they thrive with very little maintenance beyond pruning. The right time and method for pruning depends on the age of the plant and the type of trim it needs.
Spring Pruning
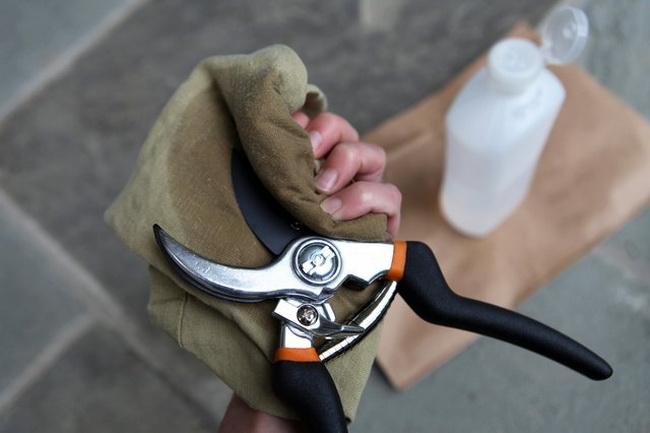
New plants need to be pruned in spring when new green growth has appeared. Spring pruning prevents flowering but encourages branching, allowing the new lavender to develop strong roots and a full framework of branches. Before pruning, wipe the shears with a cloth soaked in isopropyl alcohol to disinfect them, and then disinfect the shears each time you begin pruning a new plant. Cut back the stem tips by 2 to 3 inches, lightly shaping to maintain an even, rounded shape.
Deadheading and Harvest

Lavender may flower a second time if you prune off the old flowers after the first flush of summer blooms. Prune off the flowers a second time in late summer if the plant flowers again. Deadhead after the flowers open and begin to wilt if you want lavender blooms in the garden. For harvesting and drying, cut off the flowers when only two or three buds on the flower spikes have opened. Trim out the spikes with disinfected shears, cutting the stem so the cut end is inside the main bush and not visible. For harvesting, tie the harvested spikes together in bundles and hang them in a dark, dry area until the buds are completely dry.
Summer Shaping
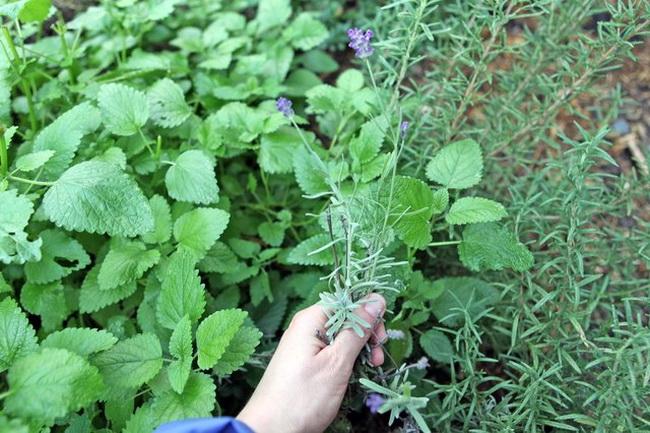
Main pruning occurs in summer, after the flower harvest. Cut back up to one-third of the leafy section of the stems, shaping the lavender into an evenly rounded mound as you prune. Avoid cutting into the woody stem bases. Lavender will not regrow from the lower stem sections, so cutting into wood will leave bare spots in the bush and weaken the lavender. Although summer, after the plant flowers, is the best time to prune, you can prune into late summer or early fall. However, avoid pruning in late fall because frost can damage the new growth encouraged by pruning.
Rejuvenating Woody Plants
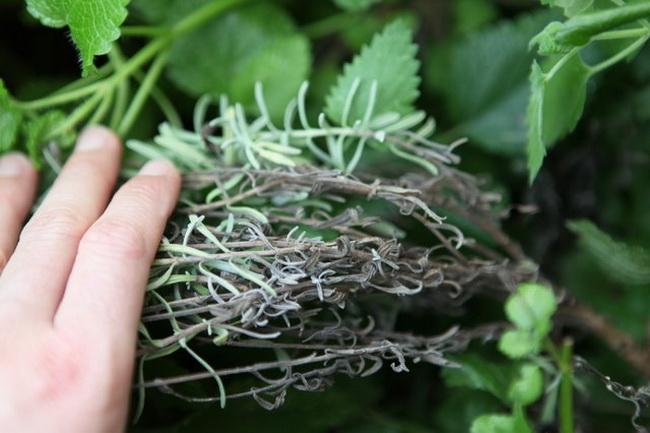
Woody, overgrown lavender plants develop sparse foliage and may fall open, or split. In most cases replacement is the best option, but you may be able to rejuvenate the lavender with careful pruning. Prune for rejuvenation in spring when new growth begins showing on the stems. Cut back all the green stems to within 1 inch of the woody portion at the base, but don't remove the green completely. The lavender may produce fuller growth in response.
Spring Pruning

New plants need to be pruned in spring when new green growth has appeared. Spring pruning prevents flowering but encourages branching, allowing the new lavender to develop strong roots and a full framework of branches. Before pruning, wipe the shears with a cloth soaked in isopropyl alcohol to disinfect them, and then disinfect the shears each time you begin pruning a new plant. Cut back the stem tips by 2 to 3 inches, lightly shaping to maintain an even, rounded shape.
Deadheading and Harvest

Lavender may flower a second time if you prune off the old flowers after the first flush of summer blooms. Prune off the flowers a second time in late summer if the plant flowers again. Deadhead after the flowers open and begin to wilt if you want lavender blooms in the garden. For harvesting and drying, cut off the flowers when only two or three buds on the flower spikes have opened. Trim out the spikes with disinfected shears, cutting the stem so the cut end is inside the main bush and not visible. For harvesting, tie the harvested spikes together in bundles and hang them in a dark, dry area until the buds are completely dry.
Summer Shaping

Main pruning occurs in summer, after the flower harvest. Cut back up to one-third of the leafy section of the stems, shaping the lavender into an evenly rounded mound as you prune. Avoid cutting into the woody stem bases. Lavender will not regrow from the lower stem sections, so cutting into wood will leave bare spots in the bush and weaken the lavender. Although summer, after the plant flowers, is the best time to prune, you can prune into late summer or early fall. However, avoid pruning in late fall because frost can damage the new growth encouraged by pruning.
Rejuvenating Woody Plants

Woody, overgrown lavender plants develop sparse foliage and may fall open, or split. In most cases replacement is the best option, but you may be able to rejuvenate the lavender with careful pruning. Prune for rejuvenation in spring when new growth begins showing on the stems. Cut back all the green stems to within 1 inch of the woody portion at the base, but don't remove the green completely. The lavender may produce fuller growth in response.
0
0
文章
Miss Chen
2018年08月28日

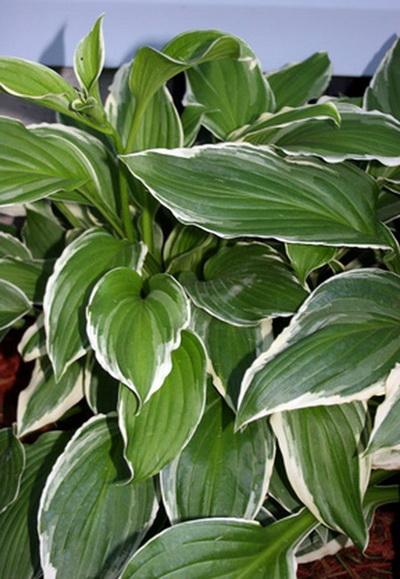
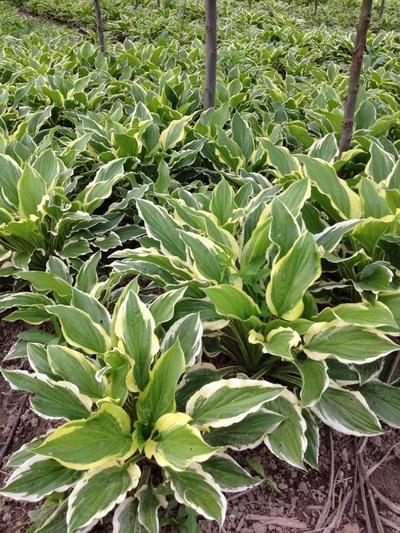
Hostas--also called plaintain lilies--are low-growing foliage plants with large, showy leaves that can range in color from deep green through chartreuse into deep blue, with white, lavender or purple blooms in August. There are also variegated cultivars featuring cream, white or yellow centers or borders. Hostas excel as ground cover and add texture and interest to shaded sections of landscapes. Hostas can perform well in Texas as long as they are of the proper cultivar and don't get too much scorching summer sun.
Step 1
Choose vigorous, healthy hostas cultivars with the best chances for growing well in Texas. According to the Texas A and M University Extension, good hostas varieties for Texas gardeners include the green-leafed lancifolia and royal standard cultivars, the blue-leafed blue cadet and blue angel types and the variegated sugar and cream and so sweet varieties. Examine the plant before purchase to make sure it is free of pests and diseases.
Step 2
Choose a planting site in shade or partial sun with afternoon shade and make sure it has rich, moist soil. For more specific recommendations on sunlight, check the cultivar; blue-leaf hostas require more shade than green-leaf varieties, and too much bright sun will bleach out the leaf coloration of the yellow cultivars.
Step 3
Prepare the garden bed in the spring by using a pitchfork to loosen soil to a depth of 12 to 15 inches, then mixing in a 2 to 4-inch layer of compost.
Step 4
Dig a planting hole twice the size of the container the hosta was sold in, and place the hosta in the hole so the top of the root ball is level with the soil surface. Backfill with garden soil and firmly tamp the soil into place but don't press so hard that the soil becomes compacted. Space hostas 36 inches apart if planting more than one. Water your hostas well after planting, and continue to water regularly to keep the soil moist.
Step 5
Apply a 2 1/2-inch layer of mulch to protect the roots, conserve moisture and provide a physical barrier against disease.
Step 6
Fertilize hostas in early spring with a balanced slow-release granular fertilizer in a 10-10-10 NPK formulation. According to the University of Georgia Cooperative Extension, the fertilizer should be applied at a rate of 1/2 pound per 100 square feet.
Step 7
Watch your hostas closely for damage from slugs, to which they are very susceptible. At the first sign of damage use slug bait or make a beer trap by leaving a saucer of beer by the hostas at night; slugs will crawl in and drown.

Step 1
Choose vigorous, healthy hostas cultivars with the best chances for growing well in Texas. According to the Texas A and M University Extension, good hostas varieties for Texas gardeners include the green-leafed lancifolia and royal standard cultivars, the blue-leafed blue cadet and blue angel types and the variegated sugar and cream and so sweet varieties. Examine the plant before purchase to make sure it is free of pests and diseases.
Step 2
Choose a planting site in shade or partial sun with afternoon shade and make sure it has rich, moist soil. For more specific recommendations on sunlight, check the cultivar; blue-leaf hostas require more shade than green-leaf varieties, and too much bright sun will bleach out the leaf coloration of the yellow cultivars.
Step 3
Prepare the garden bed in the spring by using a pitchfork to loosen soil to a depth of 12 to 15 inches, then mixing in a 2 to 4-inch layer of compost.
Step 4
Dig a planting hole twice the size of the container the hosta was sold in, and place the hosta in the hole so the top of the root ball is level with the soil surface. Backfill with garden soil and firmly tamp the soil into place but don't press so hard that the soil becomes compacted. Space hostas 36 inches apart if planting more than one. Water your hostas well after planting, and continue to water regularly to keep the soil moist.

Step 5
Apply a 2 1/2-inch layer of mulch to protect the roots, conserve moisture and provide a physical barrier against disease.
Step 6
Fertilize hostas in early spring with a balanced slow-release granular fertilizer in a 10-10-10 NPK formulation. According to the University of Georgia Cooperative Extension, the fertilizer should be applied at a rate of 1/2 pound per 100 square feet.
Step 7
Watch your hostas closely for damage from slugs, to which they are very susceptible. At the first sign of damage use slug bait or make a beer trap by leaving a saucer of beer by the hostas at night; slugs will crawl in and drown.
0
0


