文章
ritau
2020年05月05日

1. Find a plastic, disposable cup.
Fill it with compost or natural fertilizer. Using your fingers, dig a small hole into the compost/natural fertilizer.
2. Place three seeds about half an inch down.
Make sure they're not in too deep before covering the hole with the fertilizer once more.
3. Water the pumpkin seeds every other day.
However, make sure the soil doesn't get too wet. Otherwise, the seeds will die.
4. Wait a few weeks until all the pumpkin seeds have sprouted.
Then, transplant them into clay pots. However, be careful not to disturb the pumpkin roots - they might go into shock and die.

5. Put in six foot dowel rods next to the pumpkins in the clay pots.
The tendrils of the pumpkin plants will then coil around the dowel rods. After a while, the pumpkins will produce blossoms, which is a sign that they will be ready soon.
6. Pollinate the blossoms.
Since your pumpkin plants are indoors and have no access to pollination by bees or other insects, you are in charge of pollinating blossoms so that your plants can produce pumpkins.
7. Make sure your plant gets enough light and water.
Ensure this especially when fruit develops from the blossoms.
8. Harvest your pumpkins. Once the they have turned the mature color, they are ready to be collected. Cut off the pumpkin about two inches above the pumpkin's top. via.wikihow
Fill it with compost or natural fertilizer. Using your fingers, dig a small hole into the compost/natural fertilizer.
2. Place three seeds about half an inch down.
Make sure they're not in too deep before covering the hole with the fertilizer once more.
3. Water the pumpkin seeds every other day.
However, make sure the soil doesn't get too wet. Otherwise, the seeds will die.
4. Wait a few weeks until all the pumpkin seeds have sprouted.
Then, transplant them into clay pots. However, be careful not to disturb the pumpkin roots - they might go into shock and die.

5. Put in six foot dowel rods next to the pumpkins in the clay pots.
The tendrils of the pumpkin plants will then coil around the dowel rods. After a while, the pumpkins will produce blossoms, which is a sign that they will be ready soon.
6. Pollinate the blossoms.
Since your pumpkin plants are indoors and have no access to pollination by bees or other insects, you are in charge of pollinating blossoms so that your plants can produce pumpkins.
7. Make sure your plant gets enough light and water.
Ensure this especially when fruit develops from the blossoms.
8. Harvest your pumpkins. Once the they have turned the mature color, they are ready to be collected. Cut off the pumpkin about two inches above the pumpkin's top. via.wikihow

0
0
文章
ritau
2020年04月25日

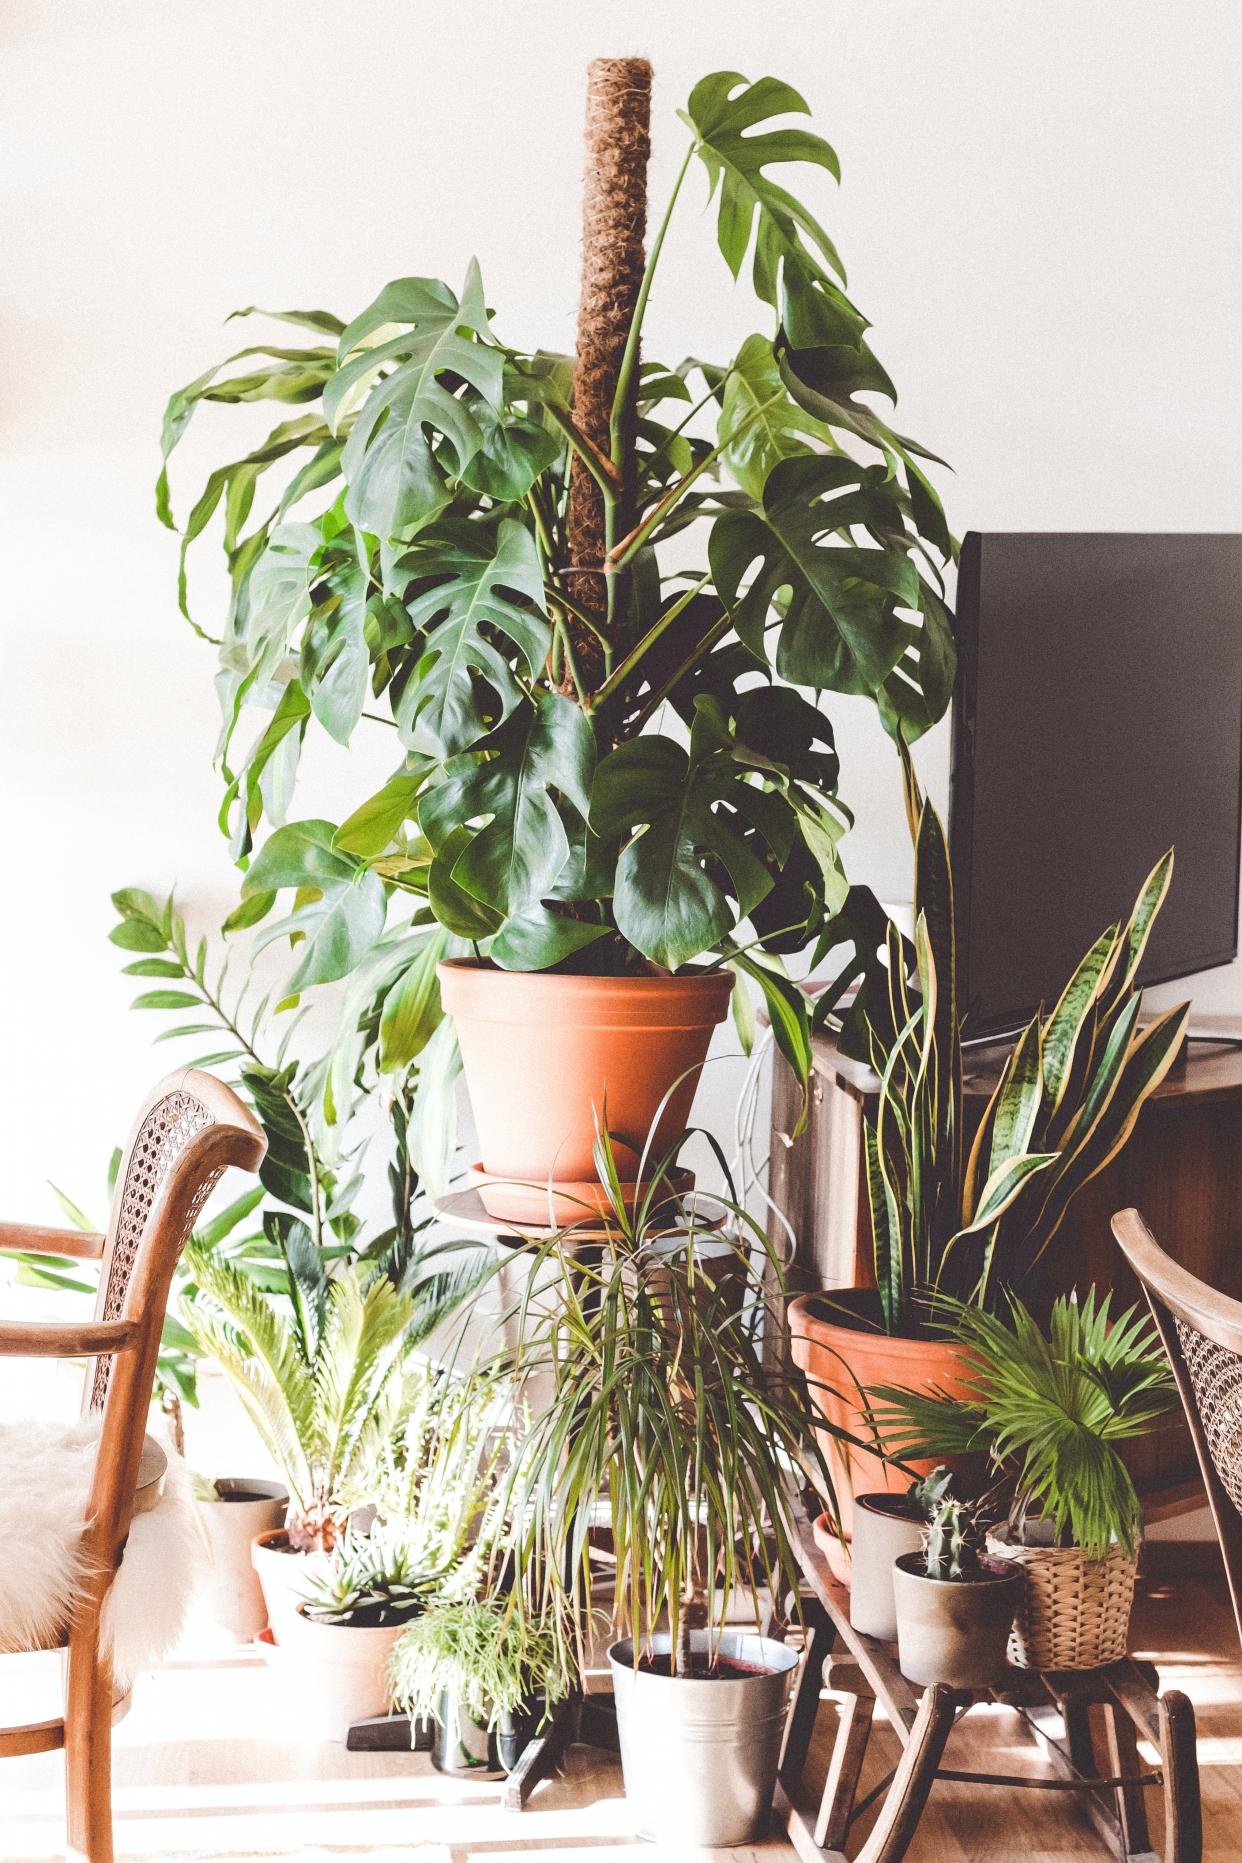
1. Choose houseplants suited for your available light conditions.
The first step in preventing insects actually arises when you choose your plants. Make sure each houseplant is well suited to the amount of light it will receive once in position. Plants in unfavorable light conditions are subjected to stress, which makes them more susceptible to insect infestation.
2. Make sure your houseplants are potted in sterile soil.
While bacteria, fungus, and insects are a vital component of outdoor soil health, houseplants are better planted in store bought potting mix, which will generally be sterile. Using outdoor garden soil can introduce insect larvae into your houseplants.
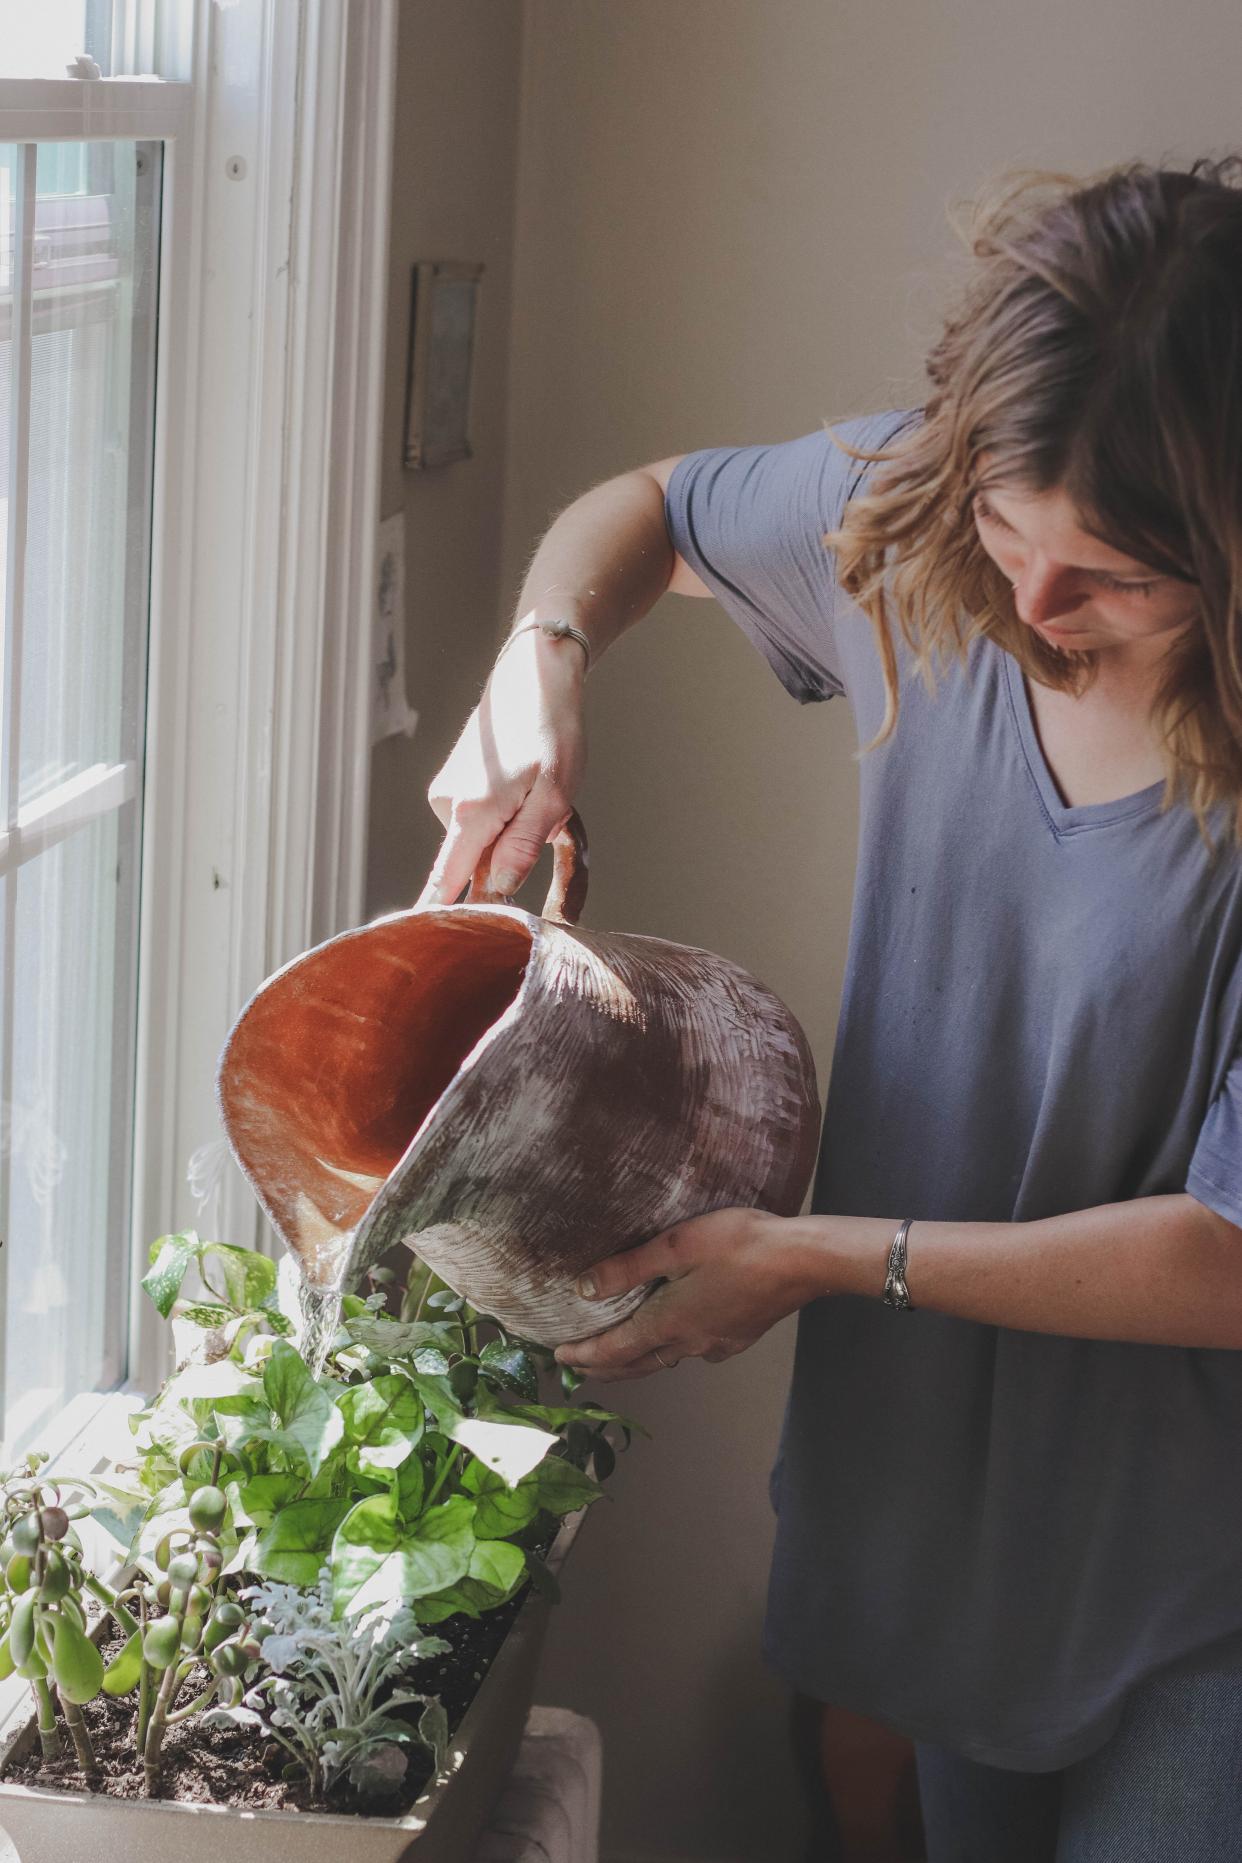
3. Clean your houseplants regularly.
Dust buildup on your houseplant leaves often contains organic compounds (like skin cells or pet hair) that insects can feed on. Furthermore, insects like mites thrive in thick layers of dust and will be less likely to infest a clean plant.
4. Inspect your plants regularly for insect damage.
This may sound obvious, but in fact most insect infestations can be mitigated if you are monitoring your houseplants closely enough to catch the early signs. Discolored, speckled, mottled, and chewed up leaves can indicate insect activity. Of course, you may also be able to see the insects themselves as well as their eggs, larvae, or cast off skins.
5. Control existing insect infestations as well as possible. Even if you take the precautionary steps above, you may still find yourself faced with insects in your houseplants. There are several method you can use to kill and remove insects.
*Sticky traps can be used to control infestations of flying insects such as fruit flies, gnats, and winged aphids. These traps are usually yellow in appearance and can be hung near the infested houseplant.
*Pruning can help control isolated insect infestations. If you notice that most of the insects are concentrated on a few leaves of a plant, prune these leaves away and throw them out.
*Wash small insects away with soapy water. Small insects like aphids and mealybugs can be removed by rubbing the plant's leaves with a cloth moistened with soapy water.
6. Know when to give up on an infested houseplant.
The unfortunate truth is that when a houseplant becomes badly infested with insects, it is near impossible to remove the insects and return the plant to health. In bad cases, throw the entire plant away before the insects spread to other houseplants in your home.via wikihow
The first step in preventing insects actually arises when you choose your plants. Make sure each houseplant is well suited to the amount of light it will receive once in position. Plants in unfavorable light conditions are subjected to stress, which makes them more susceptible to insect infestation.
2. Make sure your houseplants are potted in sterile soil.
While bacteria, fungus, and insects are a vital component of outdoor soil health, houseplants are better planted in store bought potting mix, which will generally be sterile. Using outdoor garden soil can introduce insect larvae into your houseplants.
3. Clean your houseplants regularly.
Dust buildup on your houseplant leaves often contains organic compounds (like skin cells or pet hair) that insects can feed on. Furthermore, insects like mites thrive in thick layers of dust and will be less likely to infest a clean plant.

4. Inspect your plants regularly for insect damage.
This may sound obvious, but in fact most insect infestations can be mitigated if you are monitoring your houseplants closely enough to catch the early signs. Discolored, speckled, mottled, and chewed up leaves can indicate insect activity. Of course, you may also be able to see the insects themselves as well as their eggs, larvae, or cast off skins.
5. Control existing insect infestations as well as possible. Even if you take the precautionary steps above, you may still find yourself faced with insects in your houseplants. There are several method you can use to kill and remove insects.
*Sticky traps can be used to control infestations of flying insects such as fruit flies, gnats, and winged aphids. These traps are usually yellow in appearance and can be hung near the infested houseplant.
*Pruning can help control isolated insect infestations. If you notice that most of the insects are concentrated on a few leaves of a plant, prune these leaves away and throw them out.
*Wash small insects away with soapy water. Small insects like aphids and mealybugs can be removed by rubbing the plant's leaves with a cloth moistened with soapy water.

6. Know when to give up on an infested houseplant.
The unfortunate truth is that when a houseplant becomes badly infested with insects, it is near impossible to remove the insects and return the plant to health. In bad cases, throw the entire plant away before the insects spread to other houseplants in your home.via wikihow
0
0


