文章
ritau
2020年04月06日

Boring at home? Let's do some indoor gardening!
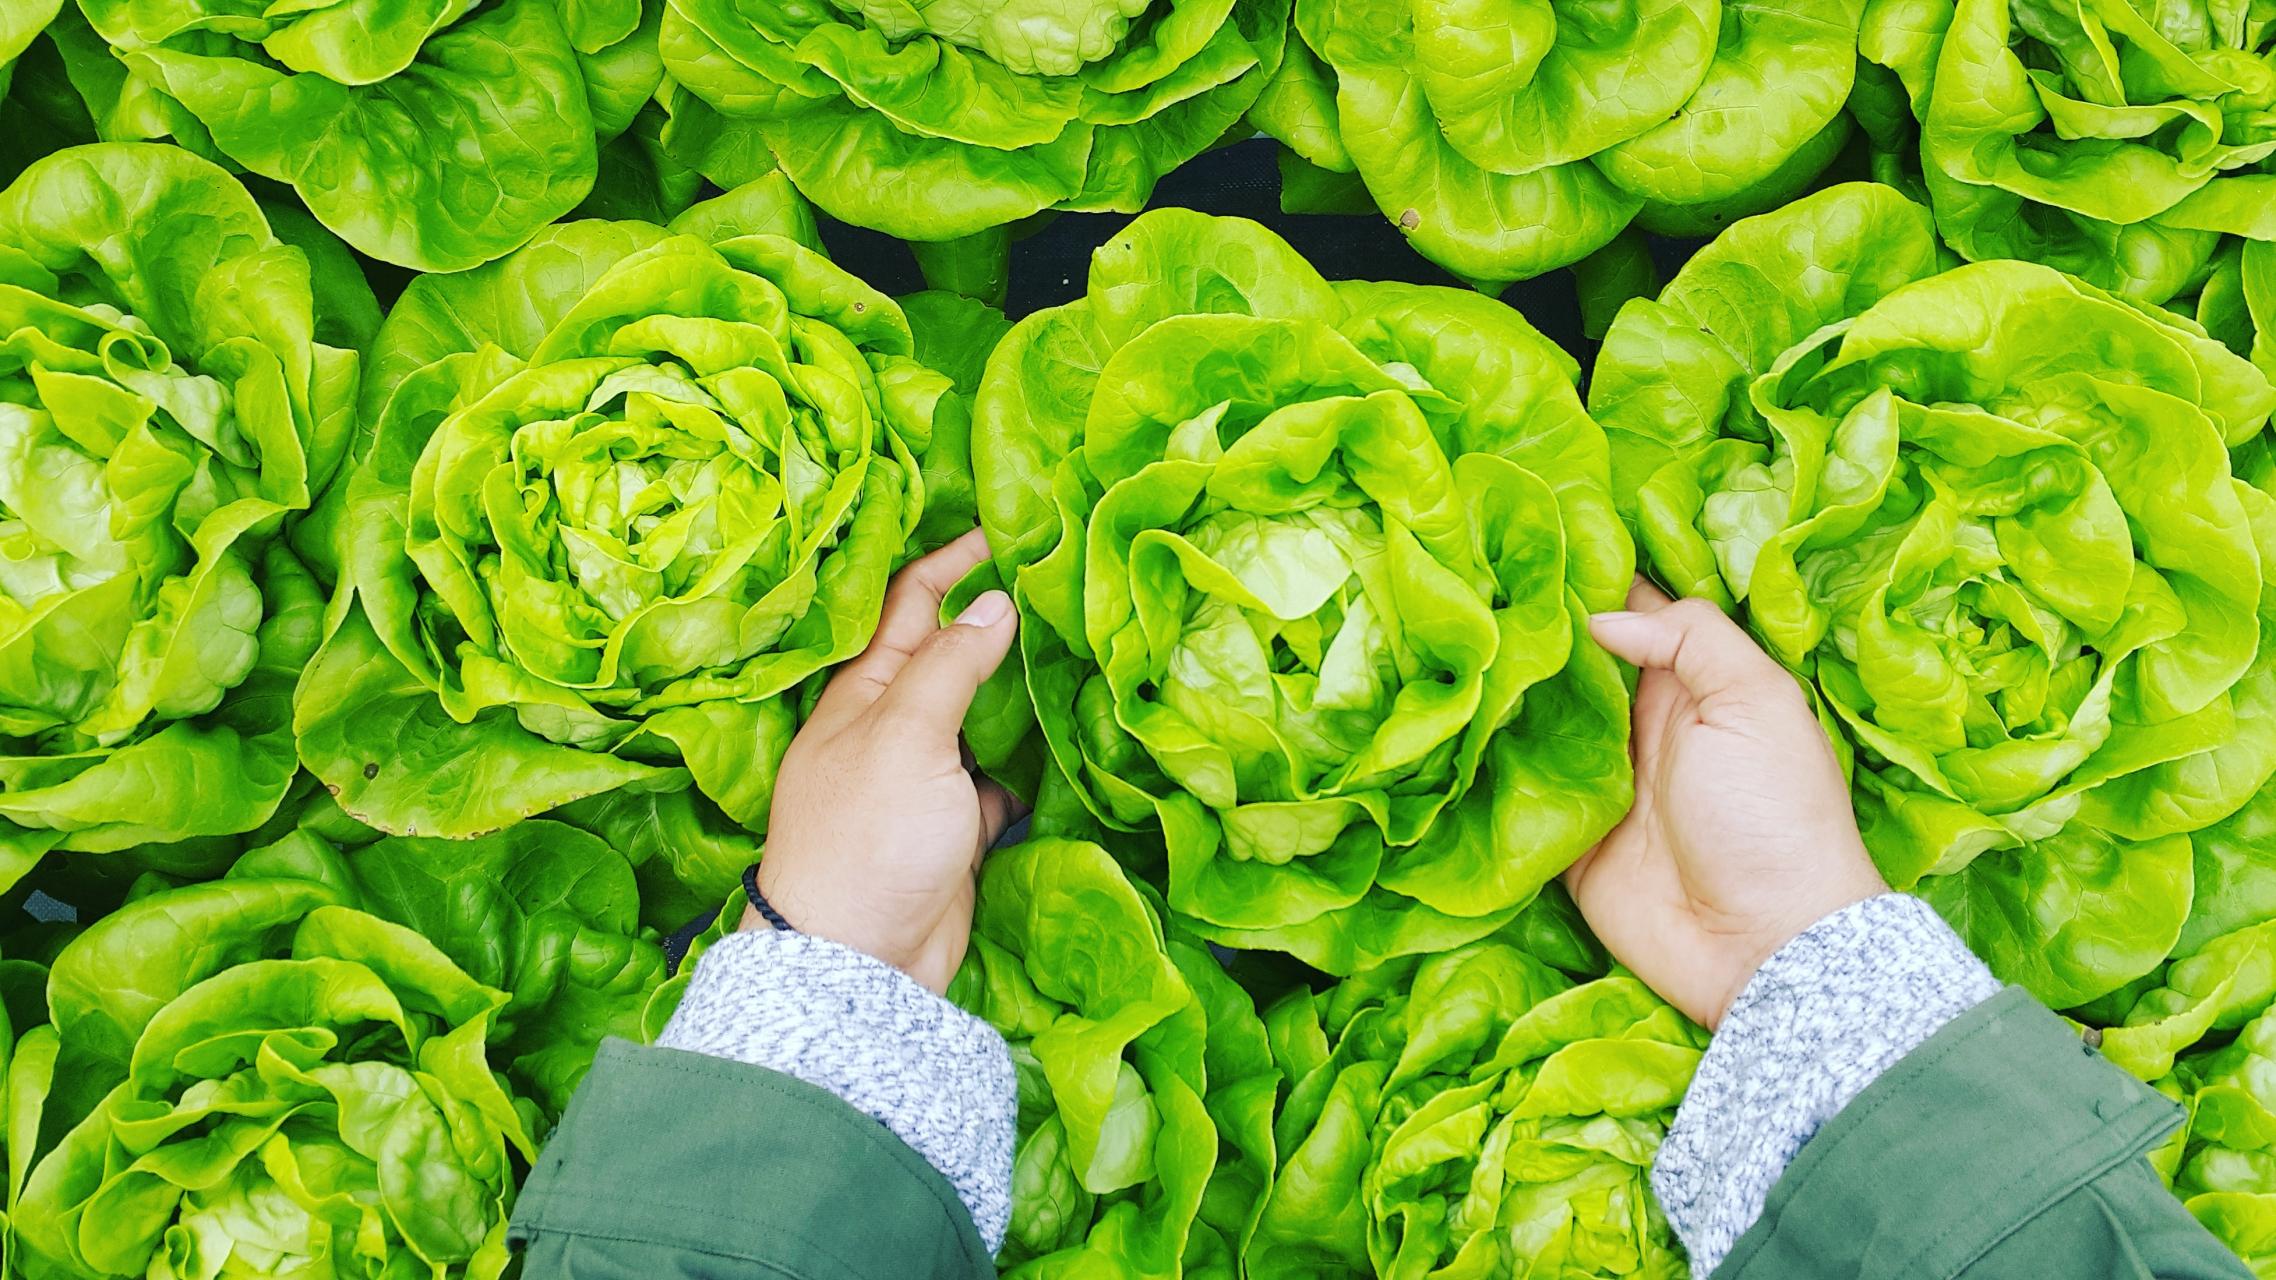
1. Choose a lettuce variety that thrives indoors. Although most lettuce plants can stay healthy indoors, you'll have better success with some varieties over others. Buy any of these lettuce varieties, which are known for growing well inside, from a garden center or plant nursery:
Garden Babies/Merlot/Baby Oakleaf/Salad Bowl/Lollo Rosa/Black-Seeded Simpson/Tom Thumb/Red Deer Tongue
2. Fill a pot with a seed starting soil mix. Seed starting mixes are lightweight, they help your plants’ roots grow, and they're well-draining to prevent overwatering. If you cannot find a seed starting mix, you can also create a soil made from equal parts peat moss or coir, vermiculite, and sand.
Each lettuce plant requires 4–6 in (10–15 cm) of space and a depth of about 8 inches (20 cm). Choose a pot that can accommodate these measurements.
Purchase pots with drainage holes on the bottom. Place a saucer underneath the pot to catch draining water.
3. Plant your seeds approximately 1 in (2.5 cm) apart. Dig a 4–6 in (10–15 cm) deep hole and place your seeds inside at about 1 in (2.5 cm) apart. Limit your seeds to 4 per pot to avoid overcrowding the lettuce as it grows. If you want to plant more than 4 seeds, prepare several pots ahead of time.
4. Sprinkle your seeds lightly with potting soil and water. Take a handful of potting soil and gently sprinkle it over the newly-planted seeds. Fill a spray bottle with water and gently mist the seeds to avoid washing them away.
5. Plant lettuce seedlings if you don't want to wait for seeds to sprout. If you don't want to wait for seeds to sprout, you can plant lettuce seedlings instead. Use the same technique as you would for lettuce seedlings, planting no more than 4 per pot.
Tips to care for
*Grow your lettuce in room temperature conditions. Lettuce grows best at temperatures around 65–70 °F (18–21 °C). Turn on the air conditioner or heater as needed to keep your plants at an even, sustainable temperature.
*Place your lettuce plant near a sunny window or a fluorescent grow light. Lettuce plants grow best with direct sunlight. If you're in a climate with very little sun, purchase a grow light from a plant nursery and position it about 12 inches (30 cm) overhead.
*Fertilize your lettuce 3 weeks after planting it. Lettuce needs nitrogen-rich soil to grow, so spray a liquid fertilizer on the plant 3 weeks after you planted it, or when the first leaves grow on the plant. Spray the fertilizer mainly near the soil, avoiding the lettuce leaves to prevent burning them.
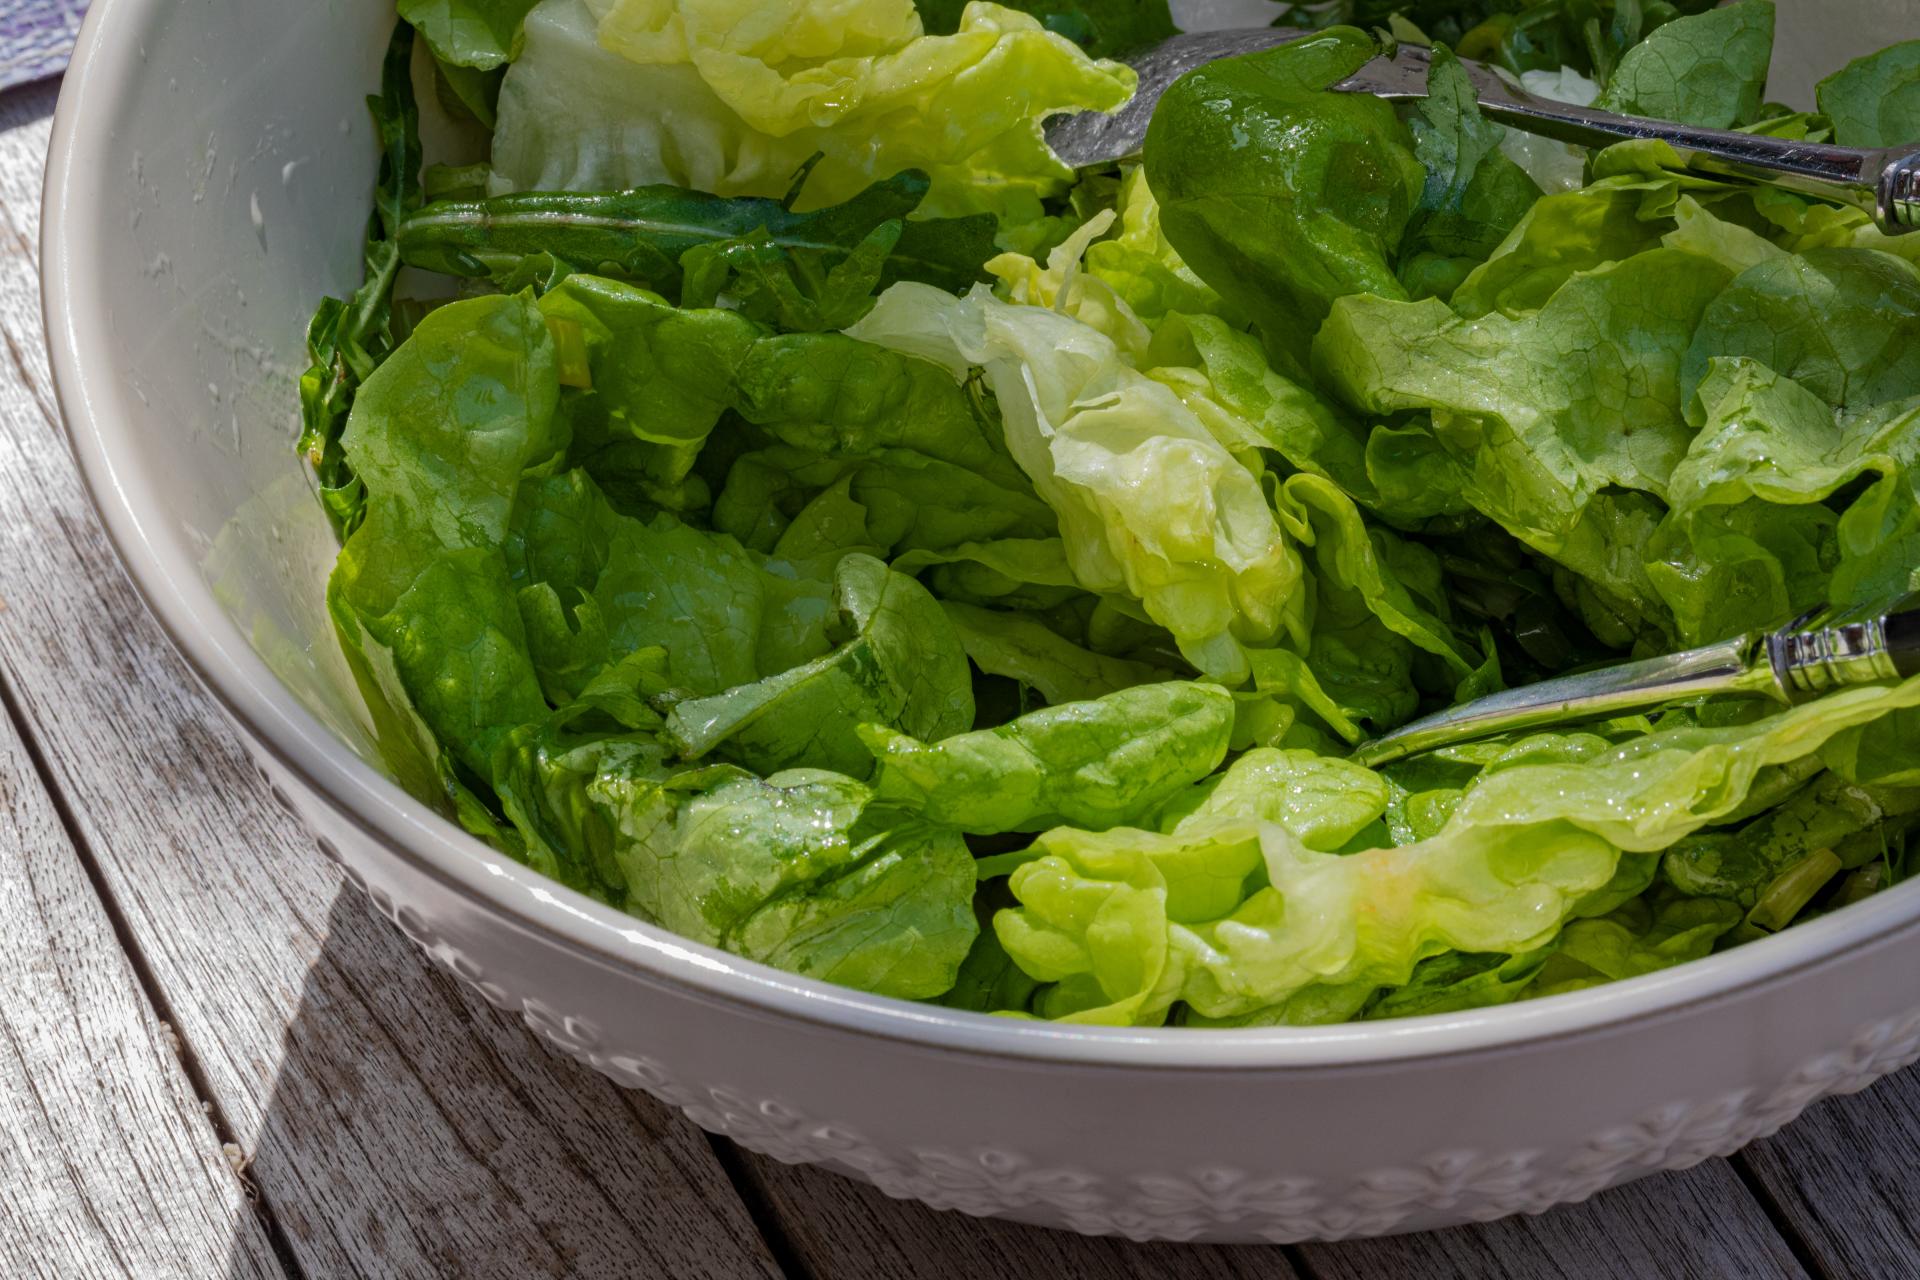
1. Choose a lettuce variety that thrives indoors. Although most lettuce plants can stay healthy indoors, you'll have better success with some varieties over others. Buy any of these lettuce varieties, which are known for growing well inside, from a garden center or plant nursery:
Garden Babies/Merlot/Baby Oakleaf/Salad Bowl/Lollo Rosa/Black-Seeded Simpson/Tom Thumb/Red Deer Tongue
2. Fill a pot with a seed starting soil mix. Seed starting mixes are lightweight, they help your plants’ roots grow, and they're well-draining to prevent overwatering. If you cannot find a seed starting mix, you can also create a soil made from equal parts peat moss or coir, vermiculite, and sand.
Each lettuce plant requires 4–6 in (10–15 cm) of space and a depth of about 8 inches (20 cm). Choose a pot that can accommodate these measurements.
Purchase pots with drainage holes on the bottom. Place a saucer underneath the pot to catch draining water.
3. Plant your seeds approximately 1 in (2.5 cm) apart. Dig a 4–6 in (10–15 cm) deep hole and place your seeds inside at about 1 in (2.5 cm) apart. Limit your seeds to 4 per pot to avoid overcrowding the lettuce as it grows. If you want to plant more than 4 seeds, prepare several pots ahead of time.
4. Sprinkle your seeds lightly with potting soil and water. Take a handful of potting soil and gently sprinkle it over the newly-planted seeds. Fill a spray bottle with water and gently mist the seeds to avoid washing them away.
5. Plant lettuce seedlings if you don't want to wait for seeds to sprout. If you don't want to wait for seeds to sprout, you can plant lettuce seedlings instead. Use the same technique as you would for lettuce seedlings, planting no more than 4 per pot.

Tips to care for
*Grow your lettuce in room temperature conditions. Lettuce grows best at temperatures around 65–70 °F (18–21 °C). Turn on the air conditioner or heater as needed to keep your plants at an even, sustainable temperature.
*Place your lettuce plant near a sunny window or a fluorescent grow light. Lettuce plants grow best with direct sunlight. If you're in a climate with very little sun, purchase a grow light from a plant nursery and position it about 12 inches (30 cm) overhead.
*Fertilize your lettuce 3 weeks after planting it. Lettuce needs nitrogen-rich soil to grow, so spray a liquid fertilizer on the plant 3 weeks after you planted it, or when the first leaves grow on the plant. Spray the fertilizer mainly near the soil, avoiding the lettuce leaves to prevent burning them.

0
0
文章
ritau
2020年04月02日

Today, we are going to introduce 7 ways to make fertilizer that you can easy to handle with at home. Let's take a look!
1.Use water from a freshwater aquarium.
Freshwater aquariums contain nitrogen, which can provide your plants with a healthy boost. Fish naturally release nitrogen into the water, making their "waste" water an important source of nutrients for plants. Instead of dumping it down the toilet, use it to water your plants once a week. Fish waste, as well, contains trace elements important for plant growth.

2.Create a coffee compost.
Mix coffee grounds with leafy yard waste for "quick compost," especially for acid-loving plants. Mix your coffee grounds with an equal amount of dead leaves, pine straw, and other brown yard clippings and sprinkle over the soil once a month. Roses, azaleas, hydrangeas, and many other plants crave a low pH soil and will respond particularly well.
3.Use eggshells.
Spread old eggshells over your garden, or in the bottom of planting holes, for a calcium boost. Plants like tomatoes and peppers particularly love calcium, but your whole garden will enjoy eggshells. Calcium, which is over 90% of an eggshell's makeup, helps a plant develop strong cell walls. To use eggshells, lightly crush up the shells and spread over the garden. You can till them into the soil or leave them right on top -- they decompose very quickly.

4.Brew grass tea.
Make a "nutrient tea" with grass clippings from your yard. Use the bag on your lawnmower to keep the clippings the next time you cut the grass. Use them to fill up a 5-gallon bucket roughly 2/3s of the way to the top, then fill it near the top with water. Stir it quickly, then let it sit for three days, stirring once each morning. When done, strain out the grass clippings and use your "tea" to water your plants, providing essential nitrogen, by mixing it with an equal amount of water and spraying over the plants.
5.Save and spread your fireplace ashes. Wood ash is high in calcium and potassium, making it an excellent supplement to your soil. Simply spread it right over the garden, using your hands to lightly turn it into the top layer of the soil.
*Vegetables, in particular, tend to love ash, as it promotes healthy root growth.
*Warning: Do not use fireplace ashes on plants that love acidic soil like blueberries, roses, or azaleas.

6.Try banana peels. Cut up banana peels and add them to the hole when planting. Banana peels don't do much once the plant is already in the ground, but it can work wonders as you're planting. The peels contain a lot of potassium, which promotes a plant's root development. Cut up half a banana peel and toss it in the bottom of your hole before adding the plant.
7.Make your own compost. Composting at home is easy, so you can turn all of your old food scraps, leaves, and plant clippings into food for your garden. When organic matter decays, it releases nutrients that can enrich your soil. You can build your own compost in your yard, or you can try one of the commercially-available kitchen compost units.
via wikihow
1.Use water from a freshwater aquarium.
Freshwater aquariums contain nitrogen, which can provide your plants with a healthy boost. Fish naturally release nitrogen into the water, making their "waste" water an important source of nutrients for plants. Instead of dumping it down the toilet, use it to water your plants once a week. Fish waste, as well, contains trace elements important for plant growth.

2.Create a coffee compost.
Mix coffee grounds with leafy yard waste for "quick compost," especially for acid-loving plants. Mix your coffee grounds with an equal amount of dead leaves, pine straw, and other brown yard clippings and sprinkle over the soil once a month. Roses, azaleas, hydrangeas, and many other plants crave a low pH soil and will respond particularly well.
3.Use eggshells.
Spread old eggshells over your garden, or in the bottom of planting holes, for a calcium boost. Plants like tomatoes and peppers particularly love calcium, but your whole garden will enjoy eggshells. Calcium, which is over 90% of an eggshell's makeup, helps a plant develop strong cell walls. To use eggshells, lightly crush up the shells and spread over the garden. You can till them into the soil or leave them right on top -- they decompose very quickly.

4.Brew grass tea.
Make a "nutrient tea" with grass clippings from your yard. Use the bag on your lawnmower to keep the clippings the next time you cut the grass. Use them to fill up a 5-gallon bucket roughly 2/3s of the way to the top, then fill it near the top with water. Stir it quickly, then let it sit for three days, stirring once each morning. When done, strain out the grass clippings and use your "tea" to water your plants, providing essential nitrogen, by mixing it with an equal amount of water and spraying over the plants.
5.Save and spread your fireplace ashes. Wood ash is high in calcium and potassium, making it an excellent supplement to your soil. Simply spread it right over the garden, using your hands to lightly turn it into the top layer of the soil.
*Vegetables, in particular, tend to love ash, as it promotes healthy root growth.
*Warning: Do not use fireplace ashes on plants that love acidic soil like blueberries, roses, or azaleas.

6.Try banana peels. Cut up banana peels and add them to the hole when planting. Banana peels don't do much once the plant is already in the ground, but it can work wonders as you're planting. The peels contain a lot of potassium, which promotes a plant's root development. Cut up half a banana peel and toss it in the bottom of your hole before adding the plant.
7.Make your own compost. Composting at home is easy, so you can turn all of your old food scraps, leaves, and plant clippings into food for your garden. When organic matter decays, it releases nutrients that can enrich your soil. You can build your own compost in your yard, or you can try one of the commercially-available kitchen compost units.
via wikihow
0
0
文章
Miss Chen
2020年04月01日

马蹄莲花色洁白高雅,很具有观赏价值,很多人都喜欢盆栽种植摆设在家居中,但有时候马蹄莲会出现叶子发黄情况,下面我们去了解下马蹄莲叶子发黄的原因及解决办法:

1、浇水过多:马蹄莲喜湿,从出芽就不能缺水,宜每天浇,但浇水过多,会导致出现叶子发黄情况。
解决方法:马蹄莲浇水要见干即浇,浇则浇透,切忌过多。
2、浇水过少:马蹄莲是湿生花卉,干旱缺水也容易造成叶片发黄。
解决方法:要注意保持浇水,保持充足水分,但也要注意避免叶心水湿,以免引起软腐病。
3、湿度过低:马蹄莲生长对空气湿度有一定要求,空气湿度控制在70-85{bf}之间为宜,低于50{bf}时叶片也会有发黄的现象。
解决方法:要经常浇水、喷水,保持盆土及环境湿润,适度通风保持空气清新流通。
4、施肥过多:马蹄莲施肥过多会造成浓肥烧根,这是最常见的马蹄莲叶子发黄原因。
解决方法:马蹄莲施肥要根据生长期适当施肥。

5、施肥过少:马蹄莲好肥,肥量过少会引起叶子发黄。
解决方法:一般每隔10~15天施腐熟液肥一次,开花期间以施磷肥为主。
6、温度过低:马蹄莲养殖要注意温度,温度掌握在20-25℃之间为宜,怕寒冷,忌盐碱,冬季夜间不可低于10℃,过高或过低植株易出现黄叶现象。
解决方法:温度过低时要注意移入室内保温。
7、烟熏:马蹄莲易受烟伤害,经常受烟熏会引起叶发黄,影响开花。
解决方法:马蹄莲养殖要注意空气环境问题,要注意流通空气,防止烟熏。
马蹄莲叶子发黄是马蹄莲养殖中比较常见的一个问题,原因也比较多,马蹄莲常见的叶子发黄原因及解决方法小编都汇总给大家了,希望对大家养殖马蹄莲有所帮助。

1、浇水过多:马蹄莲喜湿,从出芽就不能缺水,宜每天浇,但浇水过多,会导致出现叶子发黄情况。
解决方法:马蹄莲浇水要见干即浇,浇则浇透,切忌过多。
2、浇水过少:马蹄莲是湿生花卉,干旱缺水也容易造成叶片发黄。
解决方法:要注意保持浇水,保持充足水分,但也要注意避免叶心水湿,以免引起软腐病。
3、湿度过低:马蹄莲生长对空气湿度有一定要求,空气湿度控制在70-85{bf}之间为宜,低于50{bf}时叶片也会有发黄的现象。
解决方法:要经常浇水、喷水,保持盆土及环境湿润,适度通风保持空气清新流通。
4、施肥过多:马蹄莲施肥过多会造成浓肥烧根,这是最常见的马蹄莲叶子发黄原因。
解决方法:马蹄莲施肥要根据生长期适当施肥。

5、施肥过少:马蹄莲好肥,肥量过少会引起叶子发黄。
解决方法:一般每隔10~15天施腐熟液肥一次,开花期间以施磷肥为主。
6、温度过低:马蹄莲养殖要注意温度,温度掌握在20-25℃之间为宜,怕寒冷,忌盐碱,冬季夜间不可低于10℃,过高或过低植株易出现黄叶现象。
解决方法:温度过低时要注意移入室内保温。
7、烟熏:马蹄莲易受烟伤害,经常受烟熏会引起叶发黄,影响开花。
解决方法:马蹄莲养殖要注意空气环境问题,要注意流通空气,防止烟熏。
马蹄莲叶子发黄是马蹄莲养殖中比较常见的一个问题,原因也比较多,马蹄莲常见的叶子发黄原因及解决方法小编都汇总给大家了,希望对大家养殖马蹄莲有所帮助。
1
3
文章
ritau
2020年03月31日

There are many plants that can be regrown indoors, which is very convenient for green hands to try gardening. Today, we are going to introduce 7 kinds of plants to you to regrow in water. Let’s take a look!
1.Carrots Greens

Instead of defaulting to the compost, use carrot tops to grow healthy carrot greens. Place a carrot top or tops in a bowl, cut side down. Fill the bowl with about an inch of water so the top is halfway covered. Place the dish in a sunny windowsill and change the water every day.
The tops will eventually sprout shoots. When they do, plant the tops in soil, careful not to cover the shoots. Harvest the greens to taste. (Some people prefer the baby greens; others prefer them fully grown.)
(Instructions via Gardening Know-How)
2.Green Onion

Instead of tossing the green part of these veggies, use them to grow more. Place the greens in a cup or recycled jar filled with water. Put the cup or jar on a windowsill and change the water every other day. In about a week, you should have a new green onion, leek, and/or scallion to add to your supper. Harvest when fullygrown—just make sure to leave the roots in the water.
(Instructions via Living Green Magazine)
3.Bok Choy

Cut off the base of a bok choy plant and place it in a bowl bottom-down. Add a small amount of water in the bowl. Cover the whole base with water, but do not add more than 1/4 inch above the base. Replace water every few days. In about one week, you should see regrowth around the center of the base.
Once you see regrowth, transfer the plant to a container or garden. Cover everything except the new growth with soil. Your bok choy should be full grown and ready to harvest in approximately five months.
(Instructions via My Heart Beets)
4.Celery

Rinse off the base of a bunch of celery and place it in a small bowl or similar container (any wide-mouthed, glass, or ceramic container should do). Fill the container with warm water, cut stalks facing upright. Place the bowl in a sunny area. Leave the base as-is for about one week and change the water every other day. Use a spray bottle to gently mist the plant every other day. The tiny yellow leaves around the center of the base will grow thicker and turn dark green.
After five to seven days, move the celery base to a planter or garden and cover it with soil, leaving the leaf tips uncovered. Keep the plant well watered. You’ll soon notice celery leaves regenerate from the base, as well as a few small stalks. Harvest when fully grown, then repeat the process.
(Instructions via 17 Apart)
5.Romaine Lettuce

When you chop up hearts of romaine, set aside a few inches from the bottom of the heart. Place in a bowl with about a ½ inch of water. Keep the bowl in a sunny area and change the water every day.
In a few days, you’ll start to notice sprouts. Plant the sprouted hearts directly in the garden. If you like the taste of baby greens, you can pinch off outer leaves as the lettuce grows. Otherwise, harvest romaine when it’s around 6 to 8 inches tall. If you want to continue growing lettuce, cut the romaine heads off right above the soil line with a sharp knife, leaving the base and root system intact. Otherwise, uproot the whole plant.
(Instructions via Lifehacker)
6.Lemongrass
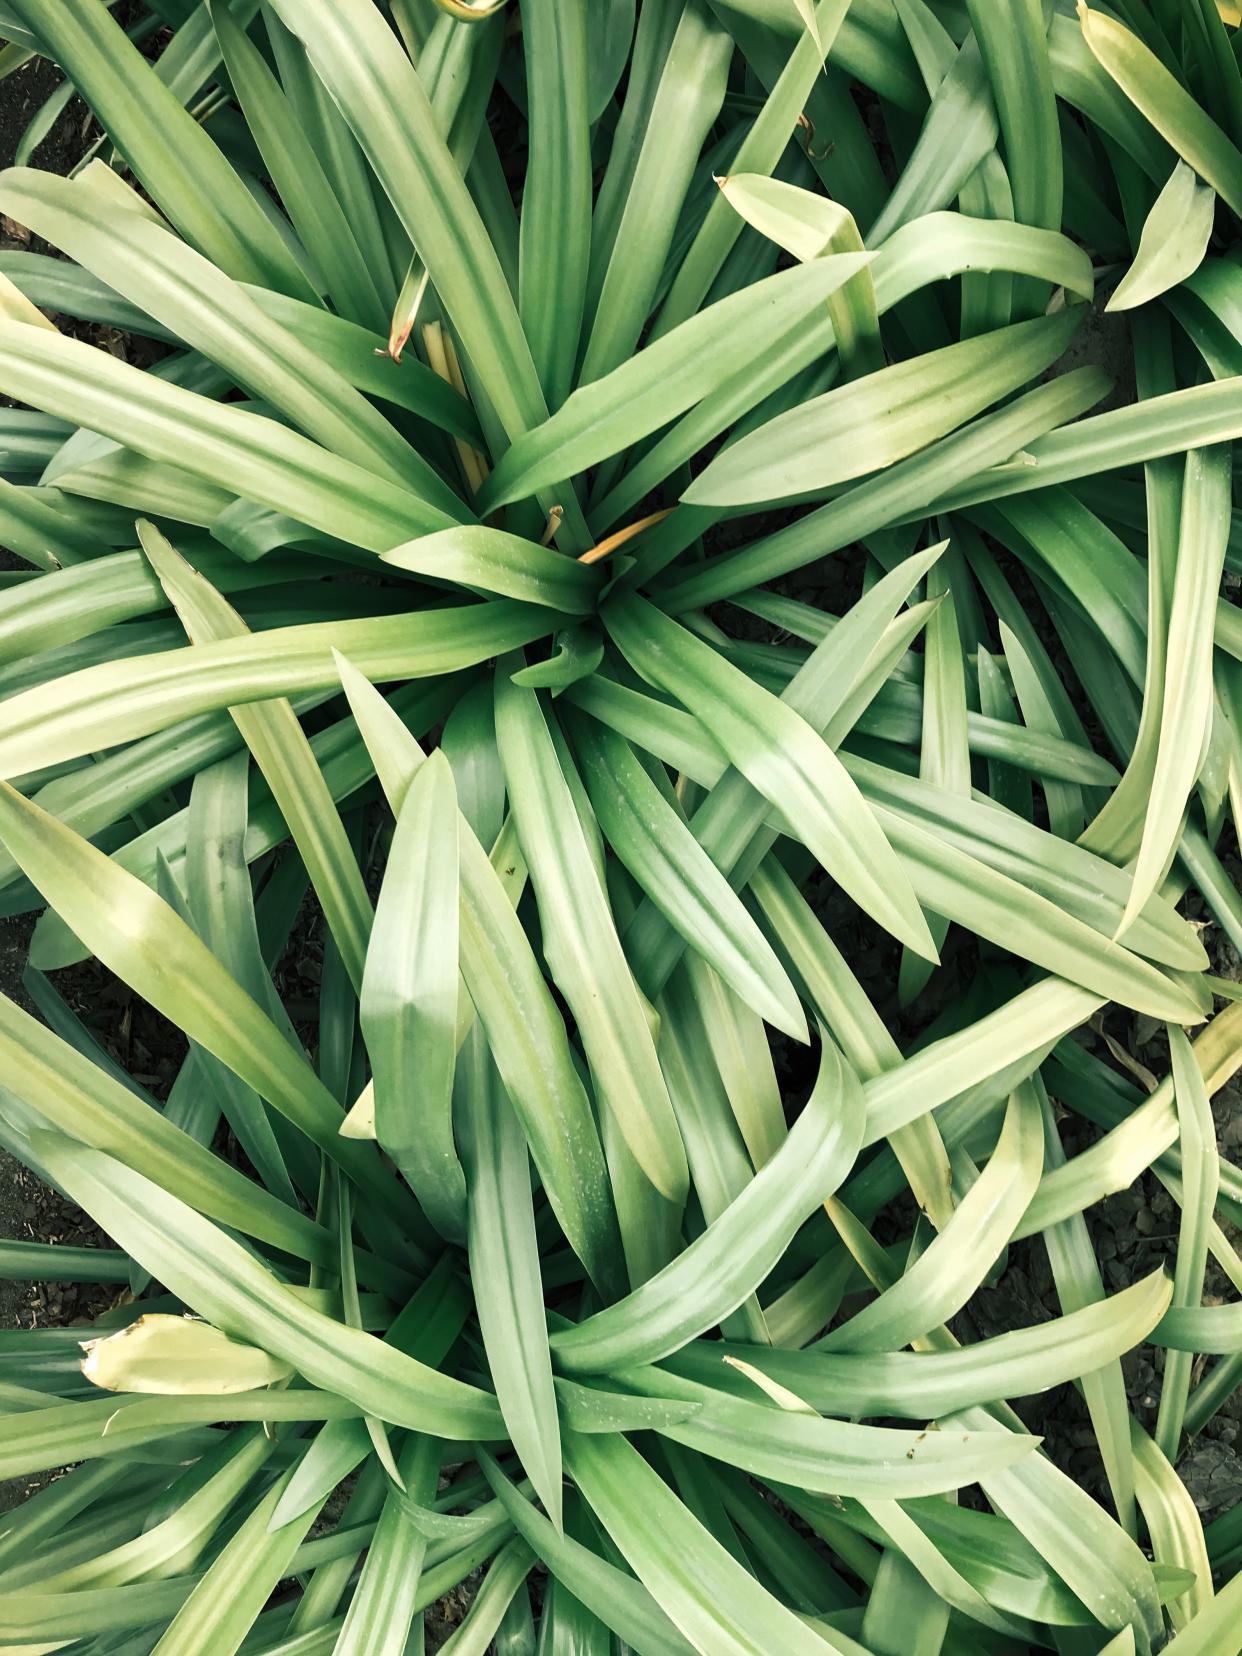
A frequent component of Thai dishes, lemongrass is a great addition to marinades, stir-fries, spice rubs, and curry pastes. To grow your own from scraps, cut off the tops of a bunch of lemongrass and place the stalks in water. Change the water every few days. In approximately two or three weeks, you should see new roots.
When the stems have developed strong root growth, plant the stalks in a pot or garden (preferably in an area that receives lots of sun). Because lemongrass needs to stay warm year round, plant the stalks in a container that can be moved inside during the winter months. Harvest lemongrass once it reaches one foot in height; just cut off the amount you need, being careful not to uproot the plant.
(Instructions via Suited to the Seasons)
7.Garlic Sprout

While you may not be able to grow garlic bulbs, you can grow garlic sprouts—also known as garlic greens—from a clove or bulb. Place a budding clove (or even a whole bulb) in a small cup, bowl, or jar. Add water until it covers the bottom of the container and touches the bottom of the cloves. Be careful not to submerge the cloves in order to avoid rot. Change the water every other day and place in a sunny area.
After a few days, the clove or bulb will start to produce roots. Sprouts may grow as long as 10 inches, but snip off the greens once they’re around 3 inches tall. Just be sure not to remove more than one-third of each sprout at one time. They’re tasty on top of baked potatoes, salads, in dips, or as a simple garnish.
(Instructions via Simple Daily Recipes)
Hope you can enjoy your harvest!
1.Carrots Greens

Instead of defaulting to the compost, use carrot tops to grow healthy carrot greens. Place a carrot top or tops in a bowl, cut side down. Fill the bowl with about an inch of water so the top is halfway covered. Place the dish in a sunny windowsill and change the water every day.
The tops will eventually sprout shoots. When they do, plant the tops in soil, careful not to cover the shoots. Harvest the greens to taste. (Some people prefer the baby greens; others prefer them fully grown.)
(Instructions via Gardening Know-How)
2.Green Onion

Instead of tossing the green part of these veggies, use them to grow more. Place the greens in a cup or recycled jar filled with water. Put the cup or jar on a windowsill and change the water every other day. In about a week, you should have a new green onion, leek, and/or scallion to add to your supper. Harvest when fullygrown—just make sure to leave the roots in the water.
(Instructions via Living Green Magazine)
3.Bok Choy

Cut off the base of a bok choy plant and place it in a bowl bottom-down. Add a small amount of water in the bowl. Cover the whole base with water, but do not add more than 1/4 inch above the base. Replace water every few days. In about one week, you should see regrowth around the center of the base.
Once you see regrowth, transfer the plant to a container or garden. Cover everything except the new growth with soil. Your bok choy should be full grown and ready to harvest in approximately five months.
(Instructions via My Heart Beets)
4.Celery

Rinse off the base of a bunch of celery and place it in a small bowl or similar container (any wide-mouthed, glass, or ceramic container should do). Fill the container with warm water, cut stalks facing upright. Place the bowl in a sunny area. Leave the base as-is for about one week and change the water every other day. Use a spray bottle to gently mist the plant every other day. The tiny yellow leaves around the center of the base will grow thicker and turn dark green.
After five to seven days, move the celery base to a planter or garden and cover it with soil, leaving the leaf tips uncovered. Keep the plant well watered. You’ll soon notice celery leaves regenerate from the base, as well as a few small stalks. Harvest when fully grown, then repeat the process.
(Instructions via 17 Apart)
5.Romaine Lettuce

When you chop up hearts of romaine, set aside a few inches from the bottom of the heart. Place in a bowl with about a ½ inch of water. Keep the bowl in a sunny area and change the water every day.
In a few days, you’ll start to notice sprouts. Plant the sprouted hearts directly in the garden. If you like the taste of baby greens, you can pinch off outer leaves as the lettuce grows. Otherwise, harvest romaine when it’s around 6 to 8 inches tall. If you want to continue growing lettuce, cut the romaine heads off right above the soil line with a sharp knife, leaving the base and root system intact. Otherwise, uproot the whole plant.
(Instructions via Lifehacker)
6.Lemongrass

A frequent component of Thai dishes, lemongrass is a great addition to marinades, stir-fries, spice rubs, and curry pastes. To grow your own from scraps, cut off the tops of a bunch of lemongrass and place the stalks in water. Change the water every few days. In approximately two or three weeks, you should see new roots.
When the stems have developed strong root growth, plant the stalks in a pot or garden (preferably in an area that receives lots of sun). Because lemongrass needs to stay warm year round, plant the stalks in a container that can be moved inside during the winter months. Harvest lemongrass once it reaches one foot in height; just cut off the amount you need, being careful not to uproot the plant.
(Instructions via Suited to the Seasons)
7.Garlic Sprout

While you may not be able to grow garlic bulbs, you can grow garlic sprouts—also known as garlic greens—from a clove or bulb. Place a budding clove (or even a whole bulb) in a small cup, bowl, or jar. Add water until it covers the bottom of the container and touches the bottom of the cloves. Be careful not to submerge the cloves in order to avoid rot. Change the water every other day and place in a sunny area.
After a few days, the clove or bulb will start to produce roots. Sprouts may grow as long as 10 inches, but snip off the greens once they’re around 3 inches tall. Just be sure not to remove more than one-third of each sprout at one time. They’re tasty on top of baked potatoes, salads, in dips, or as a simple garnish.
(Instructions via Simple Daily Recipes)
Hope you can enjoy your harvest!
0
0


