文章
ritau
2020年04月23日

Hi, everybody, today let's learn something about how to grow onions!
1. Choose a type of onion to grow.
As with most fruits and vegetables, there are many variations of the onion that are appealing for different reasons. Onions come in three general colors - white, yellow, and red/purple - each with their own distinct taste. Additionally, onions are categorized into two growing types: long-day and short-day. Long-day onions are named such because they begin sprouting when the days between 14 to 16 hours in length (late spring/summer), while short-day onions begin sprouting when days are between 10 to 12 hours in length (winter/early spring).
2. Decide how you will plant the onions.
In general, there are two popular ways of growing onions: using either onion sets (bulbs) or using onion seeds. Gardeners tend to prefer planting onion sets, as they are a bit hardier and stand up to poor weather better than onion seeds. However, if you're able and willing to grow your onions from seeds indoors and transplant them outdoors, you can certainly raise them all on your own from seeds. You can also plant your onions in the ground in warm weather.
3. Know when to grow.
Onions can be tricky to grow if they're not planted at the right time. If planted in cold weather, they can die off or waste energy in blossoms rather than bulbs in the spring. If you're planting seeds, start them indoors at least 6 weeks prior to planting outdoors. Make sure that you sow the onions 6 weeks before your average last frost date, and set them out after that date.
4. Select the ideal location.
Onions aren't too terribly picky when it comes to growing conditions, but they do have some preferences. Select a place with plenty of room and full sunlight. Onions will grow quite large if they're given enough space, so keep in mind that the more area you give them to grow, the larger they will get. Avoid planting them in a location that is shaded by larger plants or trees.

5. Prepare the soil.
Although it takes some forethought, if you are able to prepare the soil of your plot for planting several months in advance, you'll receive a better onion crop down the line. If you're able, begin tilling the soil and adding in manure in the fall. If your soil is very rocky, sandy, or has lots of clay, mix in some potting soil to help even things out. Additionally, test the pH level of your soil and add in any necessary compounds in order to create a pH that falls between 6 to 7.5.
6. Get the soil ready.
When you're ready to plant, till the soil about 6 inches (15.2 cm) deep and add a layer (1 cup per 20 feet) of phosphorous fertilizer. However, only do this if your soil is low on phosphorus. Be sure to test your soil first to find out. Using a mixture such as 10-20-10 or 0-20-0 will provide an extra boost for your developing onions. At this point, be sure to remove any weeds that may be present in the garden plot you're planting in.
7. Dig the holes.
Plant onions so that no more than one inch of soil is placed above the sets or seedlings; if too much of the bulb is buried, the growth of the onion will be reduced and constricted. Space onion sets 4–6 inches (10.2–15.2 cm) apart, and onion seeds 1–2 inches (2.5–5.1 cm) apart. As your onions begin to grow, you can transplant them and space them further apart in order to increase their growing size.
8. Plant the onions.
Place your seeds in the holes you've dug, covering them with ¼ to ½ inch of soil. The sets should be no more than two inches deep. Use your hands or shoes to firmly tamp the soil over the top of the onions; they grow better in firm, rather than loose, soil. Finish up planting by adding a bit of water, and you're set to watch them grow! via.wikihow

1. Choose a type of onion to grow.
As with most fruits and vegetables, there are many variations of the onion that are appealing for different reasons. Onions come in three general colors - white, yellow, and red/purple - each with their own distinct taste. Additionally, onions are categorized into two growing types: long-day and short-day. Long-day onions are named such because they begin sprouting when the days between 14 to 16 hours in length (late spring/summer), while short-day onions begin sprouting when days are between 10 to 12 hours in length (winter/early spring).
2. Decide how you will plant the onions.
In general, there are two popular ways of growing onions: using either onion sets (bulbs) or using onion seeds. Gardeners tend to prefer planting onion sets, as they are a bit hardier and stand up to poor weather better than onion seeds. However, if you're able and willing to grow your onions from seeds indoors and transplant them outdoors, you can certainly raise them all on your own from seeds. You can also plant your onions in the ground in warm weather.
3. Know when to grow.
Onions can be tricky to grow if they're not planted at the right time. If planted in cold weather, they can die off or waste energy in blossoms rather than bulbs in the spring. If you're planting seeds, start them indoors at least 6 weeks prior to planting outdoors. Make sure that you sow the onions 6 weeks before your average last frost date, and set them out after that date.
4. Select the ideal location.
Onions aren't too terribly picky when it comes to growing conditions, but they do have some preferences. Select a place with plenty of room and full sunlight. Onions will grow quite large if they're given enough space, so keep in mind that the more area you give them to grow, the larger they will get. Avoid planting them in a location that is shaded by larger plants or trees.

5. Prepare the soil.
Although it takes some forethought, if you are able to prepare the soil of your plot for planting several months in advance, you'll receive a better onion crop down the line. If you're able, begin tilling the soil and adding in manure in the fall. If your soil is very rocky, sandy, or has lots of clay, mix in some potting soil to help even things out. Additionally, test the pH level of your soil and add in any necessary compounds in order to create a pH that falls between 6 to 7.5.
6. Get the soil ready.
When you're ready to plant, till the soil about 6 inches (15.2 cm) deep and add a layer (1 cup per 20 feet) of phosphorous fertilizer. However, only do this if your soil is low on phosphorus. Be sure to test your soil first to find out. Using a mixture such as 10-20-10 or 0-20-0 will provide an extra boost for your developing onions. At this point, be sure to remove any weeds that may be present in the garden plot you're planting in.
7. Dig the holes.
Plant onions so that no more than one inch of soil is placed above the sets or seedlings; if too much of the bulb is buried, the growth of the onion will be reduced and constricted. Space onion sets 4–6 inches (10.2–15.2 cm) apart, and onion seeds 1–2 inches (2.5–5.1 cm) apart. As your onions begin to grow, you can transplant them and space them further apart in order to increase their growing size.
8. Plant the onions.
Place your seeds in the holes you've dug, covering them with ¼ to ½ inch of soil. The sets should be no more than two inches deep. Use your hands or shoes to firmly tamp the soil over the top of the onions; they grow better in firm, rather than loose, soil. Finish up planting by adding a bit of water, and you're set to watch them grow! via.wikihow

0
0
文章
ritau
2020年04月19日

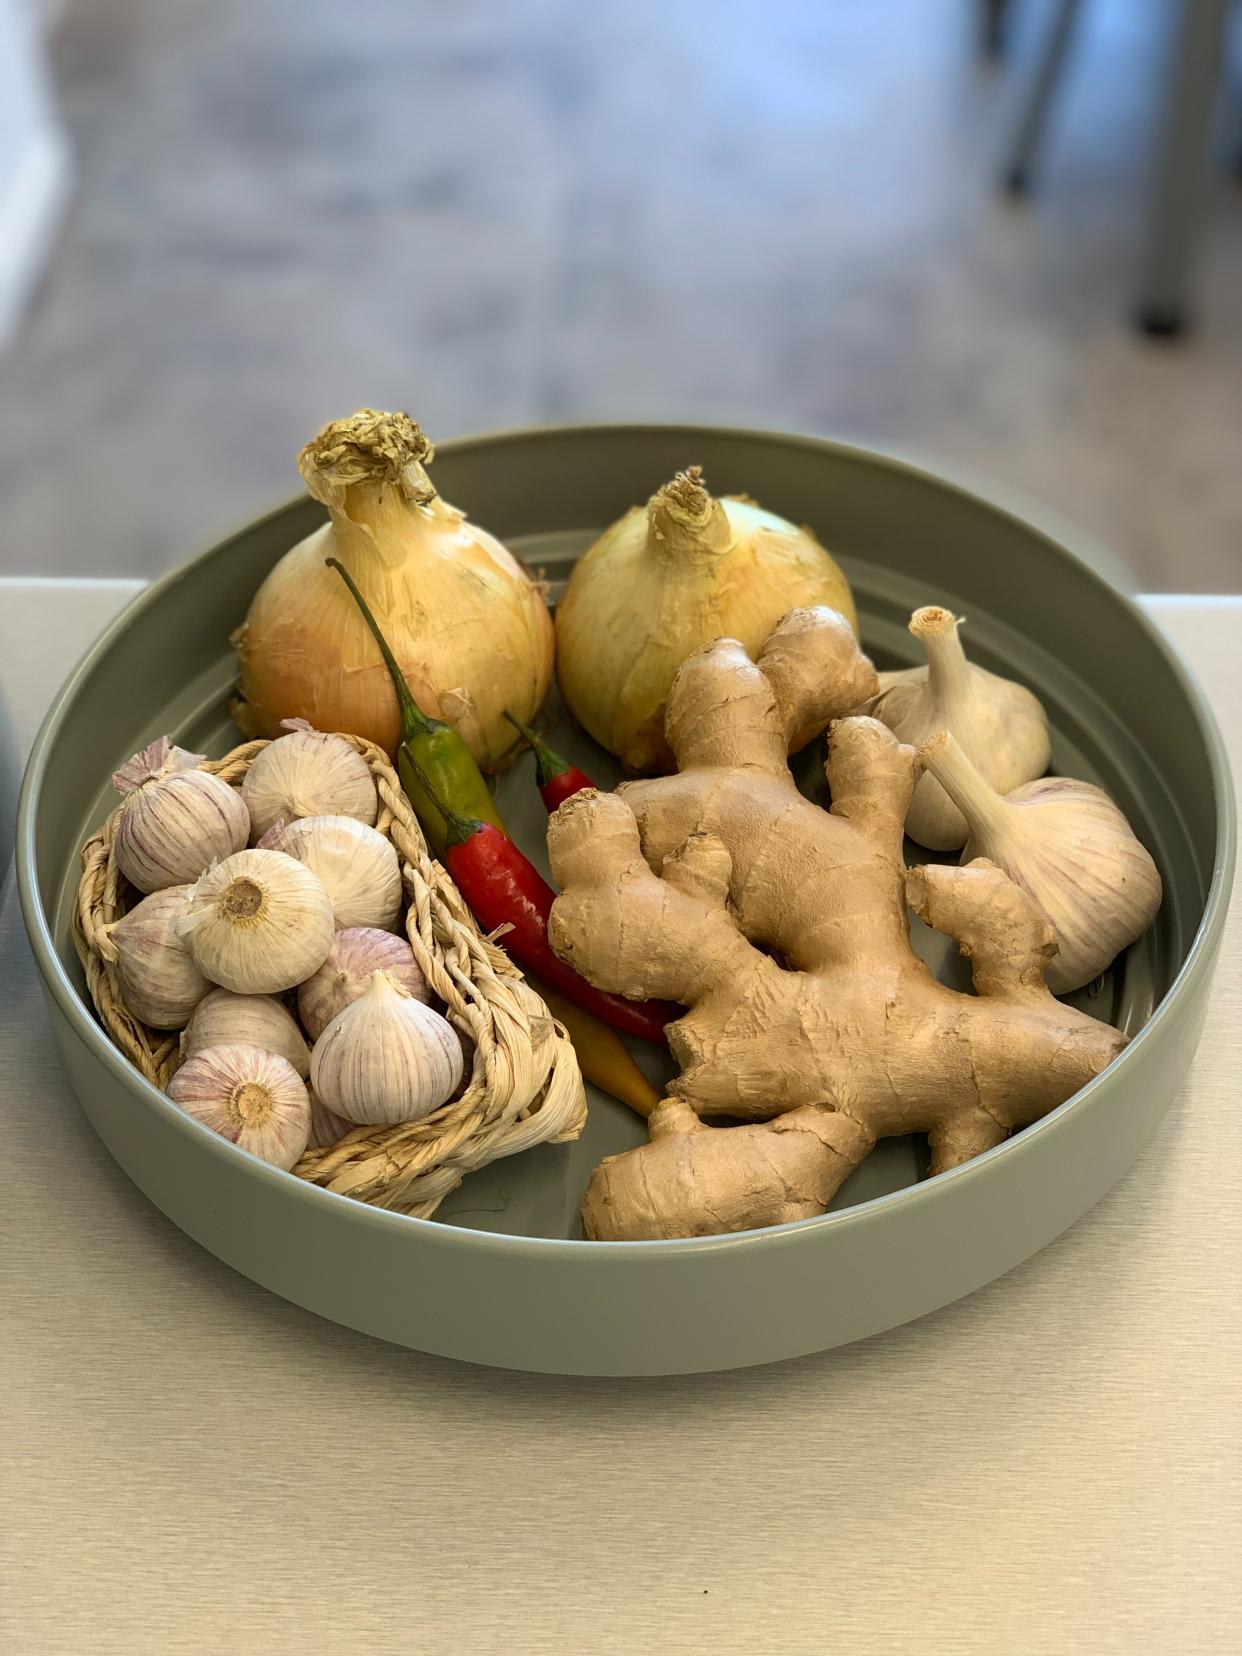
Quarantine life, indoor activities are recommemded, today let's plant a ginger at home!
1. Choose your ginger plant.
There are many species of ginger. To grow the most common edible variety, Zingiber officinale, all you need is ginger root from the grocery store. You can find ornamental ginger plants with vibrant flowers at a plant nursery, but these are often inedible.
2.Cut the rhizome into pieces (optional).
If you'd like to grow more than one plant, cut the ginger with a sanitized knife or shears. Any piece at least 1 inch (2.5 cm) wide with one or more eyes can grow into a separate plant. After cutting, leave the pieces in a dry location for a few days to allow them to heal. They will form a protective callus over the cut surface, which reduces the risk of infection.

3.Prepare the soil.
Ginger thrives on high-quality, well-draining soil. Mixing garden soil with an equal amount of well-rotted compost should do the trick. If your soil is poor quality or heavy in clay, purchase rich potting soil instead.
4.Choose a location.
Ginger prefers partial shade or areas with morning sun only, away from large roots. The growing location should be sheltered from wind and moist, but not swampy.If the ginger plant has not yet germinated, soil temperatures must be warm — ideally between 71 and 77ºF (22–25ºC).
5.Plant the ginger.
Plant each piece of ginger 2–4 inches (5–10 cm) below loose soil, with the buds pointing upward. If planting in rows, keep each piece 8 inches (20 cm) apart. If planting in pots, plant one piece per large pot (14 in./35 cm diameter).
*Ginger grows slowly, especially outside of the tropics. A sprout might appear within a few days if you're lucky, but continue to water for at least a couple weeks before giving up on the plant.
*Fertilization is not required if the ginger is in rich soil, especially if you've mixed in compost. Have the soil tested first and fertilize accordingly. If soil is poor or you'd like to improve yield, fertilize with a small amount of complete liquid fertilizer each month.
1. Choose your ginger plant.
There are many species of ginger. To grow the most common edible variety, Zingiber officinale, all you need is ginger root from the grocery store. You can find ornamental ginger plants with vibrant flowers at a plant nursery, but these are often inedible.
2.Cut the rhizome into pieces (optional).
If you'd like to grow more than one plant, cut the ginger with a sanitized knife or shears. Any piece at least 1 inch (2.5 cm) wide with one or more eyes can grow into a separate plant. After cutting, leave the pieces in a dry location for a few days to allow them to heal. They will form a protective callus over the cut surface, which reduces the risk of infection.

3.Prepare the soil.
Ginger thrives on high-quality, well-draining soil. Mixing garden soil with an equal amount of well-rotted compost should do the trick. If your soil is poor quality or heavy in clay, purchase rich potting soil instead.
4.Choose a location.
Ginger prefers partial shade or areas with morning sun only, away from large roots. The growing location should be sheltered from wind and moist, but not swampy.If the ginger plant has not yet germinated, soil temperatures must be warm — ideally between 71 and 77ºF (22–25ºC).
5.Plant the ginger.
Plant each piece of ginger 2–4 inches (5–10 cm) below loose soil, with the buds pointing upward. If planting in rows, keep each piece 8 inches (20 cm) apart. If planting in pots, plant one piece per large pot (14 in./35 cm diameter).
*Ginger grows slowly, especially outside of the tropics. A sprout might appear within a few days if you're lucky, but continue to water for at least a couple weeks before giving up on the plant.
*Fertilization is not required if the ginger is in rich soil, especially if you've mixed in compost. Have the soil tested first and fertilize accordingly. If soil is poor or you'd like to improve yield, fertilize with a small amount of complete liquid fertilizer each month.

0
0


