文章
Miss Chen
2021年04月15日

1. Chunhua is not in a hurry to leave the room
In early spring, the temperature is extremely unstable. Generally, potted flowers should be around Qingming when they are out of the house. Some potted flowers must be around Guyu, such as Bailanhua, Jasmine, Milan, etc.;
Some even before Guyu to Lixia, such as cactus, cactus, fairy mountain, lingjian lotus and so on.
Under normal circumstances, when the temperature is from Qingming to Guyu, the temperature will not change much, and the temperature difference will not be too low or too high. It is relatively stable. At this time, it is more suitable to leave the room. Before leaving the room, you must first "Refining seedlings" indoors.
You can choose a sunny day to open the doors and windows to let them ventilate. The time ranges from short to long. If you encounter sunny and warm weather, you can also move outside to bask in the sun. You should move indoors early in the afternoon to allow it to initially adapt to the external environment.

2. Do not rush to open windows for ventilation
In early spring, the potted flowers have just awakened, and they have little resistance and lack the ability to withstand the harsh weather outside. Some people think that spring is here and they feel very warm, so they open the doors and windows at will to let them ventilate, completely forgetting the damage to the potted flowers by the dry and cold wind in spring.
The new buds that have just germinated, encounter the attack of dry and cold wind, the young leaves of the new buds will be frozen, and in severe cases, even the plants will be frozen to death. Therefore, in spring to prevent cold wind from attacking the potted flowers, you should not rush to open the windows to let the wind out.

3. Do not rush to move the potted plants outdoors
The sun is shining in spring, and some people are eager to remove the potted flowers outside to bask in the sun. Due to the strong light at noon, the temperature around the potted flowers can often reach about 20°C.
However, when I moved indoors in the afternoon, the temperature was too low due to the low temperature, so that the potted plant could not adapt to it for a while, and even suffered from a "severe cold."
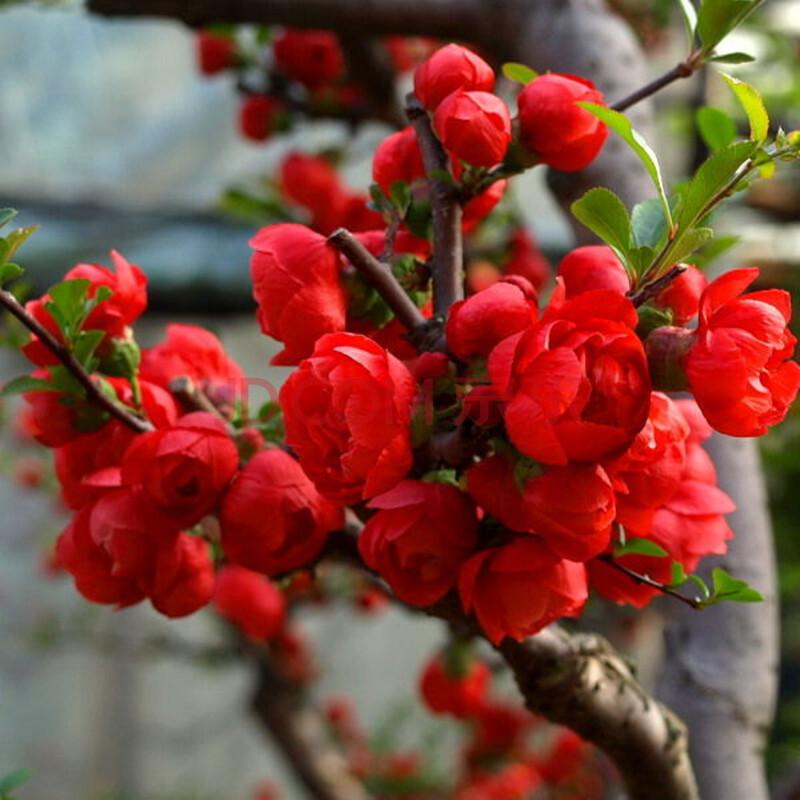
Fourth, do not rush to expose the basin surface to night
In spring, although the temperature gradually rises and the weather is relatively warm, the temperature is still so cold from night to early morning, and there will even be frost (more bright frost), and there will be invisible dark frost.
If a potted flower that is not hardy is attacked by dark frost, the flowers and leaves will all scorch and it will be difficult to recover. Therefore, it is safer to take the flowers back indoors at night when they are out of the house, and strive to leave early and return late to avoid death of potted flowers due to frost.
Therefore, when there is no dark frost, it can be placed outdoors overnight to allow the potted flowers to dew at night, otherwise they must be covered to prevent frost at night to ensure that the potted flowers are safe and the branches and leaves are not damaged.
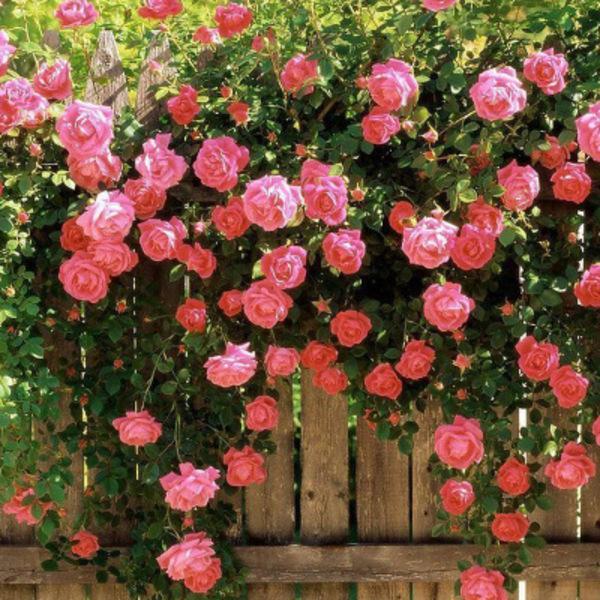
Five, do not rush to fertilize too early
There are five taboos for potted flower fertilization: avoid growing fertilizer, thick fertilizer, heavy fertilizer, hot fertilizer, sitting fertilizer, and early fertilizer.
But some people don’t understand this reason, they are eager to grow flowers, and they are eager to fertilize when they leave the house in spring, and the fertilizer applied is some unrotten fermented raw fertilizer, thick fertilizer, heavy fertilizer, how can this make potted flowers just germinate shoot Can Xinye bear it?
It can only be seen that these potted flowers are "burned to death" by being fat, thick and heavy. Applying thin fertilizers diligently and gradually, so that the potted plants grow full of branches and leaves, and after the plants are strong, they have a certain degree of fertility tolerance and then fertilization is the correct and scientific method to fertilize spring flowers.

Sixth, do not rush to water the potted flowers
The weather has just turned warm in spring, and the roots of potted plants are sprouting new roots and growing new leaves, but the old roots are weak in water absorption. If too much watering, it is easy to rot the wet plants in the potted soil.
Besides, the evaporative power of potted flowers is not strong at this time, so watering the flowers should "see dry and wet, water when watering, not dry without water" as the principle, this is the dialectical scientific watering method.
In early spring, the temperature is extremely unstable. Generally, potted flowers should be around Qingming when they are out of the house. Some potted flowers must be around Guyu, such as Bailanhua, Jasmine, Milan, etc.;
Some even before Guyu to Lixia, such as cactus, cactus, fairy mountain, lingjian lotus and so on.
Under normal circumstances, when the temperature is from Qingming to Guyu, the temperature will not change much, and the temperature difference will not be too low or too high. It is relatively stable. At this time, it is more suitable to leave the room. Before leaving the room, you must first "Refining seedlings" indoors.
You can choose a sunny day to open the doors and windows to let them ventilate. The time ranges from short to long. If you encounter sunny and warm weather, you can also move outside to bask in the sun. You should move indoors early in the afternoon to allow it to initially adapt to the external environment.

2. Do not rush to open windows for ventilation
In early spring, the potted flowers have just awakened, and they have little resistance and lack the ability to withstand the harsh weather outside. Some people think that spring is here and they feel very warm, so they open the doors and windows at will to let them ventilate, completely forgetting the damage to the potted flowers by the dry and cold wind in spring.
The new buds that have just germinated, encounter the attack of dry and cold wind, the young leaves of the new buds will be frozen, and in severe cases, even the plants will be frozen to death. Therefore, in spring to prevent cold wind from attacking the potted flowers, you should not rush to open the windows to let the wind out.

3. Do not rush to move the potted plants outdoors
The sun is shining in spring, and some people are eager to remove the potted flowers outside to bask in the sun. Due to the strong light at noon, the temperature around the potted flowers can often reach about 20°C.
However, when I moved indoors in the afternoon, the temperature was too low due to the low temperature, so that the potted plant could not adapt to it for a while, and even suffered from a "severe cold."

Fourth, do not rush to expose the basin surface to night
In spring, although the temperature gradually rises and the weather is relatively warm, the temperature is still so cold from night to early morning, and there will even be frost (more bright frost), and there will be invisible dark frost.
If a potted flower that is not hardy is attacked by dark frost, the flowers and leaves will all scorch and it will be difficult to recover. Therefore, it is safer to take the flowers back indoors at night when they are out of the house, and strive to leave early and return late to avoid death of potted flowers due to frost.
Therefore, when there is no dark frost, it can be placed outdoors overnight to allow the potted flowers to dew at night, otherwise they must be covered to prevent frost at night to ensure that the potted flowers are safe and the branches and leaves are not damaged.

Five, do not rush to fertilize too early
There are five taboos for potted flower fertilization: avoid growing fertilizer, thick fertilizer, heavy fertilizer, hot fertilizer, sitting fertilizer, and early fertilizer.
But some people don’t understand this reason, they are eager to grow flowers, and they are eager to fertilize when they leave the house in spring, and the fertilizer applied is some unrotten fermented raw fertilizer, thick fertilizer, heavy fertilizer, how can this make potted flowers just germinate shoot Can Xinye bear it?
It can only be seen that these potted flowers are "burned to death" by being fat, thick and heavy. Applying thin fertilizers diligently and gradually, so that the potted plants grow full of branches and leaves, and after the plants are strong, they have a certain degree of fertility tolerance and then fertilization is the correct and scientific method to fertilize spring flowers.

Sixth, do not rush to water the potted flowers
The weather has just turned warm in spring, and the roots of potted plants are sprouting new roots and growing new leaves, but the old roots are weak in water absorption. If too much watering, it is easy to rot the wet plants in the potted soil.
Besides, the evaporative power of potted flowers is not strong at this time, so watering the flowers should "see dry and wet, water when watering, not dry without water" as the principle, this is the dialectical scientific watering method.
0
0
文章
莹723
2020年12月29日

• Botanical name: Hippeastrum 'Happy Garden'
• Common name: Amarylis
• Family: Amaryllidaceae
• Plant Type: House plant
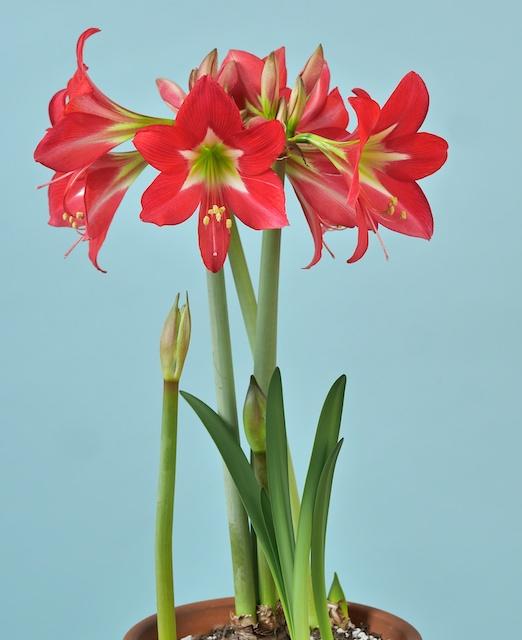
Hippeastrum, or amaryllis, are most commonly grown as flowering houseplants, and are often given as gifts at Christmas. The bulbous plants hail from South Africa, and bear four to six large flowers on a tall, light green hollow stem.
It’s easy to force amaryllis bulbs to flower indoors over Christmas, and once they’ve finished flowering they can be stored and encouraged to flower the following year.

Hippeastrum ‘Happy Garden’ bears multiple heads of red flowers with a green-white centre. For best results, grow at room temperature, around 20°C in a well-lit room, ideally in full sun. Water sparingly at first, then increase the amount as the flower stems develop.

——How to grow Hippeastrum 'Happy Garden'
• Plant size
60cm height
25cm spread
• Aspect
South facing, west facing
• Sun exposure: Full sun
• Hardiness: Half hardy
• Soil type: Well drained / light / sandy

——Is Hippeastrum 'Happy Garden' poisonous?
Hippeastrum 'Happy Garden' can be toxic.
Toxic to:
Toxic to Cats
Toxic to Dogs
——Plants that go well with Hippeastrum 'Happy Garden'
Hippeastrum ‘Red Lion’
Amarylis

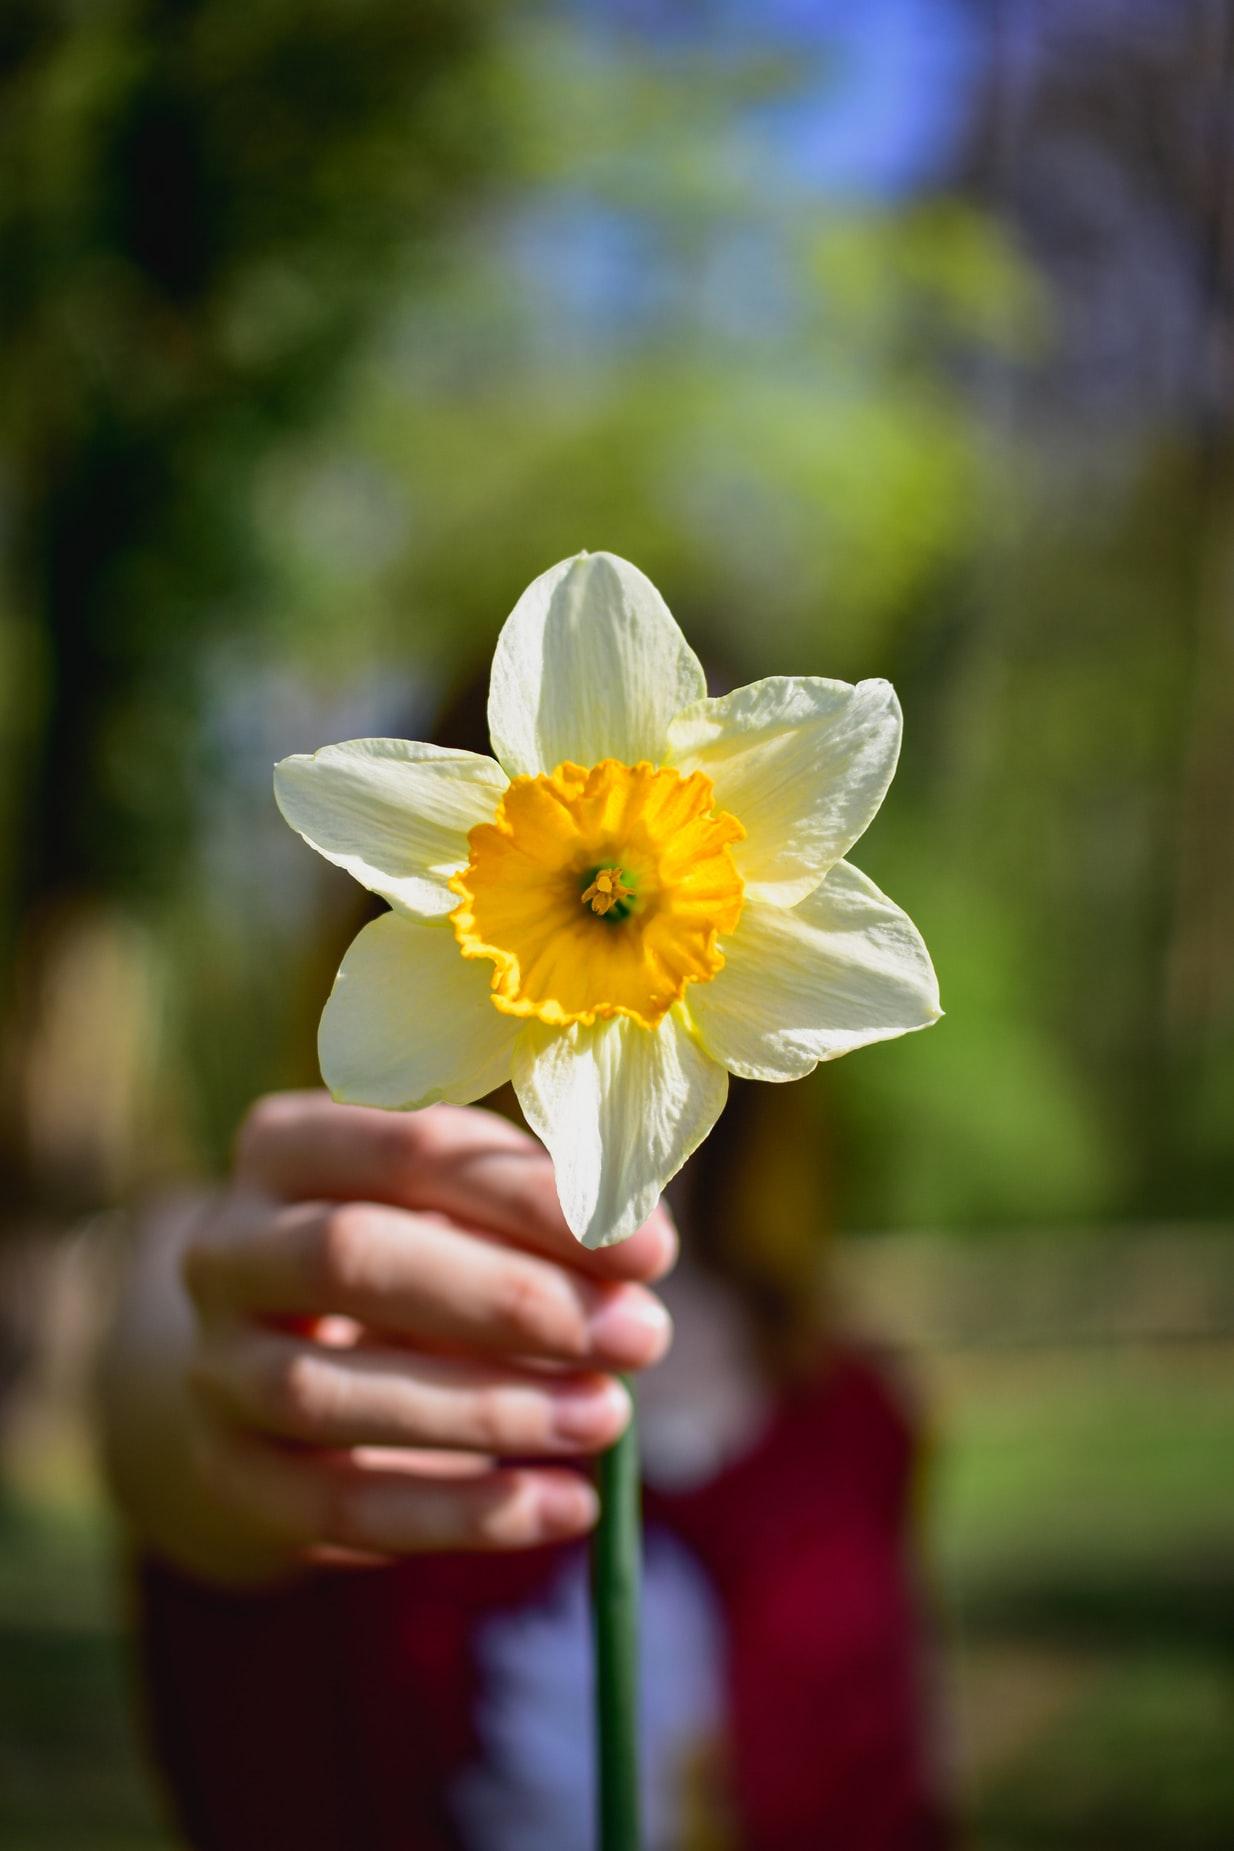
Narcissus papyraceus
Paperwhite narcissus
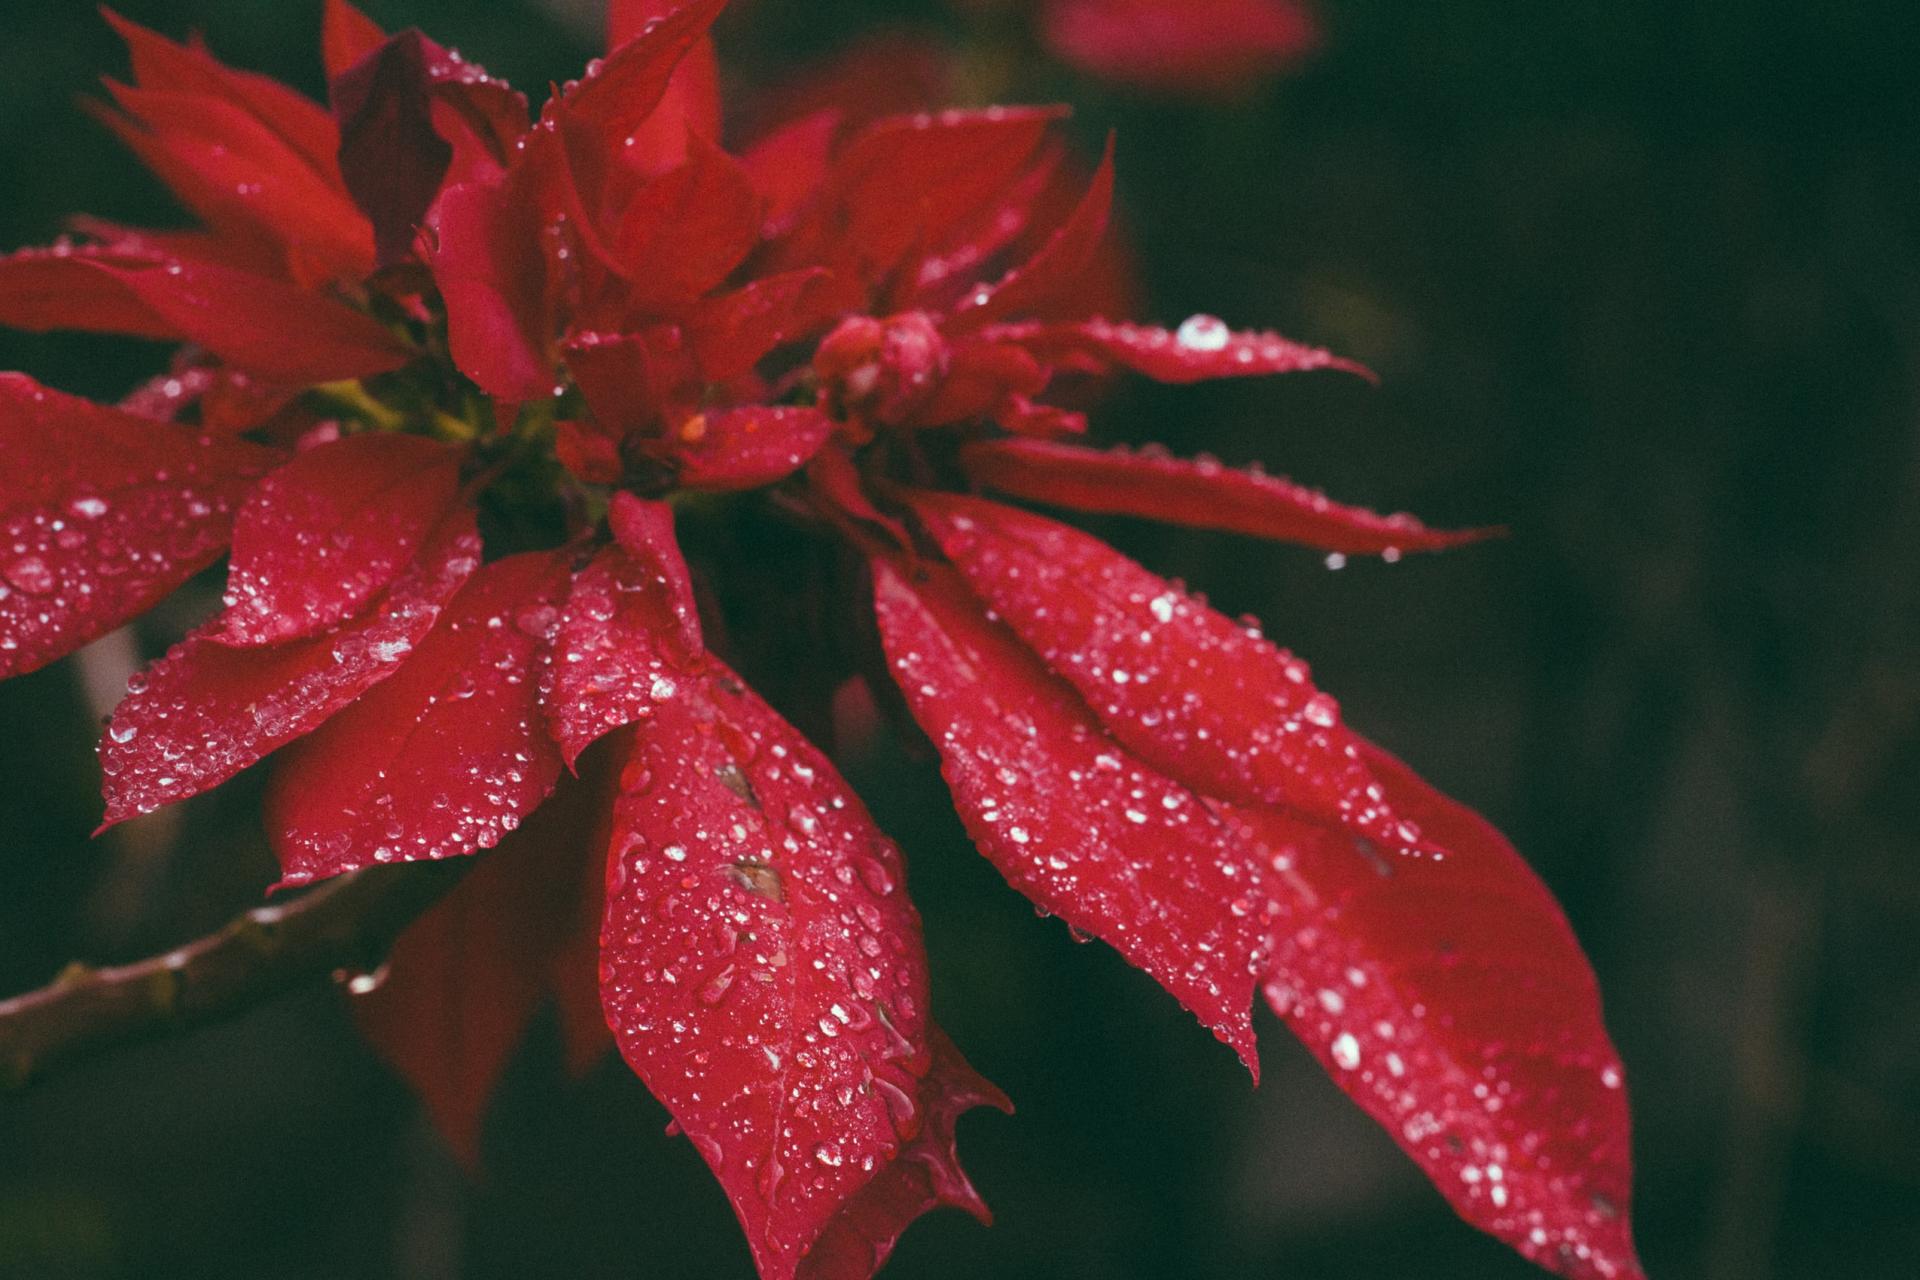
Euphorbia pulcherrimum
Poinsettia
• Common name: Amarylis
• Family: Amaryllidaceae
• Plant Type: House plant

Hippeastrum, or amaryllis, are most commonly grown as flowering houseplants, and are often given as gifts at Christmas. The bulbous plants hail from South Africa, and bear four to six large flowers on a tall, light green hollow stem.
It’s easy to force amaryllis bulbs to flower indoors over Christmas, and once they’ve finished flowering they can be stored and encouraged to flower the following year.

Hippeastrum ‘Happy Garden’ bears multiple heads of red flowers with a green-white centre. For best results, grow at room temperature, around 20°C in a well-lit room, ideally in full sun. Water sparingly at first, then increase the amount as the flower stems develop.

——How to grow Hippeastrum 'Happy Garden'
• Plant size
60cm height
25cm spread
• Aspect
South facing, west facing
• Sun exposure: Full sun
• Hardiness: Half hardy
• Soil type: Well drained / light / sandy

——Is Hippeastrum 'Happy Garden' poisonous?
Hippeastrum 'Happy Garden' can be toxic.
Toxic to:
Toxic to Cats
Toxic to Dogs
——Plants that go well with Hippeastrum 'Happy Garden'
Hippeastrum ‘Red Lion’
Amarylis

Narcissus papyraceus
Paperwhite narcissus

Euphorbia pulcherrimum
Poinsettia

0
0
文章
ritau
2020年06月07日

Mealybugs are insects in the family Pseudococcidae, unarmored scale insects found in moist, warm habitats. Many species are considered pests by some humans as they feed on plant juices of greenhouse plants, house plants and subtropical trees and also act as a vector for several plant diseases. Some Ants, however live in symbiotic relationships with them.
Methods
*Killing Small Infestations with Rubbing Alcohol
1. Dip a cotton swab in 70-percent isopropyl rubbing alcohol. Avoid using other kinds of alcohol or you could damage the plant you’re treating.
2. Rub the cotton swab over the surface of the infested plant. Make sure you get underneath the leaves and inside the crevices on the branches. Mealybugs tend to hide in hard-to-reach places, so it’s important you completely cover the plant you’re treating with the rubbing alcohol.
3. Use a spray bottle to apply rubbing alcohol to large plants. Fill the spray bottle with rubbing alcohol and spray it over the surface of large plants that are infested with mealybugs.
4. Remove any mealybugs you see on the plant. Mealybugs look like small, white bugs with a waxy coating. Pick the mealybugs off with your hand and dispose of them in the trash. Mealybugs don't bite, but you may want to wear gardening gloves so you don't get their waxy coating on your fingers.
5. Repeat weekly until the mealybugs are gone. Since mealybugs are good at hiding in hard to reach places, you'll likely need to do multiple applications of rubbing alcohol before they're all killed. Even if you don't see anymore mealybugs, it's a good idea to do a few more applications just in case there are some lingering bugs.You'll know the mealybugs are gone when you can't see anymore on the plant and the plant remains healthy and green.
*Using Neem Oil for Potted or Shaded Plants
1. Mix together water, liquid dish soap, and neem oil in a spray bottle. Use 1 teaspoon (4.9 mL) of neem oil and 2-3 drops of dish soap. Neem oil is a vegetable oil that comes from neem trees that can be used to kill mealybugs.
2. Spray the plant you’re treating until it’s soaked. Make sure you spray underneath the leaves, at the base of the branches, and over the top of the soil the plant is in. You want the mealybugs to be completely smothered with the neem oil mixture.
3. Move the plant to a shaded area to dry. Don’t keep the plant in direct sunlight or extreme heat or it could burn. If you’re spraying outdoor plants that are rooted in the ground, wait for a shady day when it’s below 85 °F (29 °C) out.
4. Spray the plant weekly until the mealybugs are gone. One application of neem oil probably won’t kill all the mealybugs on the plant. Because mealybugs have a rapid lifecycle, you’ll need to routinely kill the newly-hatched bugs every week until all of the mealybugs have been killed off.
If the plant looks healthy and you don't see anymore mealybugs on it, they're most likely gone.
Methods

*Killing Small Infestations with Rubbing Alcohol
1. Dip a cotton swab in 70-percent isopropyl rubbing alcohol. Avoid using other kinds of alcohol or you could damage the plant you’re treating.
2. Rub the cotton swab over the surface of the infested plant. Make sure you get underneath the leaves and inside the crevices on the branches. Mealybugs tend to hide in hard-to-reach places, so it’s important you completely cover the plant you’re treating with the rubbing alcohol.
3. Use a spray bottle to apply rubbing alcohol to large plants. Fill the spray bottle with rubbing alcohol and spray it over the surface of large plants that are infested with mealybugs.
4. Remove any mealybugs you see on the plant. Mealybugs look like small, white bugs with a waxy coating. Pick the mealybugs off with your hand and dispose of them in the trash. Mealybugs don't bite, but you may want to wear gardening gloves so you don't get their waxy coating on your fingers.
5. Repeat weekly until the mealybugs are gone. Since mealybugs are good at hiding in hard to reach places, you'll likely need to do multiple applications of rubbing alcohol before they're all killed. Even if you don't see anymore mealybugs, it's a good idea to do a few more applications just in case there are some lingering bugs.You'll know the mealybugs are gone when you can't see anymore on the plant and the plant remains healthy and green.

*Using Neem Oil for Potted or Shaded Plants
1. Mix together water, liquid dish soap, and neem oil in a spray bottle. Use 1 teaspoon (4.9 mL) of neem oil and 2-3 drops of dish soap. Neem oil is a vegetable oil that comes from neem trees that can be used to kill mealybugs.
2. Spray the plant you’re treating until it’s soaked. Make sure you spray underneath the leaves, at the base of the branches, and over the top of the soil the plant is in. You want the mealybugs to be completely smothered with the neem oil mixture.
3. Move the plant to a shaded area to dry. Don’t keep the plant in direct sunlight or extreme heat or it could burn. If you’re spraying outdoor plants that are rooted in the ground, wait for a shady day when it’s below 85 °F (29 °C) out.
4. Spray the plant weekly until the mealybugs are gone. One application of neem oil probably won’t kill all the mealybugs on the plant. Because mealybugs have a rapid lifecycle, you’ll need to routinely kill the newly-hatched bugs every week until all of the mealybugs have been killed off.
If the plant looks healthy and you don't see anymore mealybugs on it, they're most likely gone.
0
0
文章
Miss Chen
2018年08月26日

With more than 400 species, Aloe is one of the largest groups of succulents. The most widely planted aloe, Aloe vera, is a favorite house plant and has naturalized in North Africa, India, the Caribbean, South America, and other frost-free areas, according to the Cactus and Succulent Society of America. Originating largely in Africa and the Arabian Peninsula, aloe is grown primarily for its spiky leaves, but many aloes also produce flowers.

Aloe vera
The aloe vera plant is the most familar and widely cultivated aloe. Gel from inside aloe vera leaves is used as a first aid treatment for burns, herbal remedies, food supplements, and in cosmetics. Succulent grayish green leaves up to 20 inches long grow from a dense rosette at the plant's base. Aloe vera produces offset pups, which are propagated and grow to adult size in individual containers.
Tree aloes
The largest African tree aloe is Aloe barberae, reaching almost 50 feet high with a stem diameter of approximately 3 feet. Unlike aloe vera, propagation is usually from seeds or stem cuttings. Another tree aloe is Aloe dichotoma (quiver tree). The quiver tree can grow to 30 feet. Native to South Africa and Namibia, tree roots are used in traditional medicine to treat asthma and tuberculosis.
Mountain aloes
Aloe marlothii is known as the mountain aloe. Described by Kew Gardens as "one of the most iconic of the hundreds of aloes occurring in Africa," this species fills South African hillsides with hundreds of plants. This is a tall aloe, 6 to 12 feet tall and rosette crown. Leaves are dull green with numerous short spikes on leaf edges and flat surfaces. Some ethnomedical uses of Aloe marlothii leaf gel include treating internal parasites in humans and livestock.

Miniature aloes
Miniature aloes include Aloe descoingsii, labeled the world's smallest aloe. A native of Madagascar, individual heads are approximately 1 1/2 inches across. Triangular leaves with whitish specks sit below small orange flowers. A little bigger is Aloe jucunda, with heads slightly larger than 2 inches. Another miniature aloe is Aloe haworthioides, with 2-inch heads, dark green leaves and hairy bristles.

Aloe vera
The aloe vera plant is the most familar and widely cultivated aloe. Gel from inside aloe vera leaves is used as a first aid treatment for burns, herbal remedies, food supplements, and in cosmetics. Succulent grayish green leaves up to 20 inches long grow from a dense rosette at the plant's base. Aloe vera produces offset pups, which are propagated and grow to adult size in individual containers.
Tree aloes
The largest African tree aloe is Aloe barberae, reaching almost 50 feet high with a stem diameter of approximately 3 feet. Unlike aloe vera, propagation is usually from seeds or stem cuttings. Another tree aloe is Aloe dichotoma (quiver tree). The quiver tree can grow to 30 feet. Native to South Africa and Namibia, tree roots are used in traditional medicine to treat asthma and tuberculosis.
Mountain aloes
Aloe marlothii is known as the mountain aloe. Described by Kew Gardens as "one of the most iconic of the hundreds of aloes occurring in Africa," this species fills South African hillsides with hundreds of plants. This is a tall aloe, 6 to 12 feet tall and rosette crown. Leaves are dull green with numerous short spikes on leaf edges and flat surfaces. Some ethnomedical uses of Aloe marlothii leaf gel include treating internal parasites in humans and livestock.

Miniature aloes
Miniature aloes include Aloe descoingsii, labeled the world's smallest aloe. A native of Madagascar, individual heads are approximately 1 1/2 inches across. Triangular leaves with whitish specks sit below small orange flowers. A little bigger is Aloe jucunda, with heads slightly larger than 2 inches. Another miniature aloe is Aloe haworthioides, with 2-inch heads, dark green leaves and hairy bristles.
1
0
文章
Miss Chen
2018年08月20日

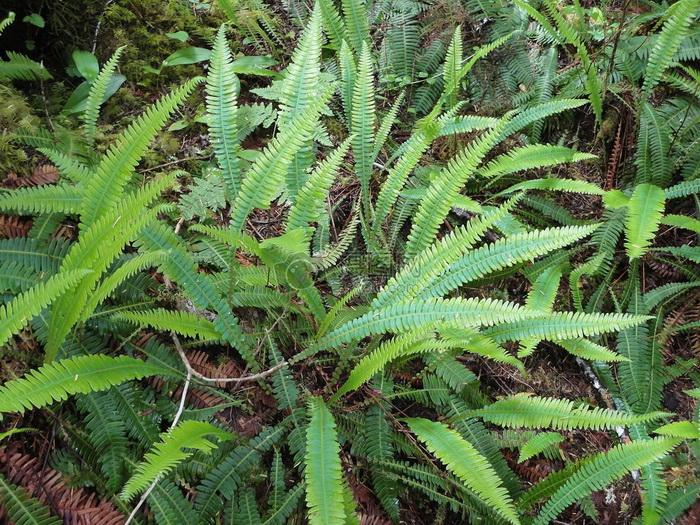
Ferns are one of the oldest forms of plant life. There are over 10,000 known species of fern, some of which are deciduous and some that are evergreen. Fern leaves are called fronds, and they house the reproductive spores that ferns produce instead of seeds. Deciduous ferns lose their leaves in winter and tend to look ratty over the season when some of them die back but don't fall off. Evergreen ferns are vibrant year-round but they can benefit from cleanups to remove damage and dead fronds. Timing is important when pruning ferns so new fiddleheads (immature ferns) are not disturbed and spores are able to disperse.
Timing is Everything
Pruning of ferns needs to occur after the spores on fruiting fronds have matured and released. Trim them when they are dormant, which is during winter. They can also be pruned in very early spring. Many ferns do not object to pruning at any time of the year. The hardy ferns such as sword fern can be pruned once a year if necessary, just about any time, since they are continuously growing.
Evergreen Ferns
As a rule, ferns don't really need pruning. Ferns in nature are generally self-cleaning and will release old fronds as they die. In the garden, occasional removal of dead fronds will improve the appearance of the plant, but it is strictly cosmetic. Where the plants are large and very old, severe pruning can take place to the crown. All the fronds can be removed in late winter or before the first new fiddleheads appear. Prune the stems away from the crown in a circular pattern so you are left with a little dome. This is not only attractive, but it prevents accidental damage to the newest growth which appears at the center of the plant.
Deciduous Ferns
Deciduous ferns don't necessarily drop all their fronds when temperatures plummet. They do experience dieback and many of the fronds will fall off or turn brown. From a cosmetic standpoint, it is best to get these dead fronds out of the plant. You will also increase light and room for new leaflets. Many people prune the deciduous ferns in fall so they are ready for the spring, but the old fronds provide protection for the crown. It is best to leave them, unattractive though they may be, until spring.
Pruning Indoor Ferns
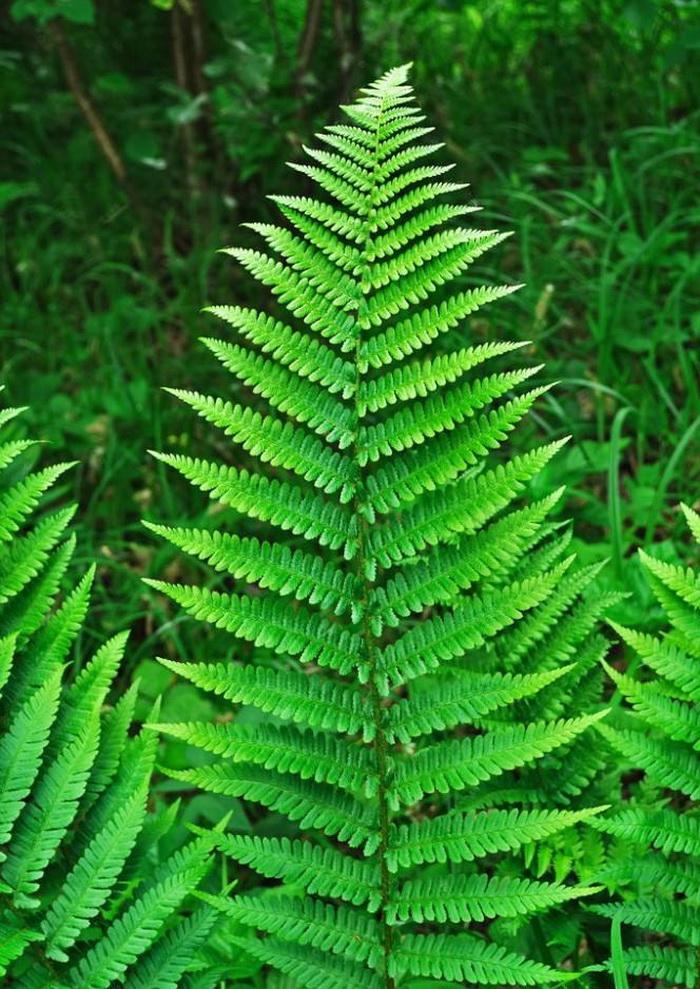
Boston, staghorn and maidenhair are some of the common ferns used as houseplants. These plants do not need pruning but they do need cleaning. The difference is that pruning increases the health of a plant and is done for many reasons, while cleaning is just routine maintenance. As with outdoor ferns you may choose to remove dead fronds. These should be cut with very sharp scissors or pruning shears and taken back 1/4 to 1/2 inch above the crown. The only time you would ever need to prune out all the fronds is when you are faced with a monumental pest problem. In this case, fertilize one week before the big haircut and then remove all the fronds.

Timing is Everything
Pruning of ferns needs to occur after the spores on fruiting fronds have matured and released. Trim them when they are dormant, which is during winter. They can also be pruned in very early spring. Many ferns do not object to pruning at any time of the year. The hardy ferns such as sword fern can be pruned once a year if necessary, just about any time, since they are continuously growing.
Evergreen Ferns
As a rule, ferns don't really need pruning. Ferns in nature are generally self-cleaning and will release old fronds as they die. In the garden, occasional removal of dead fronds will improve the appearance of the plant, but it is strictly cosmetic. Where the plants are large and very old, severe pruning can take place to the crown. All the fronds can be removed in late winter or before the first new fiddleheads appear. Prune the stems away from the crown in a circular pattern so you are left with a little dome. This is not only attractive, but it prevents accidental damage to the newest growth which appears at the center of the plant.
Deciduous Ferns
Deciduous ferns don't necessarily drop all their fronds when temperatures plummet. They do experience dieback and many of the fronds will fall off or turn brown. From a cosmetic standpoint, it is best to get these dead fronds out of the plant. You will also increase light and room for new leaflets. Many people prune the deciduous ferns in fall so they are ready for the spring, but the old fronds provide protection for the crown. It is best to leave them, unattractive though they may be, until spring.

Pruning Indoor Ferns
Boston, staghorn and maidenhair are some of the common ferns used as houseplants. These plants do not need pruning but they do need cleaning. The difference is that pruning increases the health of a plant and is done for many reasons, while cleaning is just routine maintenance. As with outdoor ferns you may choose to remove dead fronds. These should be cut with very sharp scissors or pruning shears and taken back 1/4 to 1/2 inch above the crown. The only time you would ever need to prune out all the fronds is when you are faced with a monumental pest problem. In this case, fertilize one week before the big haircut and then remove all the fronds.
0
0
文章
Miss Chen
2018年08月12日

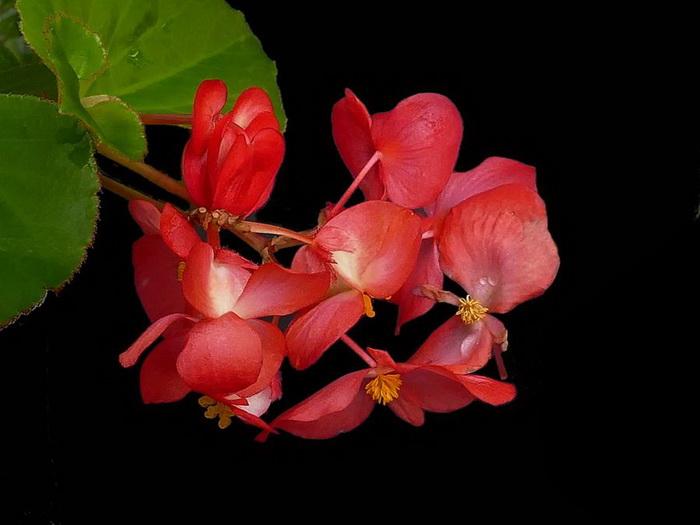
Few plants are more versatile than the begonia (Begonia spp.), which comes in many different types. One group is especially well-adapted to growing in a hanging planter or basket, either outdoors or in the house. This type of begonia is called trailing or scadent -- scadent means "climbing" -- because its branches can become quite long, in some varieties up to 8 feet, making them ideal for hanging planters. For example, some types of tuberous begonias (Begonia tuberosa) have this type of growth habit and do especially well as hanging plants. They grow in U.S. Department of Agriculture plant hardiness zones 9 through 11, but can also grow as annuals or as houseplants, needing only basic care and occasional trimming to thrive.
Light Needs
Trailing begonias need strong light to produce a full, multi-stemmed plant with lots of flowers. If you grow the plant outdoors, keep it in a spot that gets some filtered sun in the morning, but avoid full sun at midday or during the hot afternoon hours because this could burn the plant. A spot under a widely-branched tree that provides shifting sun and partial shade is ideal. Indoors, keep a houseplant in a bright spot, such as in an east window where it gets some morning sun.
If the leaves start to fade and become light green, this indicates that the begonia is getting too much light, so move the plant to a shadier spot. If the stems get extra-long, with long distances between leaf origins, this signals that the plant needs more light; in this case, move it to a brighter spot.
Water Needs
Hanging begonia plants do best when soil is evenly moist, but it's important not to over-water because this can cause constantly soggy soil which can damage the plant and, if uncorrected, might kill it. For an indoor-grown plant, water whenever the top inch or two feels dry to the touch, allowing the pot to drain fully. Never keep the pot in a water-filled saucer, because this can cause root rot.
A hanging begonia grown outdoors needs watering whenever its soil surface feels dry. It's a good idea to check this every few days during the summer, because hot weather can cause the soil to dry quickly.
Whether grown indoors or in the garden, a begonia slows its growth during winter when it rests, so cut back watering during the winter months.

Fertilizing Guidelines
Fertilizing a hanging begonia every other time you give it water helps keep the plant growing and flowering during it active season, usually from spring until early fall. Use a balanced formula such as 20-20-20, diluting it half-strength or about 1/4 teaspoon per gallon of water, but check your product label for further directions.
To boost flowering, you can switch to a high-phosphorus formula just before flowering starts, usually in early summer, to help set more flower buds. For example, use a 15-30-15 formula, diluting 1 tablespoon per gallon of water for garden plants and 1/2 teaspoon per gallon for houseplants, but check the product label for additional information. Feed the plant every one or two weeks until the blooming season ends, usually in fall.
Withhold fertilizer during winter to give the plant a rest.
Trimming and Other Care
Trailing begonias in hanging planters can start appearing leggy as the season progresses and the stems get longer. Encourage bushier growth and lateral branching by pinching back the growing tips frequently, using your fingertips or shears that you wipe with rubbing alcohol between cuts to prevent spreading plant diseases. By varying the length of stems through trimming, you can also produce a more shapely plant. For an older plant, remove some old stems now and then to encourage new growth from the plant's base.
Begonias are usually free of significant disease problems, but they can attract several pests, including fluffy white mealybugs. Control these by touching each pest with a cotton swab dipped in rubbing alcohol to destroy it. The plant might also attract spider mites, which form visible, web-like coverings on leaves and flowers. Destroy these pests by spraying the plant thoroughly with insecticidal soap, diluted at a rate of 5 tablespoons per gallon of water; repeat this every two weeks as needed.
Frost Protection
If you grow a hanging begonia outdoors year round and you expect unusual cold or even a bit of frost, bring the plant indoors until weather warms. You can also leave it outdoors, but protect it by hanging a light cloth from the planter's hook so it covers the entire plant, or by placing the planter in a plastic bag that's large enough to enclose the entire plant, tying the bag's open ends to the planter's hook. Be careful when removing any covering, so that you don't injure stems or flower buds.

Light Needs
Trailing begonias need strong light to produce a full, multi-stemmed plant with lots of flowers. If you grow the plant outdoors, keep it in a spot that gets some filtered sun in the morning, but avoid full sun at midday or during the hot afternoon hours because this could burn the plant. A spot under a widely-branched tree that provides shifting sun and partial shade is ideal. Indoors, keep a houseplant in a bright spot, such as in an east window where it gets some morning sun.
If the leaves start to fade and become light green, this indicates that the begonia is getting too much light, so move the plant to a shadier spot. If the stems get extra-long, with long distances between leaf origins, this signals that the plant needs more light; in this case, move it to a brighter spot.
Water Needs
Hanging begonia plants do best when soil is evenly moist, but it's important not to over-water because this can cause constantly soggy soil which can damage the plant and, if uncorrected, might kill it. For an indoor-grown plant, water whenever the top inch or two feels dry to the touch, allowing the pot to drain fully. Never keep the pot in a water-filled saucer, because this can cause root rot.
A hanging begonia grown outdoors needs watering whenever its soil surface feels dry. It's a good idea to check this every few days during the summer, because hot weather can cause the soil to dry quickly.
Whether grown indoors or in the garden, a begonia slows its growth during winter when it rests, so cut back watering during the winter months.

Fertilizing Guidelines
Fertilizing a hanging begonia every other time you give it water helps keep the plant growing and flowering during it active season, usually from spring until early fall. Use a balanced formula such as 20-20-20, diluting it half-strength or about 1/4 teaspoon per gallon of water, but check your product label for further directions.
To boost flowering, you can switch to a high-phosphorus formula just before flowering starts, usually in early summer, to help set more flower buds. For example, use a 15-30-15 formula, diluting 1 tablespoon per gallon of water for garden plants and 1/2 teaspoon per gallon for houseplants, but check the product label for additional information. Feed the plant every one or two weeks until the blooming season ends, usually in fall.
Withhold fertilizer during winter to give the plant a rest.
Trimming and Other Care
Trailing begonias in hanging planters can start appearing leggy as the season progresses and the stems get longer. Encourage bushier growth and lateral branching by pinching back the growing tips frequently, using your fingertips or shears that you wipe with rubbing alcohol between cuts to prevent spreading plant diseases. By varying the length of stems through trimming, you can also produce a more shapely plant. For an older plant, remove some old stems now and then to encourage new growth from the plant's base.
Begonias are usually free of significant disease problems, but they can attract several pests, including fluffy white mealybugs. Control these by touching each pest with a cotton swab dipped in rubbing alcohol to destroy it. The plant might also attract spider mites, which form visible, web-like coverings on leaves and flowers. Destroy these pests by spraying the plant thoroughly with insecticidal soap, diluted at a rate of 5 tablespoons per gallon of water; repeat this every two weeks as needed.
Frost Protection
If you grow a hanging begonia outdoors year round and you expect unusual cold or even a bit of frost, bring the plant indoors until weather warms. You can also leave it outdoors, but protect it by hanging a light cloth from the planter's hook so it covers the entire plant, or by placing the planter in a plastic bag that's large enough to enclose the entire plant, tying the bag's open ends to the planter's hook. Be careful when removing any covering, so that you don't injure stems or flower buds.
0
0
文章
Miss Chen
2018年07月29日

Philodendron is a genus of evergreen tropical plants most commonly kept as conservatory or house plants. Pruning requirements for tropical plants, including philodendrons, are minimal except for when leaves die back due to age or damage. Two main types of philodendron growth forms exist: trailing, also known as vining, and clumping, also called self-heading. Prune philodendrons sparingly when needed to preserve their natural form.
Self-Heading Philodendron
Step 1
Prune out individual leaves that have died or become discolored or diseased. Sever the leaf at the base of the stem down to the crown of the plant just above the soil line.
Step 2
Reduce the size or spread of the plants by removing the longest, oldest and most outsize leaves and stems down to the crown. Distribute these cuts evenly throughout the plant to maintain the natural form.
Step 3
Remove any stems that have lost their leaves. Sever the stem stump down to the crown of the plant, just above the soil line.
Vining Philodendron
Step 1
Snip off any dead, discolored, diseased or otherwise unsightly leaves that appear on the vines. Remove either an individual leaf or whole sections of vine as needed to keep the plant looking green and tidy.
Step 2
Cut back defoliated vines to just below a healthy leaf because the bare vines will likely not regenerate new growth once lost.
Step 3
Prune away leaves on the vines that have become brown or yellow due to over-watering or lack of sufficient sunlight. Once this occurs, the leaves will not be restored to a deep green hue. Remove the leaves at the base of the stem. If the vine tip or a section of vine is damaged, cut back to a healthy green leaf node just above the damaged tissues.

Step 4
Cut back the tips of the vines as desired to bring the plant back within preferred bounds and reduce size and spread.
Self-Heading Philodendron
Step 1
Prune out individual leaves that have died or become discolored or diseased. Sever the leaf at the base of the stem down to the crown of the plant just above the soil line.

Step 2
Reduce the size or spread of the plants by removing the longest, oldest and most outsize leaves and stems down to the crown. Distribute these cuts evenly throughout the plant to maintain the natural form.
Step 3
Remove any stems that have lost their leaves. Sever the stem stump down to the crown of the plant, just above the soil line.
Vining Philodendron
Step 1
Snip off any dead, discolored, diseased or otherwise unsightly leaves that appear on the vines. Remove either an individual leaf or whole sections of vine as needed to keep the plant looking green and tidy.
Step 2
Cut back defoliated vines to just below a healthy leaf because the bare vines will likely not regenerate new growth once lost.
Step 3
Prune away leaves on the vines that have become brown or yellow due to over-watering or lack of sufficient sunlight. Once this occurs, the leaves will not be restored to a deep green hue. Remove the leaves at the base of the stem. If the vine tip or a section of vine is damaged, cut back to a healthy green leaf node just above the damaged tissues.

Step 4
Cut back the tips of the vines as desired to bring the plant back within preferred bounds and reduce size and spread.
0
0
成长记
Natalie Coudré
2018年07月29日

I now added "Castanospermum australe house plant. Jack's beanstalk tree. Moreton Bay Chestnut." in my "garden"


0
0
求助
Khim_ali
2018年07月16日

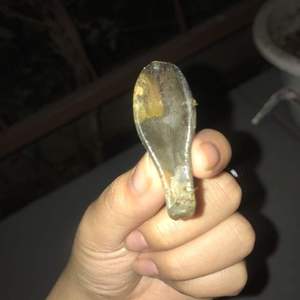
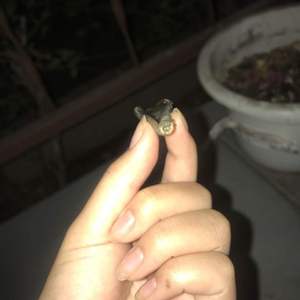
Im new to propagating succulents and its day 5 but the plant didnt go well. I wait till a pedal falls off or I take the bottom ones and twist it to get them off. I tried drying it in my house for 2-3 days on top of soil with some sunlight by the window but the plant began to rot and get all soft/mushy so I tried doing it outside drying them for 2-3 days then misting them with water but my plant has turned black can someone gove me tips on propagating ive been trying but its not going well. Also when propagating is it norml for the plant to get soft and mushy?


0
0
Khim_ali:@Liz Lynch okay I’ll give t a few more days , thank you!!
Liz Lynch:Give it a few more days.... but when you say soft - how soft? Softness usually means to much water 😊
Liz Lynch:I reckon this still may have potential to go
Pommy Mommy
2018年07月10日

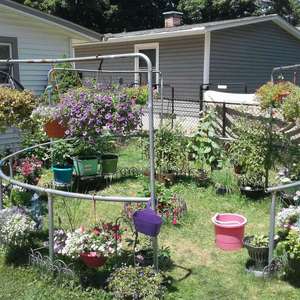
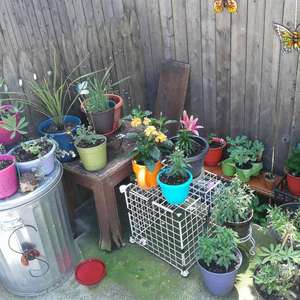
I planted my HUNDREDTH potted plant today! It's a good thing I'm moving because I don't think I could fit many more pott33s. The new house sits on nearly an acre! I have to move all 100 pots AND the trampoline frame (that's what all those hanging basket are hanging from)


2
0
求助
Pommy Mommy
2018年07月02日

I found this growing wild at my new house what is this?


1
0
Pommy Mommy:I think you are absolutely right, I was able to dig some of the stem out from under some black raspberry bushes and the roots must be ancient because they the stem/vine is HUGE! I've never seen sweet peas this large I always start them from seed every year so I don't even have flowers on mine yet. I'm renovating my dream home, which is 114 years old so there's at least a century of flowers planted around the yard that's been overgrown! thank you for your input. Have a blessed day
WHdeckgardener:maybe a sweet pea? smell sweet?
亚瑟塞尔:maybe it is kidney bean.


