文章
Abigal
2017年04月20日


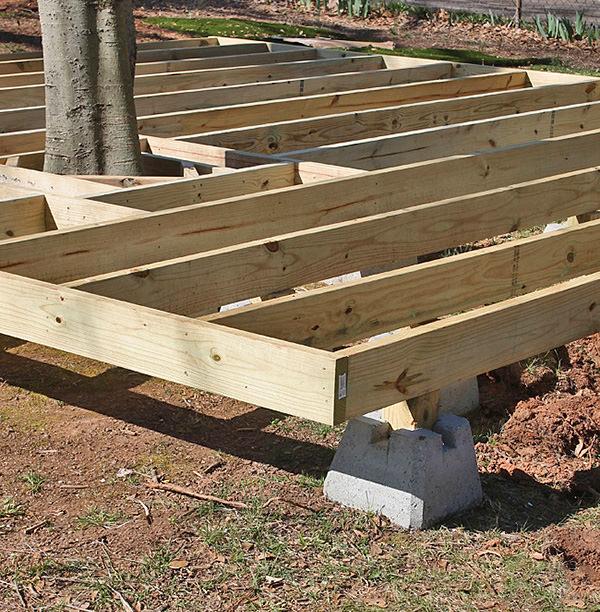
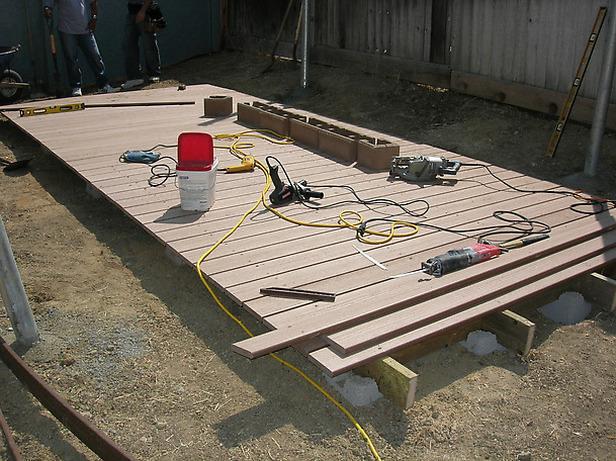
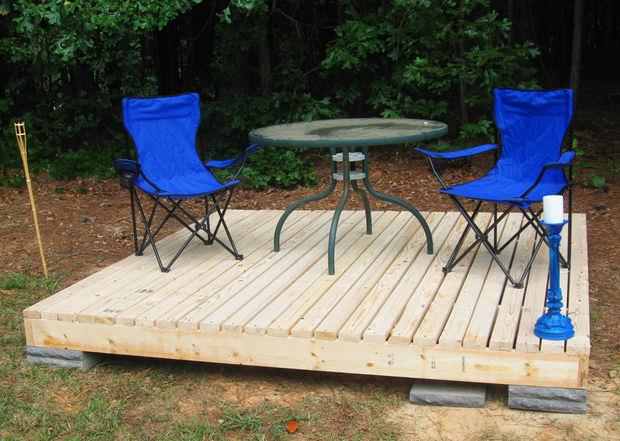
Decks don’t always have to be attached to the house to give you an effective place to gather and entertain. In fact, floating decks, or decks that are set away from a structure, are a great design feature to break up a boxy or boring yard. They are also a great idea for larger yards that have room for an additional seating space. For instance, a small deck set away from the house might be a good area for Mom and Dad to have some quiet time and a glass of wine on summer evenings. Or a yoga space? In any case, we found some great tutorials on how to build a floating deck, that are sometimes called island decks as well. Our first tutorial on how to build a floating deck, above and below, is from ‘Home Depot’.

From ‘Apartment Therapy’, learn how to make an island deck from repurposed pallet wood. The whole thing cost less than $100 to make!

‘Family Handyman’ has a step by step on how to make an island deck, complete with photos and supply lists…


‘DIY Network’ shows you how to build their version of a floating deck, and do it one better… there is even a video in this tutorial!

From ‘Instuctables’, this simple floating deck tutorial is one of my favorites, because it’s so basic I think even beginning DIY’ers could do it.

These last two are simply for inspiration, no tutorial with these. I wanted to include them so you could see how cool these can look in the landscape. So, time for a private space away from the house?
This one is from ‘Martha Stewart’… I like the way they used container plants to anchor the deck visually.

Our last bit of inspiration is from Abbey of ‘Aesthetic Outburst‘ via ‘Poppytalk‘… Now I bet you really want to get started on yours, right? Pass the Pomegranate martini!

0
0
Beyond:If rain. How to face this situation?
文章
Micky
2017年03月22日


Ok, I know you can buy just about any type of holiday lighted shape, object or animal these days, but what if you could do it simple, and from things you may already have around the house? We created this holiday light globe hack with wire baskets from the garden shed, ($5 at Home Depot!) some floral wire, and white mini lights. Make sure if you’re putting this globe outdoors that you buy lights approved for outdoor use. Oh, and make sure all your lights are UL listed, ok? We don’t need any of you burning down the garage ‘cause you saved $2 at a swap meet. :)

So this is really simple.

1. Wire two wire hanging baskets together to make a globe shape. We used floral wire as shown below.

2. Wrap the globe with white lights. We did a little wire tie every 12 inches or so, just to make sure it all stayed in place. Use your own judgement, you may not need them at all! We used 2, 100 light strings.


3. Hang with the same chain and hardware that came with the hanging baskets! We attached the hooks near where the end of the lights came out, so that the cord could run up the chains and be more hidden.
Done!
We hung ours off the eaves of the house, but we think they would look cool laying in the garden as giant “Snowballs” too…. Different sizes? You could have fun with this! Line the front walk with glowing globes?


We were inspired by these lighted globes from ‘BHG‘… We discovered those large grapevine spheres are not only hard to find, but pretty expensive even in small sizes… Hence, the hack! How’d we do?


2
1
Hhhhh:It seems simple


