文章
Miss Chen
2021年11月11日

Pilosocereus is a genus of cacti native to Mexico, the Caribbean, and Brazil. Containing many different species, Pilosocereus includes both cacti that are commonly used in cultivation and some that are so rare that they're almost unknown outside botanical sources. The most common houseplant in the genus is Pilosocereus pachycladus (also known as the blue column cactus), which large nurseries produce in bulk and sell wholesale.
This desert species has a branched form and grows fairly quickly, often adding between 1 and 2 feet of height a year. Those that flower do so at night and all are most easily identifiable by their attractive blue-green skin, which is complemented by bright yellow spines. Pilosocereus cacti are mostly tree-like, and their flowers are shaped like tubes and grow fleshy fruits. In cultivation, they are planted and grown year-round, mostly in greenhouses due to their large size and need for warmth in the winter. Their name derives from the Latin term for “hairy cereus,” thanks in part to their spiny aureoles, many of which have a golden tint.
Despite their large size, Pilosocereus cacti are commonly cultivated as domestic cacti in tropical areas due to their aesthetic beauty. Gardeners with the correct climate and enough space should consider plants from this genus for their landscape, while others can grow them on a smaller scale indoors.
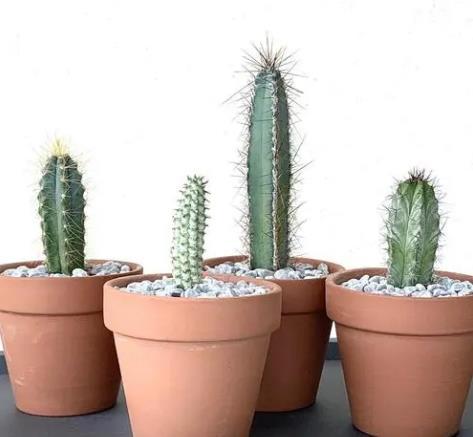
Botanical Name Pilosocereus
Common Name Column cactus, blue torch cactus, woolly torch cactus
Plant Type Cactus
Mature Size 6–12 ft. tall, 2–4 ft. wide
Sun Exposure Full sun
Soil Type Sandy, well-drained
Soil pH Neutral to acidic
Bloom Time Summer
Flower Color White, white-yellow
Hardiness Zones 9–11 (USDA)
Native Area Mexico, South America, Caribbean
Pilosocereus Cacti Care
Though there are different types of cacti in the Pilosocereus family, they all generally necessitate the same type of care (which is also very similar to most other cacti, too). If you don't live in an extremely warm, desert-like climate, your best bet is probably to grow your pilosocereus cacti indoors, where you can most easily achieve and maintain the proper growing conditions.
Light
Like most cacti, members of the Pilosocereus family need lots and lots of direct sunlight to flourish. The brighter the light, the better, and you should aim for between 10 and 12 hours a day. If you do have a varietal with blue skin, the more sun it gets, the more vibrant the color will be.
Soil
When it comes to planting your cacti, arguably the most important factor is a well-draining soil. In order for your Pilosocereus cacti to be happy, they should be kept in a soil mixture that is dry (like a combination of perlite, sand, and limestone) with some organic matter mixed in. In order to aid in drainage, you can also plant your cacti in a terracotta or clay pot, which will help wick additional moisture away from the soil and prevent rot.
Water
Weekly watering should be sufficient for the water needs of this cacti family. They need a solid supply of water during the summer, but make sure not to overwater them, which can cause rot. A good test is to stick your finger into the soil about a few inches down. If the soil is dry there, it's likely time to water.
Temperature and Humidity
Being a desert dweller, the Pilosocereus cacti family loves hot heat. They prefer consistent temperatures above 70 degrees Fahrenheit and can tolerate triple-digit heat, so there's no need to worry if things are getting too warm for your cactus. On the other hand, Pilosocereus cannot withstand frost, cold, or freezing temperatures, so you should make sure its environment doesn't dip lower than 50 degrees Fahrenheit.
Fertilizer
This cactus family is already known to grow quickly, but a bit of added fertilizer can't hurt—in fact, it may help them grow even faster. Complementing their watering with a diluted liquid fertilizer once every few weeks during the growing season for best results. Be sure to use a balanced fertilizer like a 20-20-20 that's been diluted so it doesn't burn your cactus.

Pilosocereus Cacti Varieties
There are many interesting Pilosocereus cacti varieties, including the previously-mentioned Pilosocereus pachycladus (which is also listed by some sources as Pilosocereus azureus). For instance, Pilosocereus gounellei (also known as the Xique-xique cactus), is another Brazilian native with an interesting forked branching habit that can grow up to 14 feet tall. Yet another varietal, the wooly torch cactus (Pilosocereus leucocephalus) has dense white hairs that grow in between its spines and all over its columns.
Propagating Pilosocereus Cacti
The best way to propagate a Pilosocereus cactus is with cuttings. You can cut off the top of the plant once it’s begun to mature and replant it as the bottom of a new one. Once the top-cuts have rooted, they should flower fairly early on in their lives. Cutting off the tops of existing plants is a good way to ensure flowering in your cacti.
Common Pests and Diseases
While these cacti don't have many serious pest or disease issues, there are a few common inflictions you should keep an eye out for. Most frequently, you'll notice an issue with mealybugs, which can affect nearly every part of the plant, from the roots to the ribs. To treat, inspect the entire plant, and use a brush or high-pressure water hose to remove as many of the bugs as you can from the plant. Then, treat it with an insecticide until all traces of infection have vanished.
This desert species has a branched form and grows fairly quickly, often adding between 1 and 2 feet of height a year. Those that flower do so at night and all are most easily identifiable by their attractive blue-green skin, which is complemented by bright yellow spines. Pilosocereus cacti are mostly tree-like, and their flowers are shaped like tubes and grow fleshy fruits. In cultivation, they are planted and grown year-round, mostly in greenhouses due to their large size and need for warmth in the winter. Their name derives from the Latin term for “hairy cereus,” thanks in part to their spiny aureoles, many of which have a golden tint.
Despite their large size, Pilosocereus cacti are commonly cultivated as domestic cacti in tropical areas due to their aesthetic beauty. Gardeners with the correct climate and enough space should consider plants from this genus for their landscape, while others can grow them on a smaller scale indoors.

Botanical Name Pilosocereus
Common Name Column cactus, blue torch cactus, woolly torch cactus
Plant Type Cactus
Mature Size 6–12 ft. tall, 2–4 ft. wide
Sun Exposure Full sun
Soil Type Sandy, well-drained
Soil pH Neutral to acidic
Bloom Time Summer
Flower Color White, white-yellow
Hardiness Zones 9–11 (USDA)
Native Area Mexico, South America, Caribbean
Pilosocereus Cacti Care
Though there are different types of cacti in the Pilosocereus family, they all generally necessitate the same type of care (which is also very similar to most other cacti, too). If you don't live in an extremely warm, desert-like climate, your best bet is probably to grow your pilosocereus cacti indoors, where you can most easily achieve and maintain the proper growing conditions.
Light
Like most cacti, members of the Pilosocereus family need lots and lots of direct sunlight to flourish. The brighter the light, the better, and you should aim for between 10 and 12 hours a day. If you do have a varietal with blue skin, the more sun it gets, the more vibrant the color will be.
Soil
When it comes to planting your cacti, arguably the most important factor is a well-draining soil. In order for your Pilosocereus cacti to be happy, they should be kept in a soil mixture that is dry (like a combination of perlite, sand, and limestone) with some organic matter mixed in. In order to aid in drainage, you can also plant your cacti in a terracotta or clay pot, which will help wick additional moisture away from the soil and prevent rot.
Water
Weekly watering should be sufficient for the water needs of this cacti family. They need a solid supply of water during the summer, but make sure not to overwater them, which can cause rot. A good test is to stick your finger into the soil about a few inches down. If the soil is dry there, it's likely time to water.
Temperature and Humidity
Being a desert dweller, the Pilosocereus cacti family loves hot heat. They prefer consistent temperatures above 70 degrees Fahrenheit and can tolerate triple-digit heat, so there's no need to worry if things are getting too warm for your cactus. On the other hand, Pilosocereus cannot withstand frost, cold, or freezing temperatures, so you should make sure its environment doesn't dip lower than 50 degrees Fahrenheit.
Fertilizer
This cactus family is already known to grow quickly, but a bit of added fertilizer can't hurt—in fact, it may help them grow even faster. Complementing their watering with a diluted liquid fertilizer once every few weeks during the growing season for best results. Be sure to use a balanced fertilizer like a 20-20-20 that's been diluted so it doesn't burn your cactus.

Pilosocereus Cacti Varieties
There are many interesting Pilosocereus cacti varieties, including the previously-mentioned Pilosocereus pachycladus (which is also listed by some sources as Pilosocereus azureus). For instance, Pilosocereus gounellei (also known as the Xique-xique cactus), is another Brazilian native with an interesting forked branching habit that can grow up to 14 feet tall. Yet another varietal, the wooly torch cactus (Pilosocereus leucocephalus) has dense white hairs that grow in between its spines and all over its columns.
Propagating Pilosocereus Cacti
The best way to propagate a Pilosocereus cactus is with cuttings. You can cut off the top of the plant once it’s begun to mature and replant it as the bottom of a new one. Once the top-cuts have rooted, they should flower fairly early on in their lives. Cutting off the tops of existing plants is a good way to ensure flowering in your cacti.
Common Pests and Diseases
While these cacti don't have many serious pest or disease issues, there are a few common inflictions you should keep an eye out for. Most frequently, you'll notice an issue with mealybugs, which can affect nearly every part of the plant, from the roots to the ribs. To treat, inspect the entire plant, and use a brush or high-pressure water hose to remove as many of the bugs as you can from the plant. Then, treat it with an insecticide until all traces of infection have vanished.
0
0
文章
莹723
2021年03月01日

Though it’s still too cold to direct sow seeds outside, there are plenty that you can start off inside in February. A propagator is ideal if you have one, though a warm, bright windowsill is fine, too.
By sowing seeds early on in the year, you can be enjoying beautiful blooms and tasty crops for a larger part of the year. The season of interest can then be extended by carrying out repeated sowings from March onwards.

Once your seeds have grown into young plants and are ready to go out outside see our guide to the best cold frames to help you harden your plants before they go in the ground.
1.Cosmos
Cosmos are easy flowers to grow and they look great in borders or meadows. Go for annuals like Cosmos bipinnatus or C. sulphureus, and choose single-flowered varieties like ‘Fizzy Pink’ to please pollinators. The seeds need light to germinate, so sow on top of seed compost in a tray, then prick out when large enough to handle.

2.Kale
Red kale is very hardy, but kale seeds need to be started off indoors during winter. Sow them indoors in modules or 7cm pots, with 2-3 seeds per module, then thin to leave the healthiest seedling.

3.Sweet peas
Pink sweet pea ‘First Flame’Sweet peas provide a heady summer scent and growing them from seed couldn’t be easier. Biodegradable pots or cardboard tubes are best, as they allow the sweet peas to be planted out in their containers. Sow individually then place on a sunny windowsill, in a greenhouse, or in a heated propagator.

4.Tomatoes
Sowing tomato seeds in a tray in a propagator or on a sunny windowsill, tomatoes should germinate within two weeks. Sow tomato seeds in pots of seed compost, or in trays, and place in a heated propagator or on a warm windowsill, keeping the compost moist.

5.Salvias
Vivid blue Salvia patens, like this Salvia patens, are great for providing structure and height in the garden, and can be grown in borders or containers. Sow the seeds under cover in February, on top of seed compost. Cover the seeds with a fine layer of compost, then grow in a light, warm spot, keeping the compost moist. Other salvias you could sow in February include Salvia splendens and Salvia farinacea.

By sowing seeds early on in the year, you can be enjoying beautiful blooms and tasty crops for a larger part of the year. The season of interest can then be extended by carrying out repeated sowings from March onwards.

Once your seeds have grown into young plants and are ready to go out outside see our guide to the best cold frames to help you harden your plants before they go in the ground.
1.Cosmos
Cosmos are easy flowers to grow and they look great in borders or meadows. Go for annuals like Cosmos bipinnatus or C. sulphureus, and choose single-flowered varieties like ‘Fizzy Pink’ to please pollinators. The seeds need light to germinate, so sow on top of seed compost in a tray, then prick out when large enough to handle.

2.Kale
Red kale is very hardy, but kale seeds need to be started off indoors during winter. Sow them indoors in modules or 7cm pots, with 2-3 seeds per module, then thin to leave the healthiest seedling.

3.Sweet peas
Pink sweet pea ‘First Flame’Sweet peas provide a heady summer scent and growing them from seed couldn’t be easier. Biodegradable pots or cardboard tubes are best, as they allow the sweet peas to be planted out in their containers. Sow individually then place on a sunny windowsill, in a greenhouse, or in a heated propagator.

4.Tomatoes
Sowing tomato seeds in a tray in a propagator or on a sunny windowsill, tomatoes should germinate within two weeks. Sow tomato seeds in pots of seed compost, or in trays, and place in a heated propagator or on a warm windowsill, keeping the compost moist.

5.Salvias
Vivid blue Salvia patens, like this Salvia patens, are great for providing structure and height in the garden, and can be grown in borders or containers. Sow the seeds under cover in February, on top of seed compost. Cover the seeds with a fine layer of compost, then grow in a light, warm spot, keeping the compost moist. Other salvias you could sow in February include Salvia splendens and Salvia farinacea.

0
0
文章
莹723
2021年01月27日

Sowing seed is a simple and inexpensive way of growing new flowers and vegetables for your garden. You can start the growing year much earlier than if sowing outside. When growing salad and vegetable crops, it’s a good idea to sow a small amount of seed every two weeks, to ensure you have a long season of fresh produce to eat throughout summer. This is called ‘successional sowing’.

You don’t need a lot of kit to sow seeds. Many gardeners buy expensive propagators but a seed tray or a few plastic pots, will do the job. If you don’t have plastic pots then try using old yoghurt pots with holes punched in the bottom, or tomato or mushroom punnets instead of a seed tray. Any vessel that can hold compost and allow water to drain freely is suitable.
To maintain an even temperature and keep the soil moist, it’s a good idea to cover the soil with a clear piece of plastic. A bespoke propagator will come with its own clear plastic lid, but you can use cling film, old freezer bags or any clear plastic bag. Use cellotape or an elastic band to fix it to the pot.

Follow our step-by-step guide to sowing seed indoors, below.
You Will Need
• Seeds
• Multi-purpose, peat-free compost
• Seed trays or pots
• Plant labels
• Pencil or waterproof pen
• Watering can with rose attachment
• Polythene bag
• Sheet of glass, or a propagator

Step 1
Fill small pots or seed trays with compost. Use a watering can fitted with a fine rose to thoroughly wet the compost, and leave to drain.
Step 2
Sprinkle seeds evenly and thinly over the surface of the compost, leaving approx 2cm – 3cm between each one, if possible. Some seed is very small, making this impossible. Cover seeds with a thin layer of compost, about the same depth as the size of the seed (the smaller the seed, the thinner the layer of compost).

Step 3
Cover the pot with a clear polythene bag or piece of glass or clear plastic, to maintain an even temperature for germination, and keep the compost moist. Place the pot of seeds on a well-lit windowsill or in a heated propagator.

Step 4
Remove the plastic or glass cover as soon as the seeds have germinated and you can see the seedlings growing out of the compost. Grow them on in a warm place indoors – if growing them on a windowsill you may need to move them at night as temperatures can drop dramatically. The young plants will ready to be ‘pricked’ out when the second pair of leaves, known as ‘true’ leaves, emerges.
Step 5
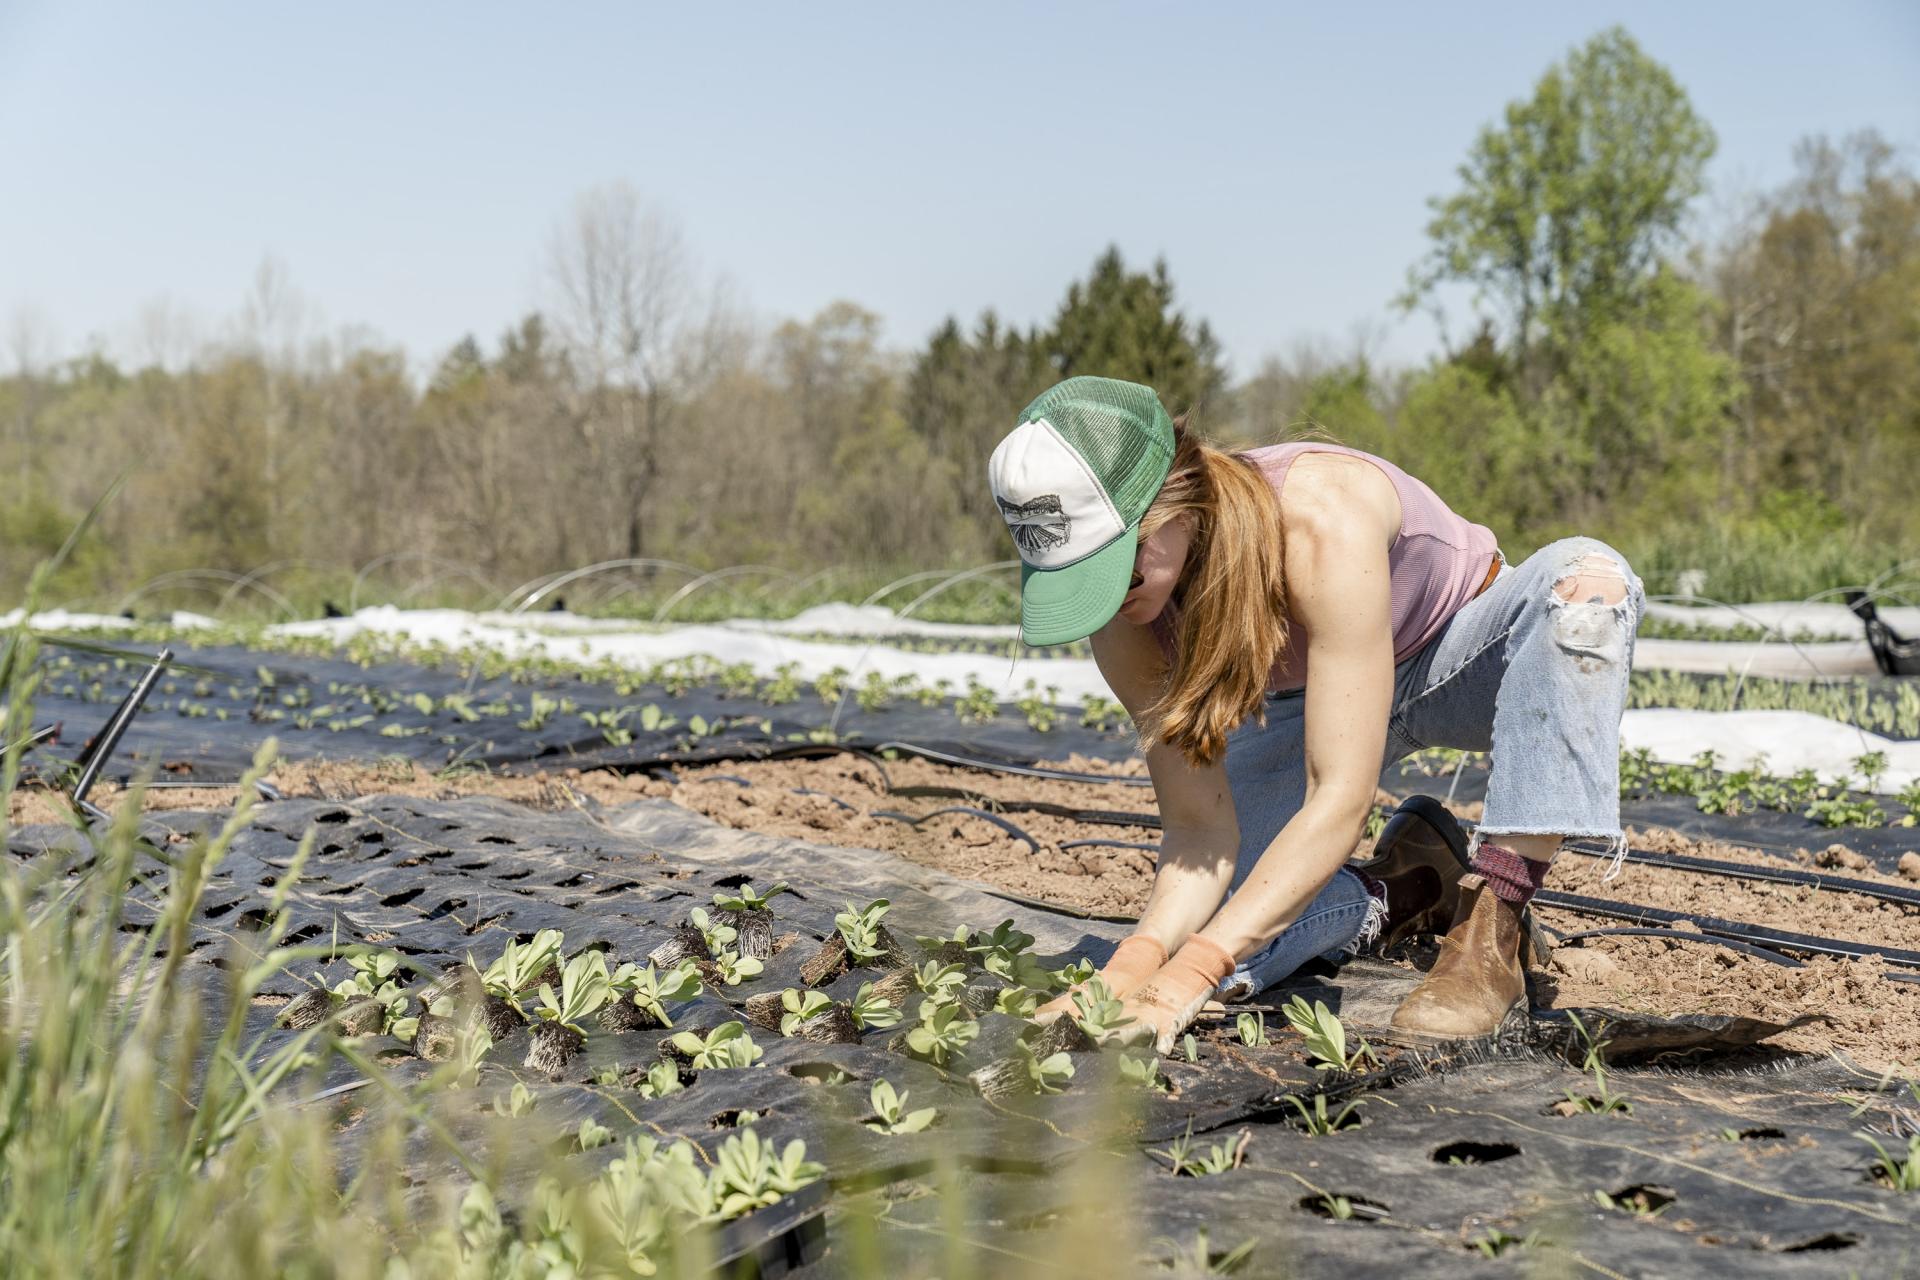
When pricking out seedlings, handle them only by their leaves, not the stem. Fill a seed tray with compost and plant seedlings about 5cm apart, burying the seedling up to the base of the first set of leaves.

Step 6s
After a couple of weeks, the young plants will be large enough to pot individually into 7.5cm pots, or planted outside in well-prepared soil. Handle plants gently, firm compost around them and water well. Don’t allow the soil or compost to dry out.


You don’t need a lot of kit to sow seeds. Many gardeners buy expensive propagators but a seed tray or a few plastic pots, will do the job. If you don’t have plastic pots then try using old yoghurt pots with holes punched in the bottom, or tomato or mushroom punnets instead of a seed tray. Any vessel that can hold compost and allow water to drain freely is suitable.
To maintain an even temperature and keep the soil moist, it’s a good idea to cover the soil with a clear piece of plastic. A bespoke propagator will come with its own clear plastic lid, but you can use cling film, old freezer bags or any clear plastic bag. Use cellotape or an elastic band to fix it to the pot.

Follow our step-by-step guide to sowing seed indoors, below.
You Will Need
• Seeds
• Multi-purpose, peat-free compost
• Seed trays or pots
• Plant labels
• Pencil or waterproof pen
• Watering can with rose attachment
• Polythene bag
• Sheet of glass, or a propagator

Step 1
Fill small pots or seed trays with compost. Use a watering can fitted with a fine rose to thoroughly wet the compost, and leave to drain.
Step 2
Sprinkle seeds evenly and thinly over the surface of the compost, leaving approx 2cm – 3cm between each one, if possible. Some seed is very small, making this impossible. Cover seeds with a thin layer of compost, about the same depth as the size of the seed (the smaller the seed, the thinner the layer of compost).

Step 3
Cover the pot with a clear polythene bag or piece of glass or clear plastic, to maintain an even temperature for germination, and keep the compost moist. Place the pot of seeds on a well-lit windowsill or in a heated propagator.

Step 4
Remove the plastic or glass cover as soon as the seeds have germinated and you can see the seedlings growing out of the compost. Grow them on in a warm place indoors – if growing them on a windowsill you may need to move them at night as temperatures can drop dramatically. The young plants will ready to be ‘pricked’ out when the second pair of leaves, known as ‘true’ leaves, emerges.

Step 5
When pricking out seedlings, handle them only by their leaves, not the stem. Fill a seed tray with compost and plant seedlings about 5cm apart, burying the seedling up to the base of the first set of leaves.

Step 6s
After a couple of weeks, the young plants will be large enough to pot individually into 7.5cm pots, or planted outside in well-prepared soil. Handle plants gently, firm compost around them and water well. Don’t allow the soil or compost to dry out.

0
0
文章
莹723
2021年01月18日

Sowing seeds is a economical way to enjoy a supply of veg and flowers for many months of the year.
Different seeds need sowing at different times of year, either inside or outside, and some can be sowed successionally over several months to avoid gluts and ensure continuous harvests.
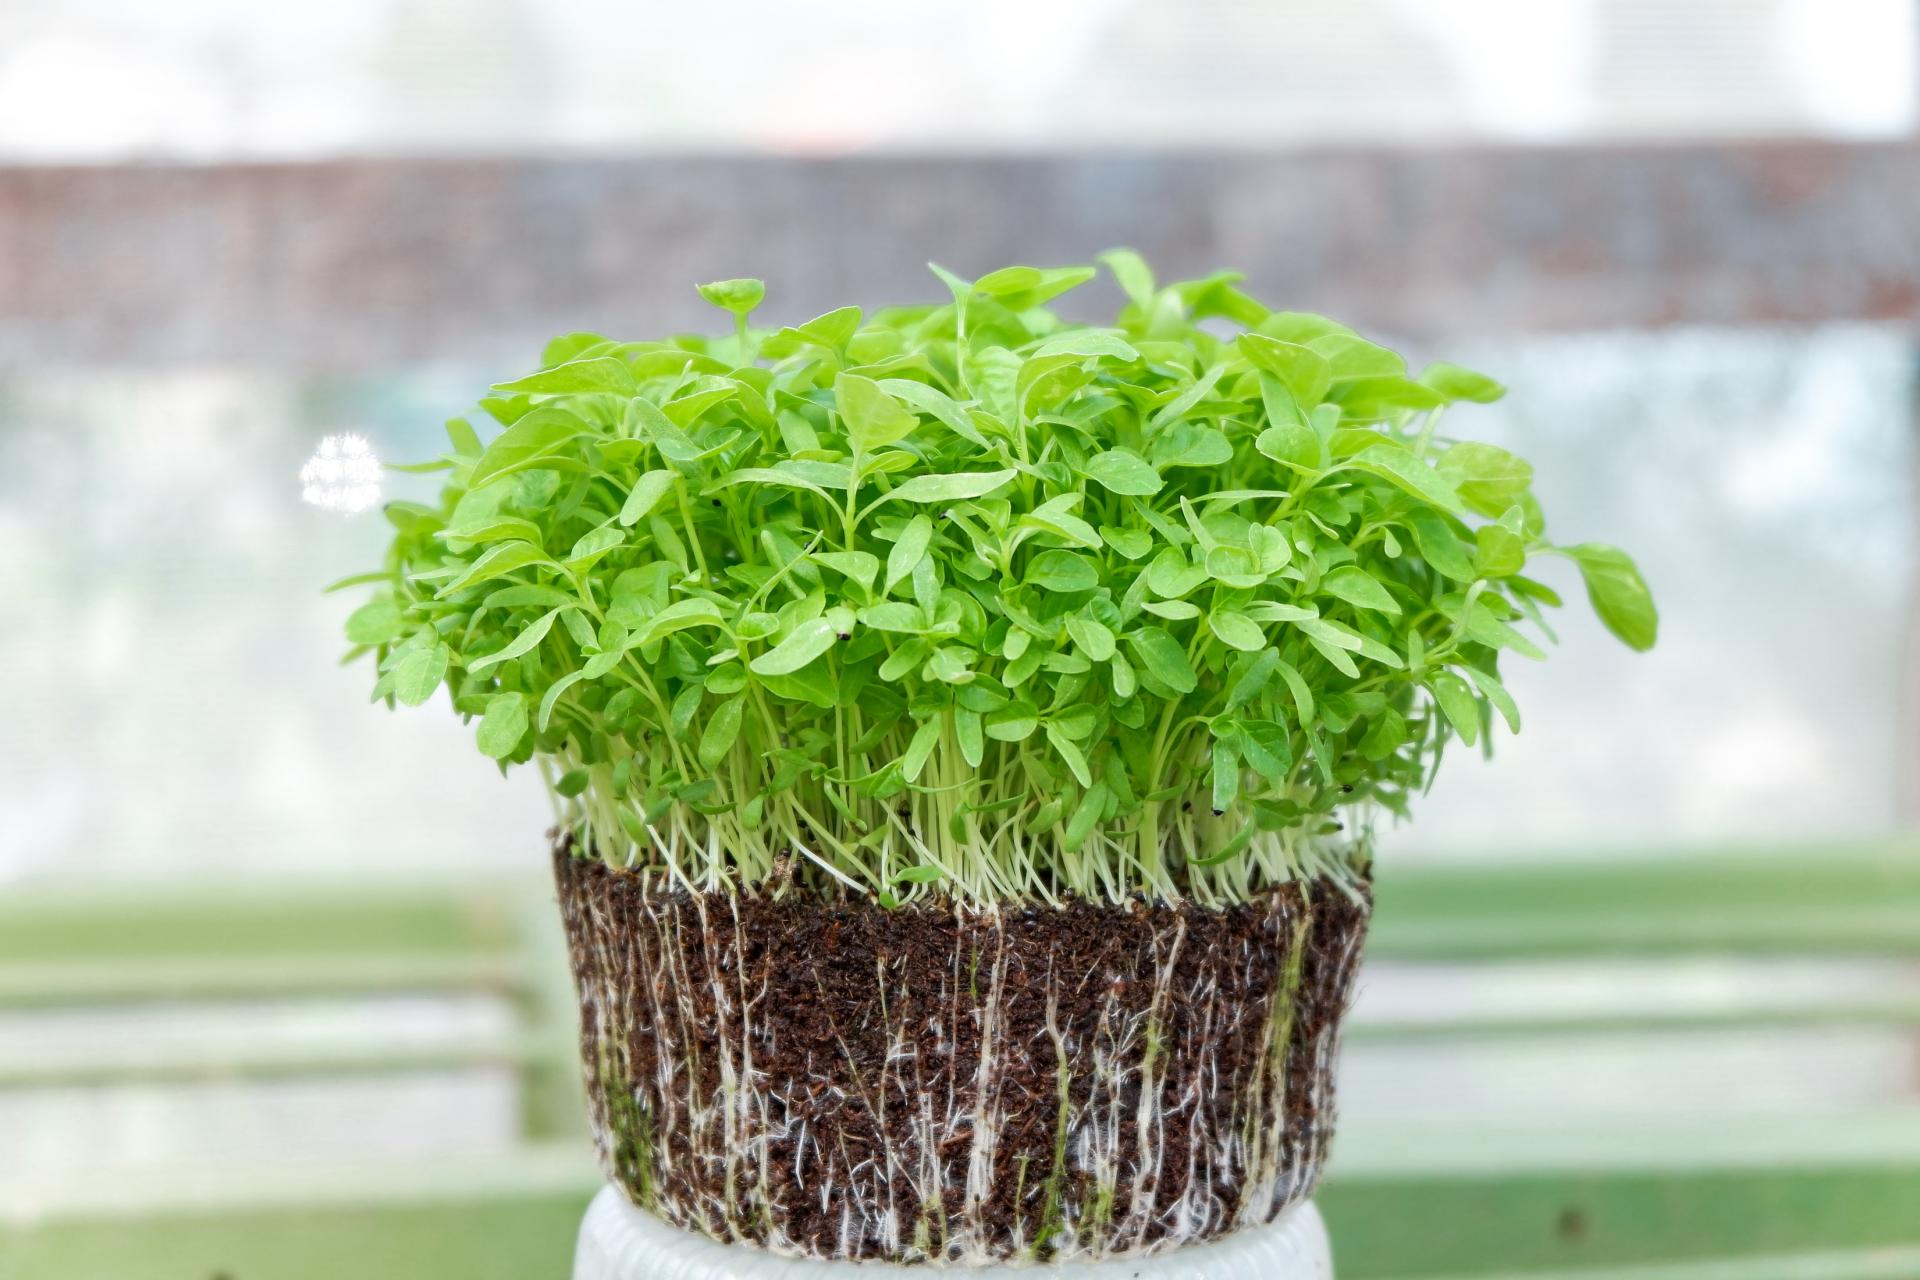
Give your seeds the right amount of heat, light and moisture, and they will germinate successfully. But there are some important rules to remember, including include good hygiene, using fresh seed and compost and good soil preparation.
Here’s our month-by-month guide to sowing seeds.
1.January
January is a good time to order seeds for the year ahead. If your green fingers are itching and you have a polytunnel, greenhouse or a heated propagator, you could start sowing tender crops, such as chillies, that need a long growing season. You could also sow garlic outside. Also sow sweet peas, plus microgreens on a windowsill.
Sow now
Veg: Microgreens, chillies, aubergines and peppers plus tomatoes under cover; garlic outside
Flowers: Sweet peas, under cover

2.February
You can begin or continue to sow tender crops such as tomatoes, chillies, aubergines and peppers, plus some hardy crops and hardy annuals such as sweet peas. You could also get a head start on peas, sown under cover in guttering. If you’re super keen you could have a go at sowing perennials. A propagator is ideal if you have one, though a warm, bright windowsill is fine, too. You can also sow garlic.
Sow now
Veg: Spinach, peas and broad beans (under cover), plus chillies, tomatoes, cucumbers and aubergines, under cover. Plus garlic outside.
Flowers: sweet peas and perennials

3.March
As the days lengthen and become warmer, you can begin sowing hardy annual flowers and crops outside. If the weather is still cold, warm the soil with polythene before sowing and protect seedlings with cloches or horticultural fleece. You can also start sowing half-hardy annuals and continue to sow tomatoes, chillies and aubergines under glass. Towards the end of the month you can plant out first early seed potatoes.
Sow now
Veg: Aubergines, chillies and tomatoes (under cover), broad beans, peas, beetroot, Swiss chard, radish, kale, spinach, spring onions, first early potatoes (outdoors), plus shallot and onion sets and salad leaves (protect under fleece or a cloche)
Flowers: Cosmos, nicotiana, cleome, nasturtium, cornflowers, marigold (Calendula officinalis), clarkia, cerinthe, morning glory and more

4.April
Seed sowing begins in earnest in April, now that the days are longer and warmer, and many crops can be sown outside. More tender crops such as runner beans or courgettes still need to be sown under glass, either in a greenhouse or on a sunny windowsill. You can also plant out second early potatoes in early to mid-April and maincrop seed potatoes in mid to late-April, onion and shallot sets and garlic and Jerusalem artichokes.
Sow now
Veg: including aubergines, chillies and tomatoes, plus courgettes, squashes, pumpkins, marrows and leeks under cover. Beetroot, carrot, celeriac, peas, radish, lettuce, spinach, Swiss chard, broad beans, spring onions, second early and maincrop seed potatoes.
Flowers: Nicotiana, cosmos, morning glory and many more

5.May
With the risk of frost gone, most seeds can now be directly sown outdoors, including more tender crops such as runner beans and courgettes towards the end of the month. You can also sow half hardy annuals, including sunflowers, plus make a start on sowing biennials for blooms next year.
Sow now
Veg: Beetroot, purple sprouting broccoli, spinach, lettuce, peas, radish, carrots, spring onions outside; sweetcorn, cucumber, runner beans and courgettes (under cover at the beginning of the month, outside toward the end of the month) courgettes, squashes and pumpkins, under cover
Flowers: Cornflower, sunflowers, outdoors; zinnias and more under cover; foxgloves, sweet rocket and wallflowers, outside or under cover

6.June
Keep sowing quick growing crops such as beetroot, radishes and lettuce successionally, every week or so, for crops in a few weeks’ time. You can also sow carrots but be sure to protect sowings from carrot fly, using insect-proof mesh. Continue sowing biennials, and try sowing half-hardy annuals direct outside. You can also sow runner and French beans and courgettes direct outside for later crops.
Sow now
Veg: lettuce and radish every week or so, beetroot, peas, runner and French beans, spring onions, courgettes, lettuce, carrots, purple sprouting broccoli
Flowers: Zinnias, foxgloves, wallflowers, cosmos, sweet rocket and more

7.July
This is your last chance to sow biennials. It’s also time to make a start on sowing winter veg. It’s a good time to sow carrots to avoid carrot fly, as well as continuing with radishes, beetroot and lettuce. You can also sow runner or French beans for a late crop. If you fancy growing potatoes for Christmas, now is the time to plant some.
Sow now
Veg: Runner beans, Swiss chard (for crops the following spring), kale, winter cabbage, spinach, spring onions, potatoes for Christmas, radishes, beetroot, lettuce, radish
Flowers: Foxgloves, wallflowers, sweet rocket
8.August
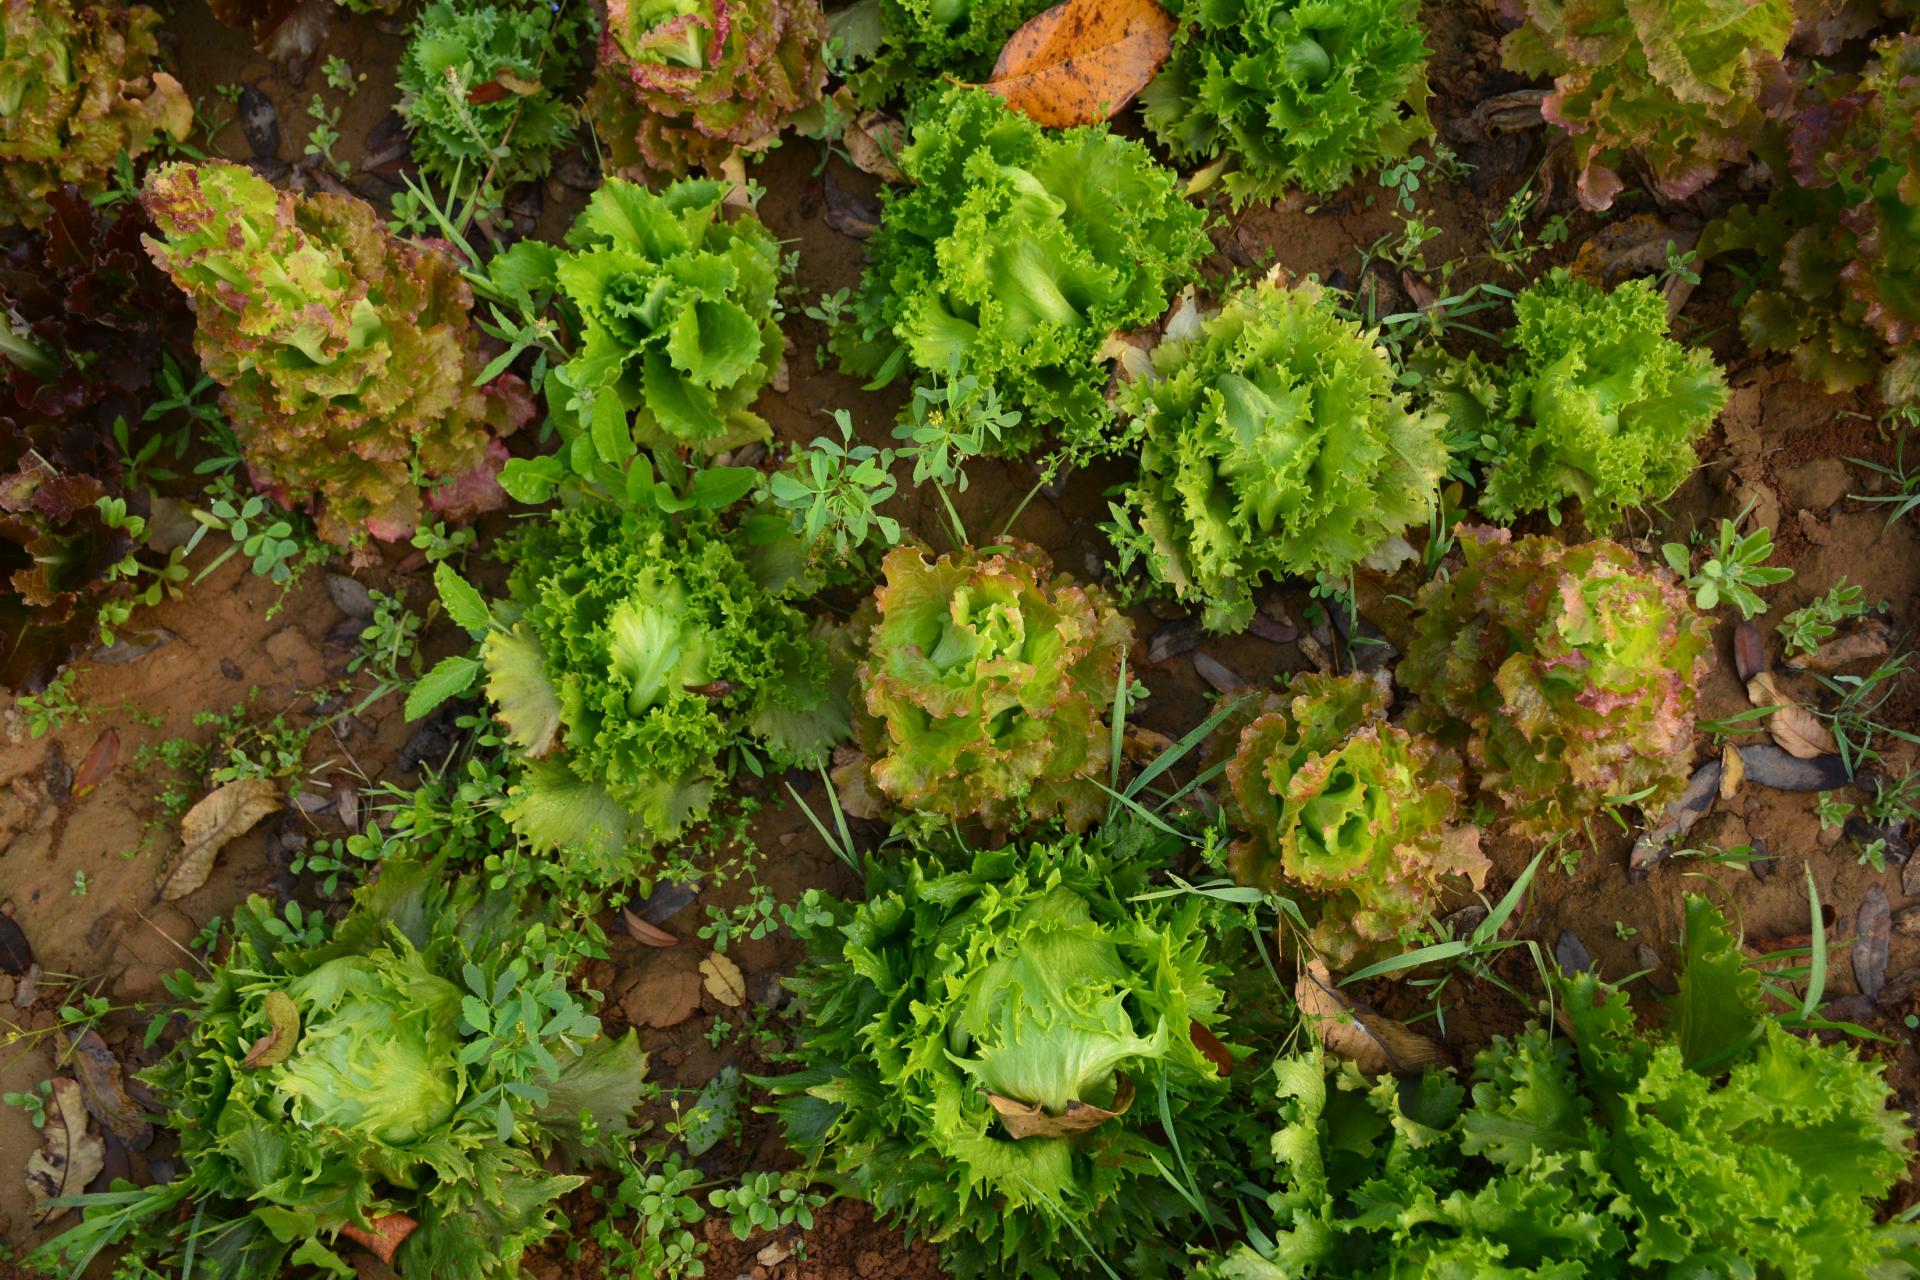
You can still sow lots of crops in August, for harvests into autumn and beyond, and it’s a key month for sowing winter crops. Discover some winter veg crops to sow in August. Continue to sow fast-growing crops such as radish, between slower-growing crops.
Sow now
Veg: Lettuce (keep out of the glare of direct sun), rocket, spring onion, radish, plus winter salads, including mibuna, mizuna, mustard leaf and lamb’s lettuce.
9.September
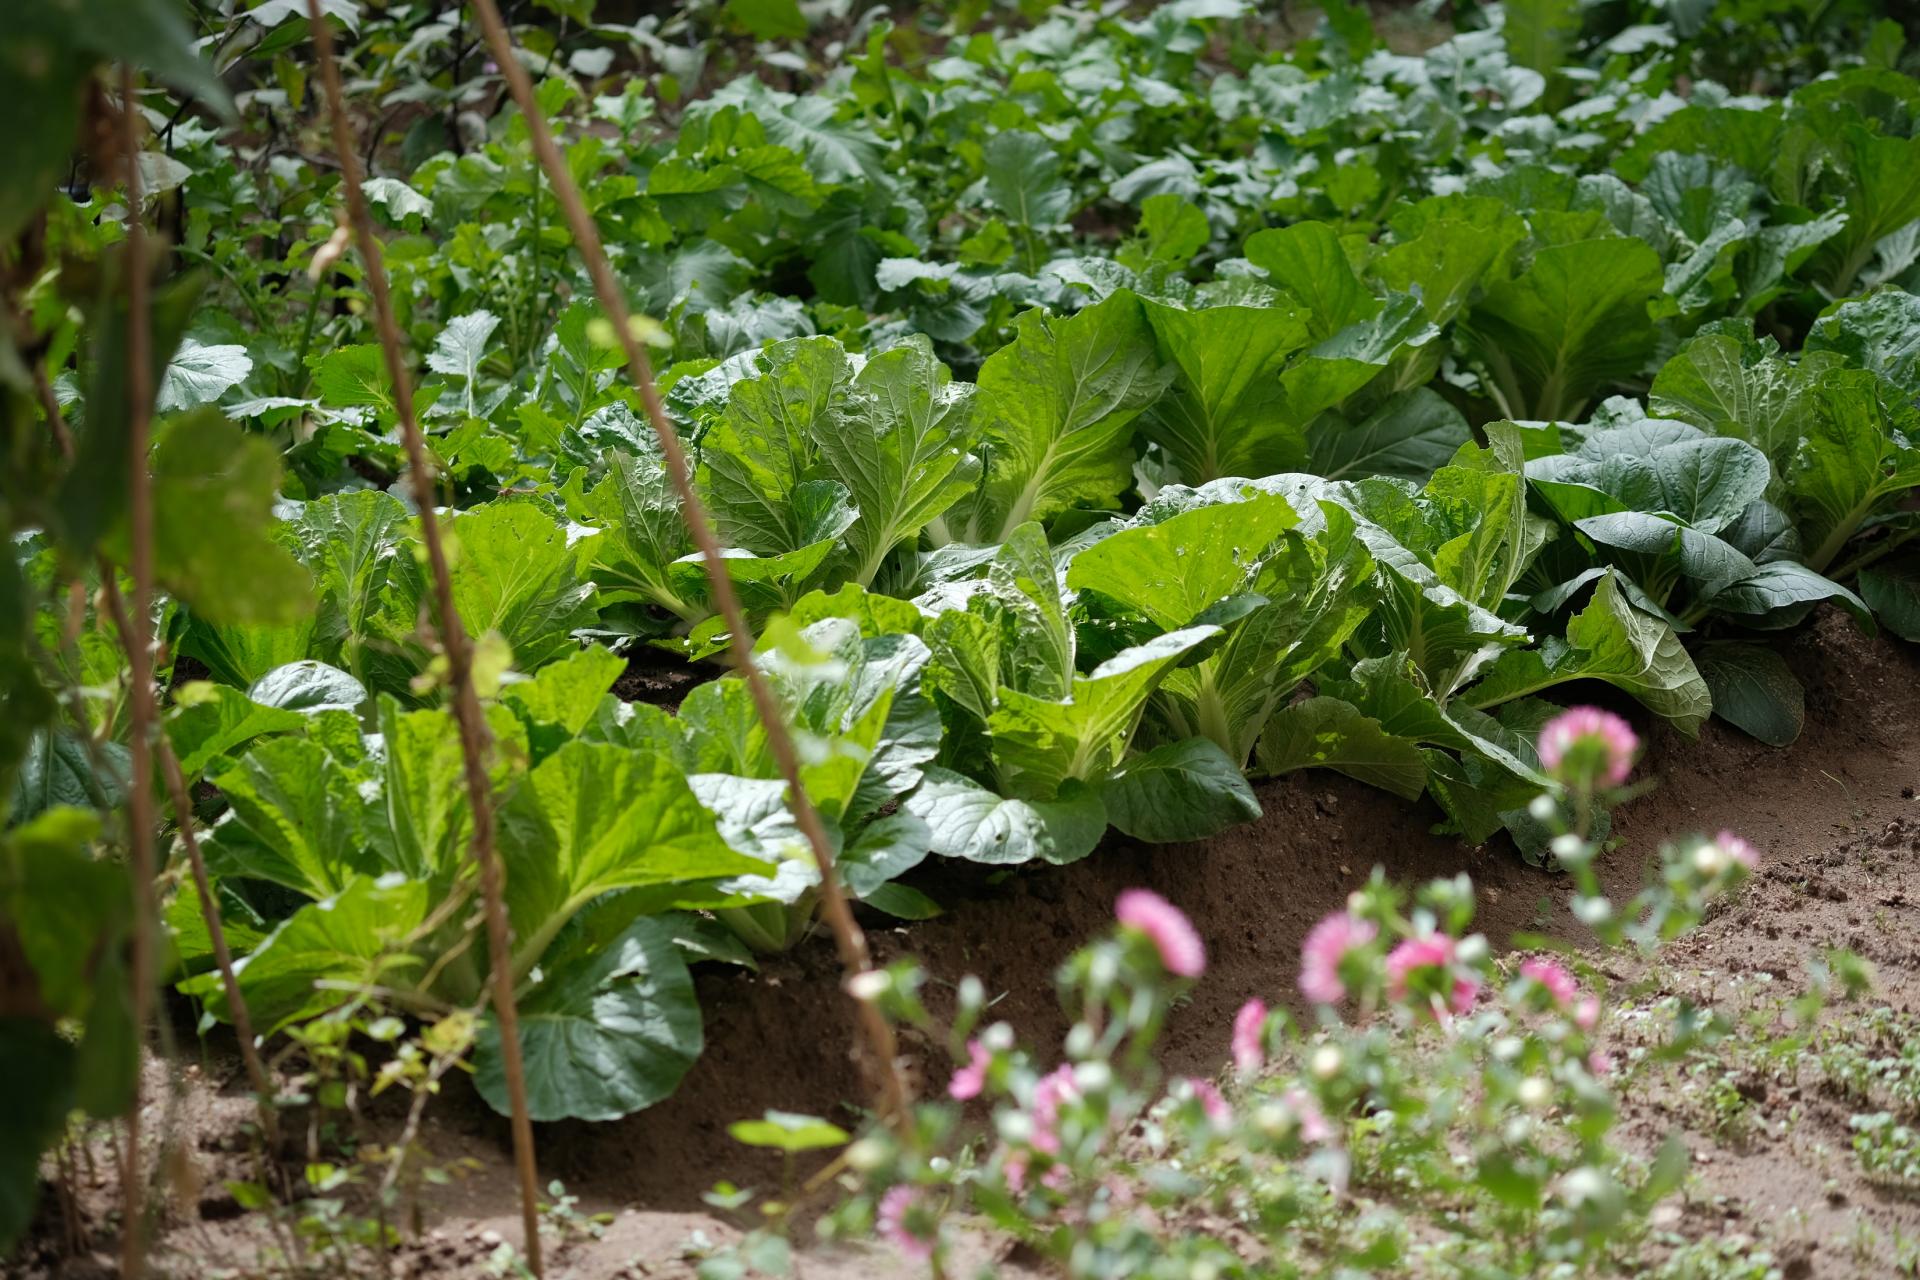
Now is the time to start sowing hardy annuals for early summer flowers next year. Some, such as Ammi majus, do better from an autumn sowing. You can sow leafy veg such as spinach, plus winter salads and quick-growing crops such as radish.
Sow now
Veg: Spinach, winter salads, radish
Flowers: Ammi majus and other hardy annuals
10.October
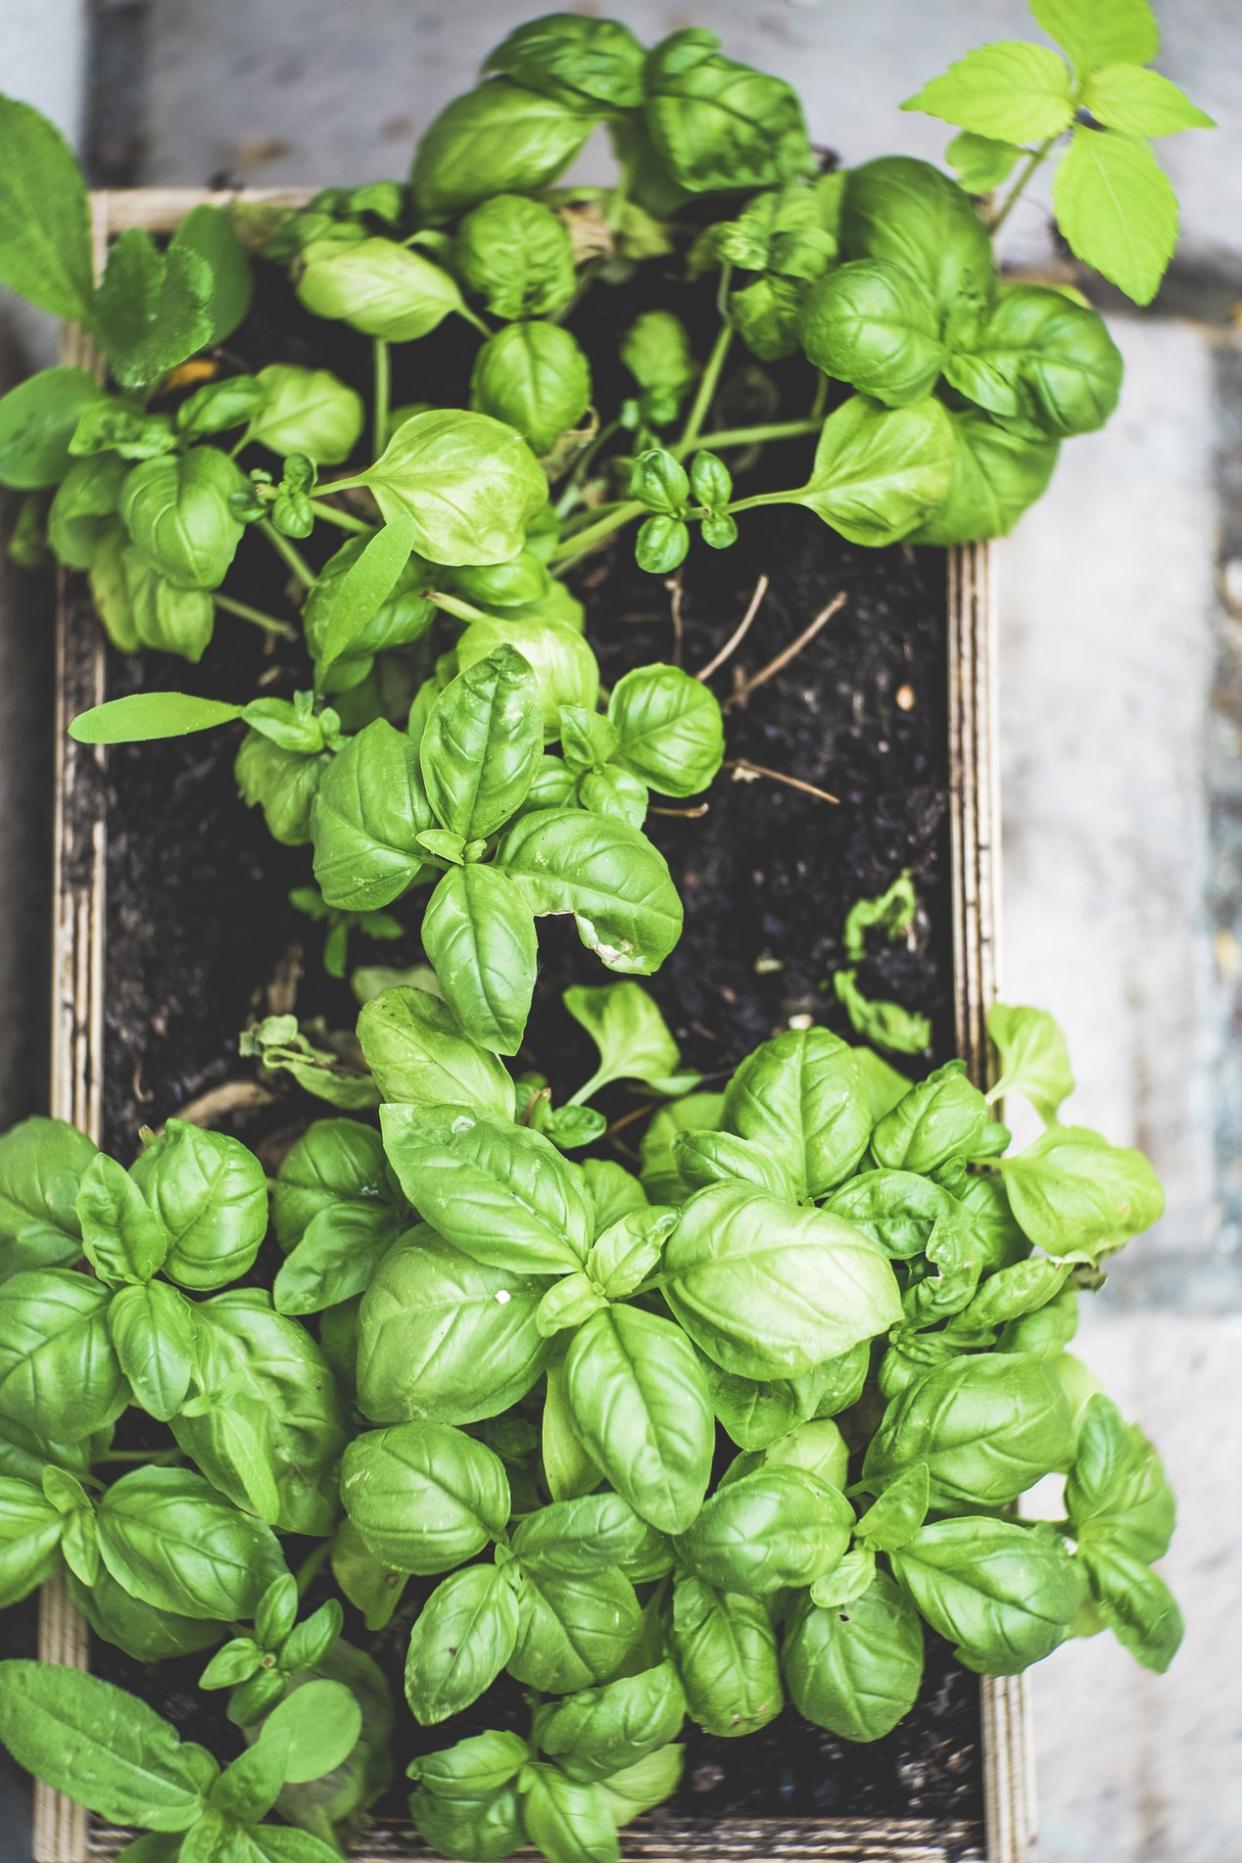
You can sow peas (protect from mice) and garlic outdoors. It’s also a great time to start sowing sweet peas for early flowers next summer. Still time to sow winter salads such as Japanese and Chinese salad leaves, corn salad, mustard and more.
Sow now
Veg: Winter salads, peas, garlic
Flowers: Sweet peas

11.November
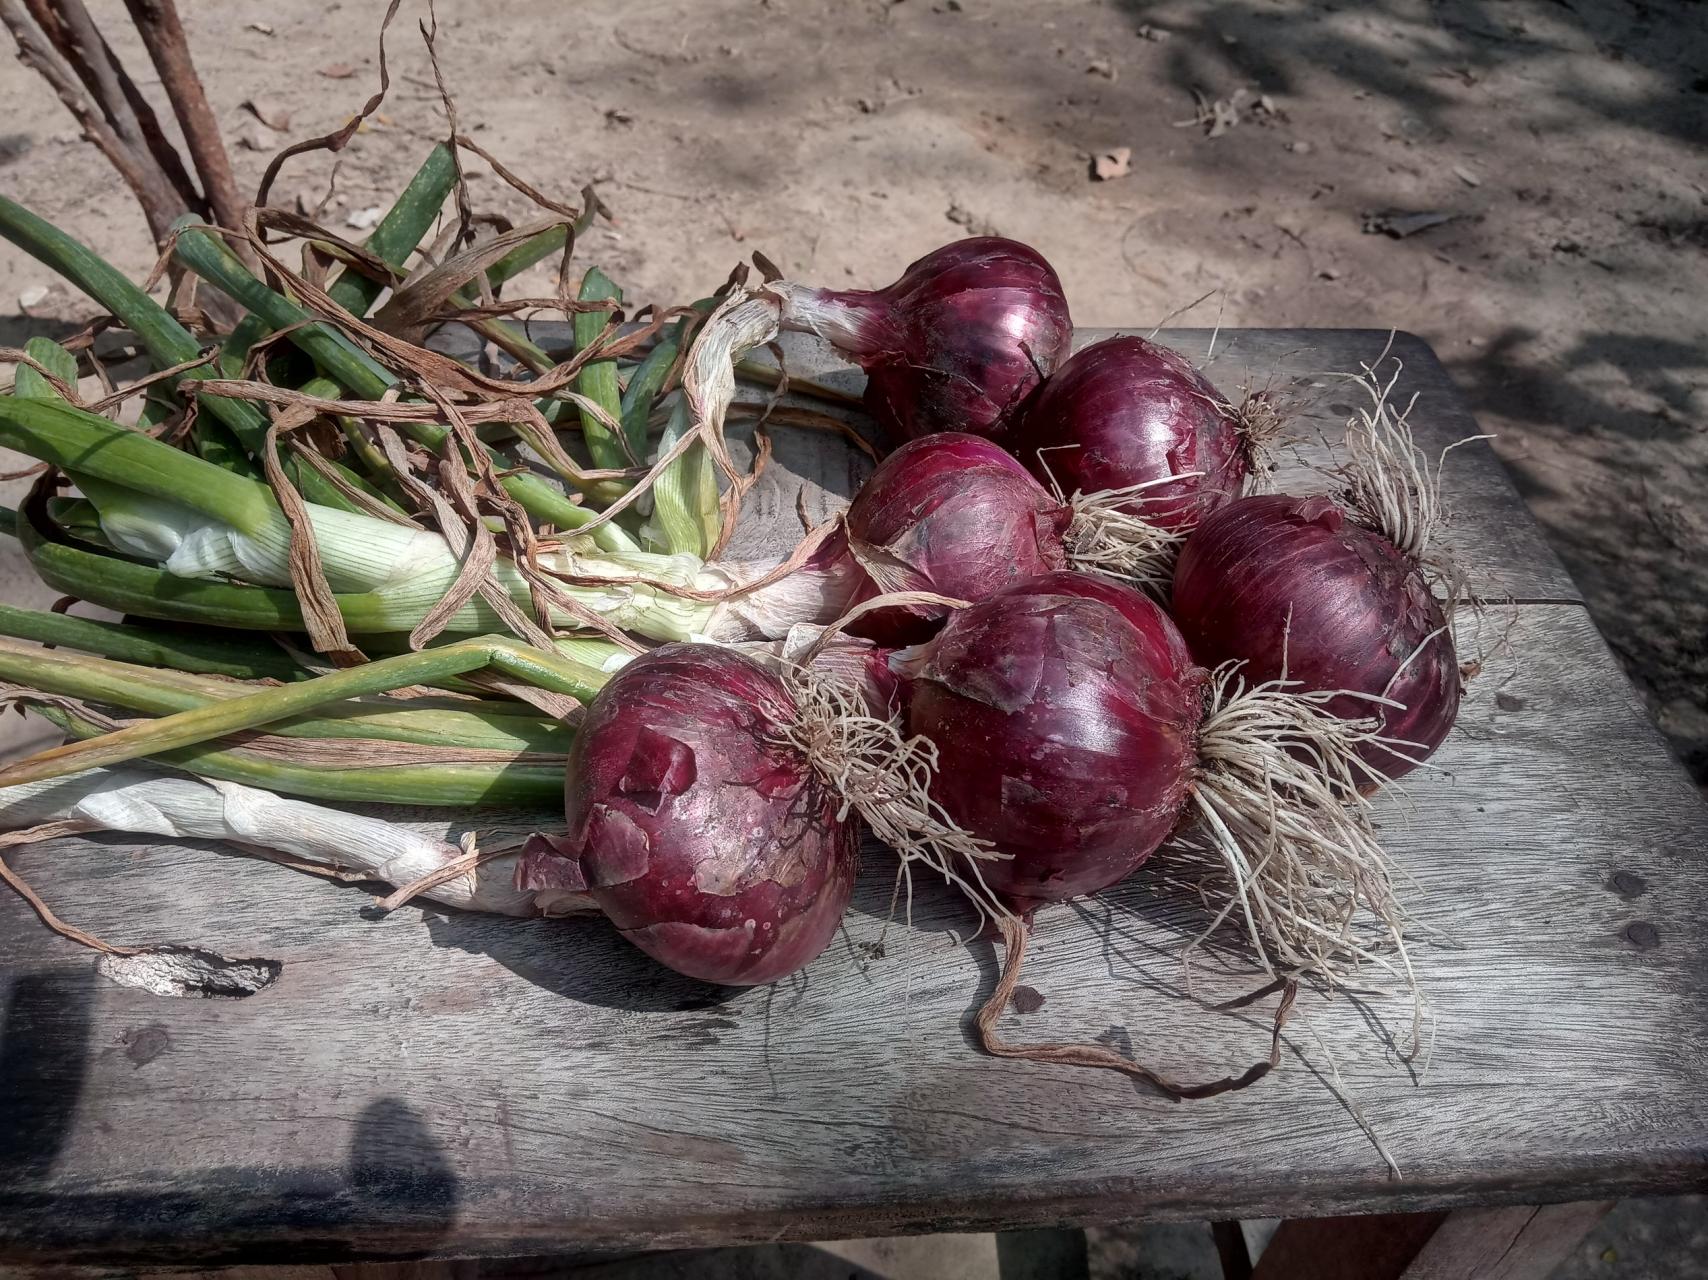
You can sow broad beans now for an early crop next year. Garlic, onions and shallots can also be sown at this time of year. You can also sow sweet peas for early flowers next summer.
Sow now
Veg: Garlic, onions, shallots, broad beans
Flowers: Sweet peas
12.December
Seed sowing in unlikely to be on your mind at this time of year, but garlic is traditionally sown on the shortest day of the year. Microgreens can be sown and grown year round for an intense pop of flavour. You can also sow sweet peas.
Sow now
Veg: Garlic, microgreens
Flowers: Sweet peas

Different seeds need sowing at different times of year, either inside or outside, and some can be sowed successionally over several months to avoid gluts and ensure continuous harvests.

Give your seeds the right amount of heat, light and moisture, and they will germinate successfully. But there are some important rules to remember, including include good hygiene, using fresh seed and compost and good soil preparation.
Here’s our month-by-month guide to sowing seeds.
1.January
January is a good time to order seeds for the year ahead. If your green fingers are itching and you have a polytunnel, greenhouse or a heated propagator, you could start sowing tender crops, such as chillies, that need a long growing season. You could also sow garlic outside. Also sow sweet peas, plus microgreens on a windowsill.
Sow now
Veg: Microgreens, chillies, aubergines and peppers plus tomatoes under cover; garlic outside
Flowers: Sweet peas, under cover

2.February
You can begin or continue to sow tender crops such as tomatoes, chillies, aubergines and peppers, plus some hardy crops and hardy annuals such as sweet peas. You could also get a head start on peas, sown under cover in guttering. If you’re super keen you could have a go at sowing perennials. A propagator is ideal if you have one, though a warm, bright windowsill is fine, too. You can also sow garlic.
Sow now
Veg: Spinach, peas and broad beans (under cover), plus chillies, tomatoes, cucumbers and aubergines, under cover. Plus garlic outside.
Flowers: sweet peas and perennials

3.March
As the days lengthen and become warmer, you can begin sowing hardy annual flowers and crops outside. If the weather is still cold, warm the soil with polythene before sowing and protect seedlings with cloches or horticultural fleece. You can also start sowing half-hardy annuals and continue to sow tomatoes, chillies and aubergines under glass. Towards the end of the month you can plant out first early seed potatoes.
Sow now
Veg: Aubergines, chillies and tomatoes (under cover), broad beans, peas, beetroot, Swiss chard, radish, kale, spinach, spring onions, first early potatoes (outdoors), plus shallot and onion sets and salad leaves (protect under fleece or a cloche)
Flowers: Cosmos, nicotiana, cleome, nasturtium, cornflowers, marigold (Calendula officinalis), clarkia, cerinthe, morning glory and more

4.April
Seed sowing begins in earnest in April, now that the days are longer and warmer, and many crops can be sown outside. More tender crops such as runner beans or courgettes still need to be sown under glass, either in a greenhouse or on a sunny windowsill. You can also plant out second early potatoes in early to mid-April and maincrop seed potatoes in mid to late-April, onion and shallot sets and garlic and Jerusalem artichokes.
Sow now
Veg: including aubergines, chillies and tomatoes, plus courgettes, squashes, pumpkins, marrows and leeks under cover. Beetroot, carrot, celeriac, peas, radish, lettuce, spinach, Swiss chard, broad beans, spring onions, second early and maincrop seed potatoes.
Flowers: Nicotiana, cosmos, morning glory and many more

5.May
With the risk of frost gone, most seeds can now be directly sown outdoors, including more tender crops such as runner beans and courgettes towards the end of the month. You can also sow half hardy annuals, including sunflowers, plus make a start on sowing biennials for blooms next year.
Sow now
Veg: Beetroot, purple sprouting broccoli, spinach, lettuce, peas, radish, carrots, spring onions outside; sweetcorn, cucumber, runner beans and courgettes (under cover at the beginning of the month, outside toward the end of the month) courgettes, squashes and pumpkins, under cover
Flowers: Cornflower, sunflowers, outdoors; zinnias and more under cover; foxgloves, sweet rocket and wallflowers, outside or under cover

6.June
Keep sowing quick growing crops such as beetroot, radishes and lettuce successionally, every week or so, for crops in a few weeks’ time. You can also sow carrots but be sure to protect sowings from carrot fly, using insect-proof mesh. Continue sowing biennials, and try sowing half-hardy annuals direct outside. You can also sow runner and French beans and courgettes direct outside for later crops.
Sow now
Veg: lettuce and radish every week or so, beetroot, peas, runner and French beans, spring onions, courgettes, lettuce, carrots, purple sprouting broccoli
Flowers: Zinnias, foxgloves, wallflowers, cosmos, sweet rocket and more

7.July
This is your last chance to sow biennials. It’s also time to make a start on sowing winter veg. It’s a good time to sow carrots to avoid carrot fly, as well as continuing with radishes, beetroot and lettuce. You can also sow runner or French beans for a late crop. If you fancy growing potatoes for Christmas, now is the time to plant some.
Sow now
Veg: Runner beans, Swiss chard (for crops the following spring), kale, winter cabbage, spinach, spring onions, potatoes for Christmas, radishes, beetroot, lettuce, radish
Flowers: Foxgloves, wallflowers, sweet rocket

8.August
You can still sow lots of crops in August, for harvests into autumn and beyond, and it’s a key month for sowing winter crops. Discover some winter veg crops to sow in August. Continue to sow fast-growing crops such as radish, between slower-growing crops.
Sow now
Veg: Lettuce (keep out of the glare of direct sun), rocket, spring onion, radish, plus winter salads, including mibuna, mizuna, mustard leaf and lamb’s lettuce.

9.September
Now is the time to start sowing hardy annuals for early summer flowers next year. Some, such as Ammi majus, do better from an autumn sowing. You can sow leafy veg such as spinach, plus winter salads and quick-growing crops such as radish.
Sow now
Veg: Spinach, winter salads, radish
Flowers: Ammi majus and other hardy annuals

10.October
You can sow peas (protect from mice) and garlic outdoors. It’s also a great time to start sowing sweet peas for early flowers next summer. Still time to sow winter salads such as Japanese and Chinese salad leaves, corn salad, mustard and more.
Sow now
Veg: Winter salads, peas, garlic
Flowers: Sweet peas

11.November
You can sow broad beans now for an early crop next year. Garlic, onions and shallots can also be sown at this time of year. You can also sow sweet peas for early flowers next summer.
Sow now
Veg: Garlic, onions, shallots, broad beans
Flowers: Sweet peas

12.December
Seed sowing in unlikely to be on your mind at this time of year, but garlic is traditionally sown on the shortest day of the year. Microgreens can be sown and grown year round for an intense pop of flavour. You can also sow sweet peas.
Sow now
Veg: Garlic, microgreens
Flowers: Sweet peas

0
0
文章
莹723
2020年12月08日

Sweet pea plugs can be glorious when planted in pots and containers, and will last for months.
To grow sweet pea plugs in pots outdoors, they must first be hardened off and given some protection. A sheltered spot or a frame outside for a few weeks is ideal. To get the best blooms, a method exhibition growers use is to nip out the energy-sapping side shoots and tendrils.
Discover how to grow sweet peas in pots from plugs, for a beautiful summer display, in just three easy steps.

You Will Need
•Sweet pea plugs
•Multi-purpose, peat-free compost
•Loam-based compost
•Pea sticks
Total time:
20 minutes
Step 1
Sweet peas thrive in pots. Choose a rich potting compost and mix in loam-based compost to provide extra water retention. Firm in the compost well.

Step 2
Use pea sticks, wire mesh or pea netting for support. Plant the plugs close to their supports. Individual plants grown as one plug can be carefully separated.

Step 3
Soak the newly planted plugs and once they start to grow away use a liquid feed regularly to encourage strong growth and continuous flowering.
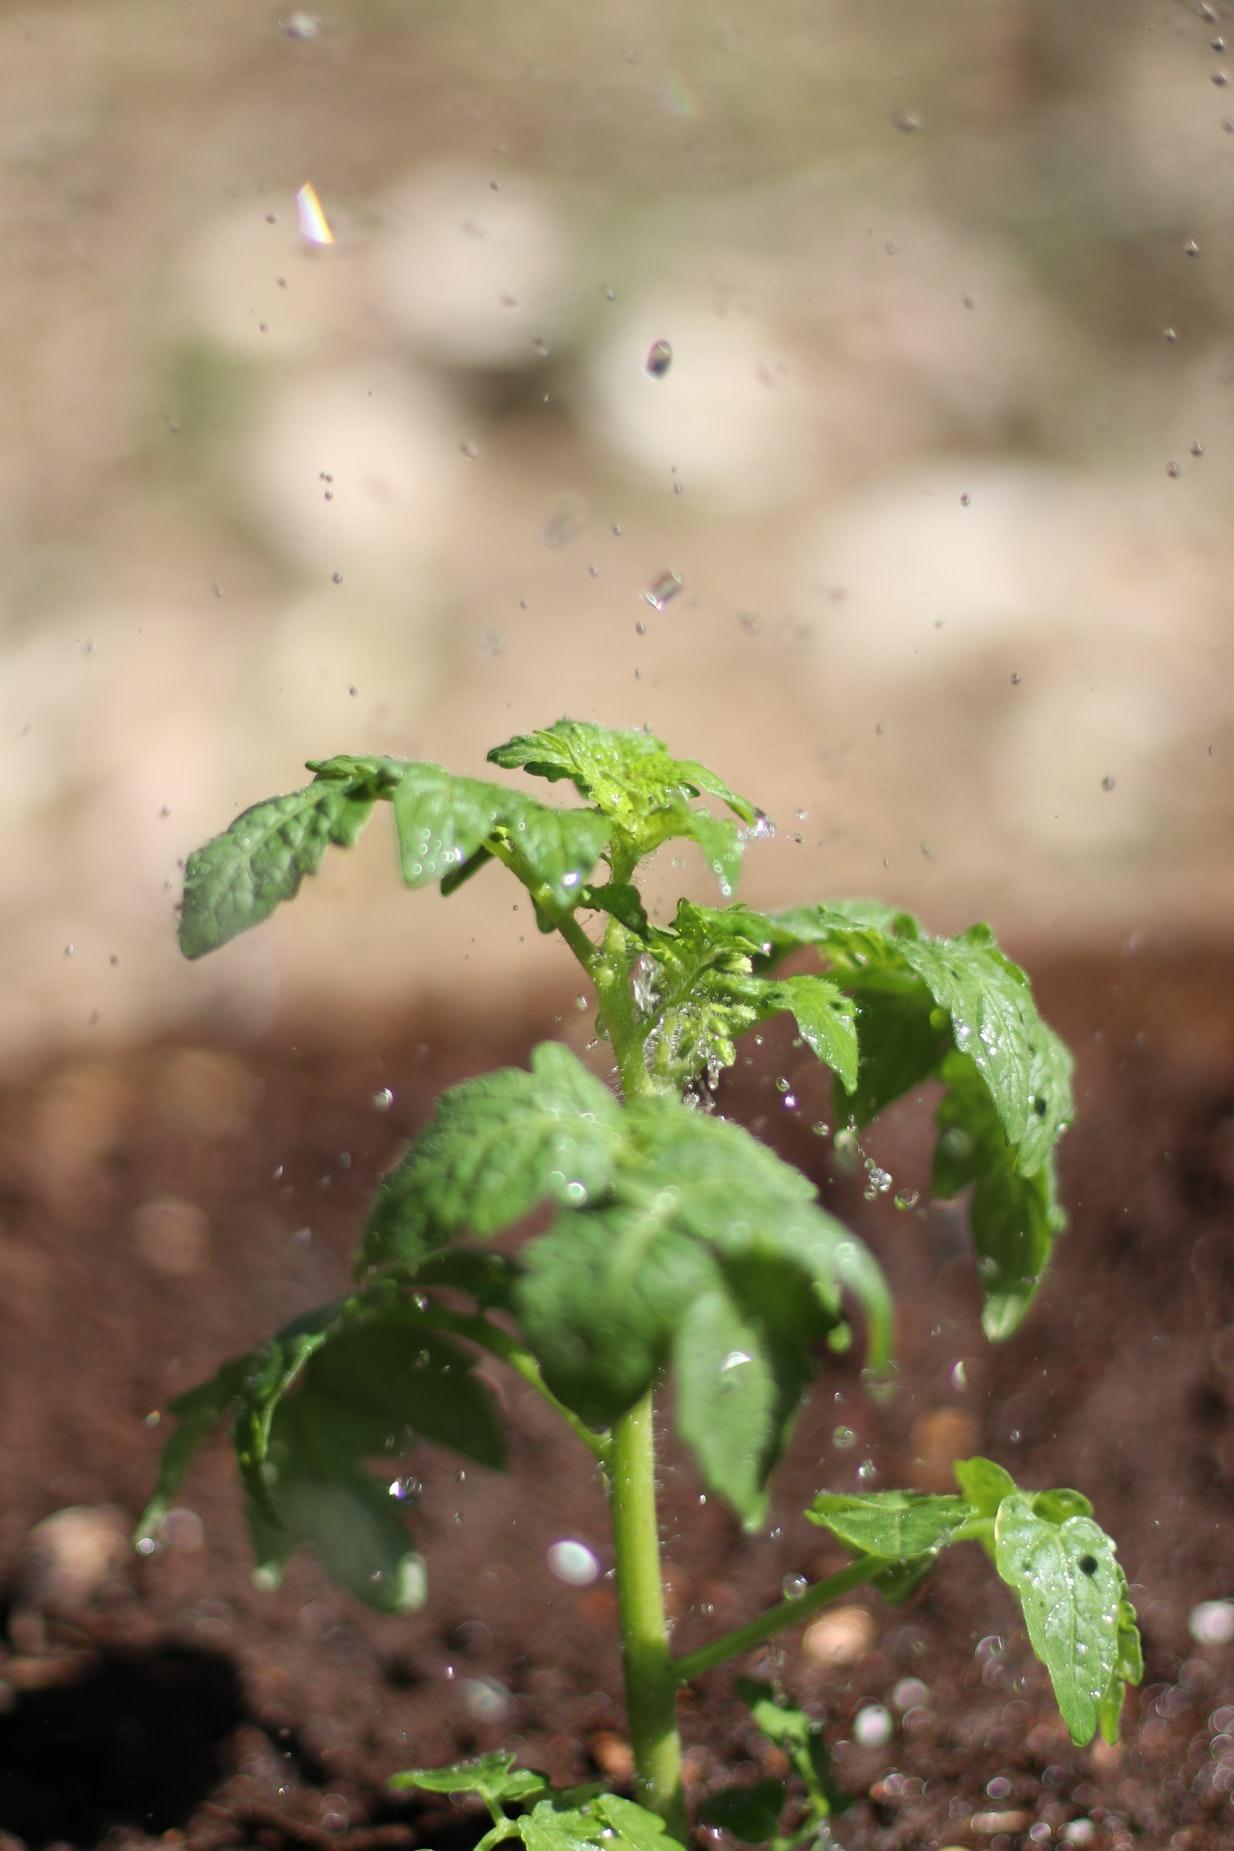
To grow sweet pea plugs in pots outdoors, they must first be hardened off and given some protection. A sheltered spot or a frame outside for a few weeks is ideal. To get the best blooms, a method exhibition growers use is to nip out the energy-sapping side shoots and tendrils.
Discover how to grow sweet peas in pots from plugs, for a beautiful summer display, in just three easy steps.

You Will Need
•Sweet pea plugs
•Multi-purpose, peat-free compost
•Loam-based compost
•Pea sticks
Total time:
20 minutes
Step 1
Sweet peas thrive in pots. Choose a rich potting compost and mix in loam-based compost to provide extra water retention. Firm in the compost well.

Step 2
Use pea sticks, wire mesh or pea netting for support. Plant the plugs close to their supports. Individual plants grown as one plug can be carefully separated.

Step 3
Soak the newly planted plugs and once they start to grow away use a liquid feed regularly to encourage strong growth and continuous flowering.

0
0
文章
莹723
2020年11月09日

It’s becoming more and more chilly outside, but there are still some vegetable seeds that you can sow in November, including beans and salad leaves.To increase the chances of success, try to use a heated propagator or greenhouse.
Discover five vegetable seeds to sow in November, below. They will reward you with an early harvest the following year.
1-Broad beans
It’s a good idea to buy some Broad bean seeds. Broad beans can be sown in the ground in autumn or alternatively in pots.

2-Salad leaves
Salad leaves like mizuna, mustard and spinach are an easy win. Try sowing indoors on a bright windowsill for winter pickings.

3-Spring onion ‘Performer’
Hardier varieties of spring onion, such as ‘Performer’, can be sown in autumn for winter and spring harvests. It does well in pots, making protecting the young plants easier, too. Protect in a greenhouse or with cloches.
4-First early peas
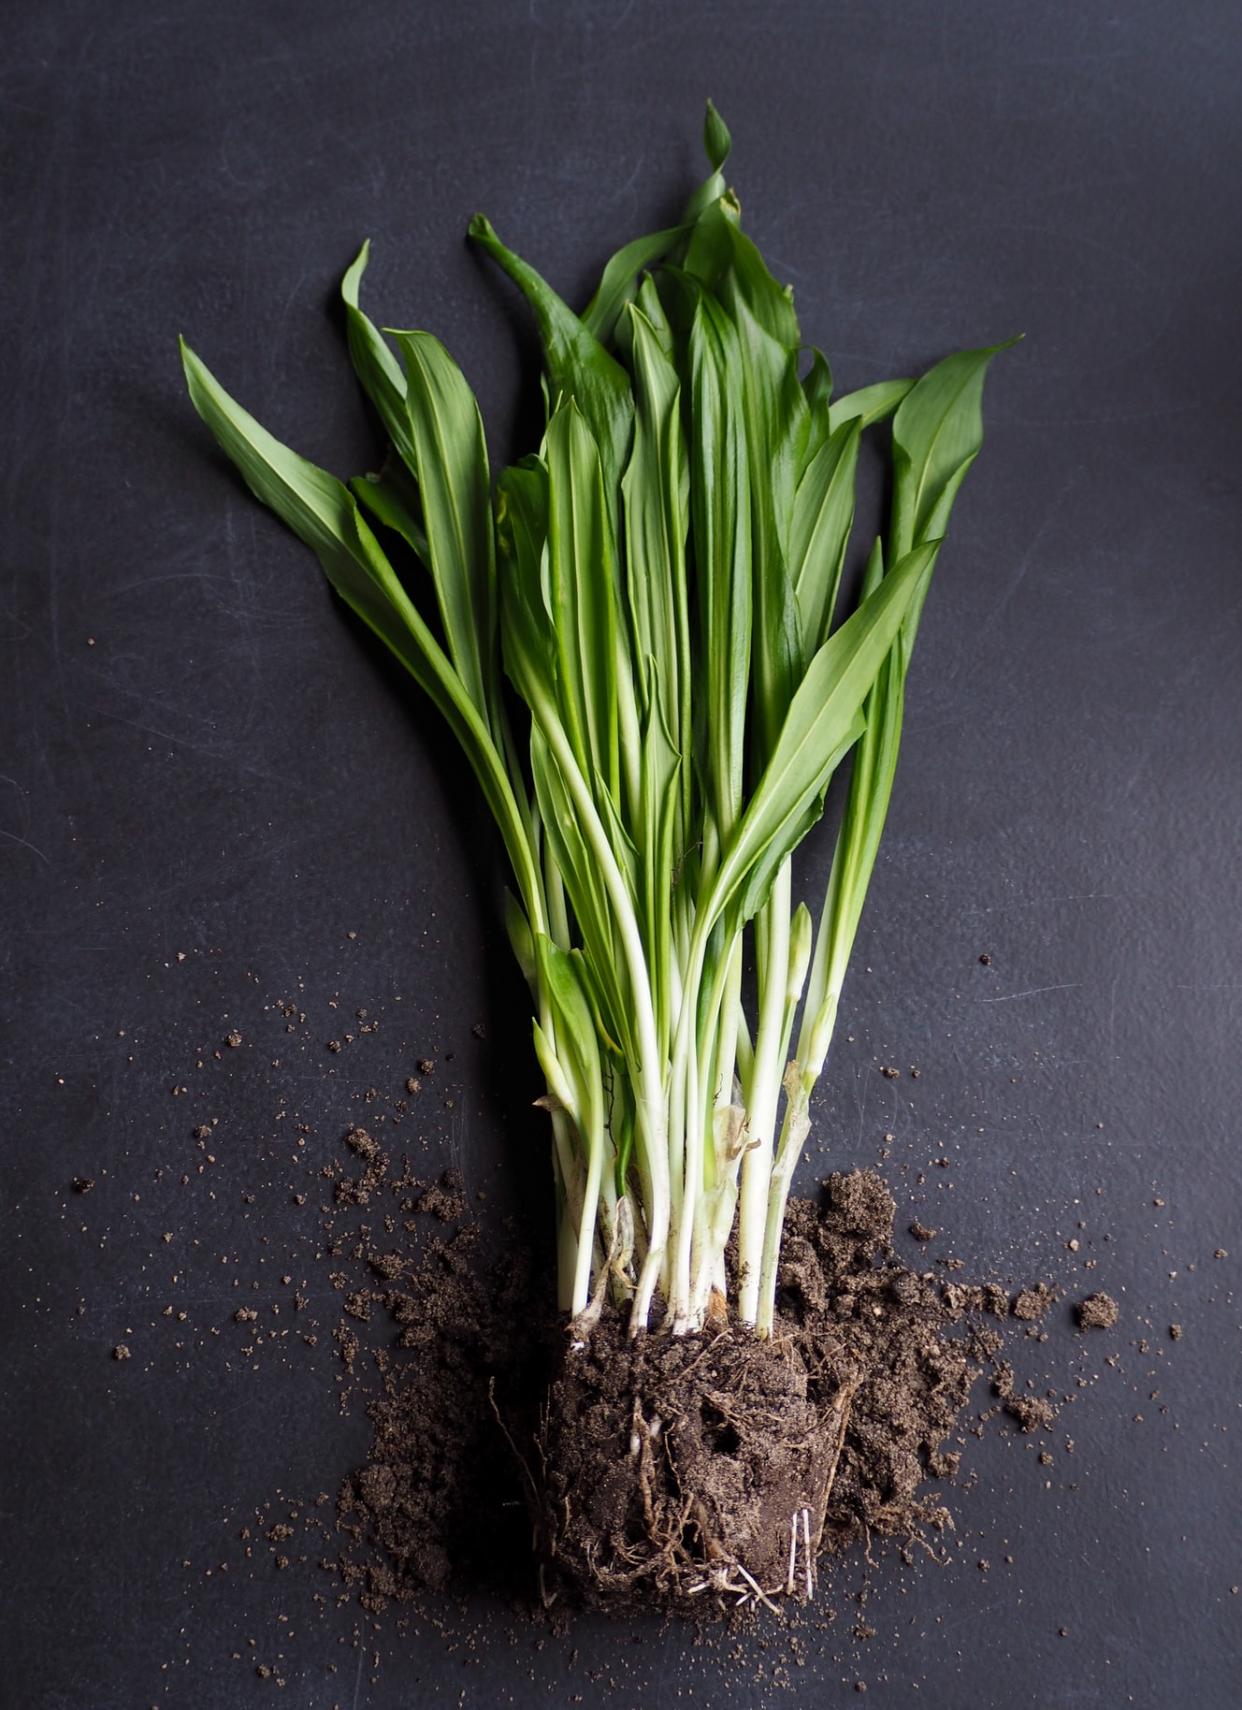
Sow first early peas like ‘Meteor’ and ‘Kelvedon Wonder’ in autumn to overwinter, providing harvests in early spring. Protect the peas from slugs,
birds and mice by growing in covered containers.

5-Chillies
Chilli peppers, such as ‘Apache’ and ‘Medusa’ can be sown anytime of year, to be grown indoors on the windowsill. In November, when the days are shorter, you’ll want to provide them with warmth, and the brightest spot possible.

Discover five vegetable seeds to sow in November, below. They will reward you with an early harvest the following year.
1-Broad beans
It’s a good idea to buy some Broad bean seeds. Broad beans can be sown in the ground in autumn or alternatively in pots.

2-Salad leaves
Salad leaves like mizuna, mustard and spinach are an easy win. Try sowing indoors on a bright windowsill for winter pickings.

3-Spring onion ‘Performer’
Hardier varieties of spring onion, such as ‘Performer’, can be sown in autumn for winter and spring harvests. It does well in pots, making protecting the young plants easier, too. Protect in a greenhouse or with cloches.

4-First early peas
Sow first early peas like ‘Meteor’ and ‘Kelvedon Wonder’ in autumn to overwinter, providing harvests in early spring. Protect the peas from slugs,
birds and mice by growing in covered containers.

5-Chillies
Chilli peppers, such as ‘Apache’ and ‘Medusa’ can be sown anytime of year, to be grown indoors on the windowsill. In November, when the days are shorter, you’ll want to provide them with warmth, and the brightest spot possible.

0
0
文章
莹723
2020年10月09日

Do you want to find a great way to get the kids outside, entertained and away from the TV or computer screen? Believe me, you need these simple garden projects. All of the activities are suitable for children of primary school age. Younger kids will need a bit of guidance. Please browse down~
1.Collect seeds
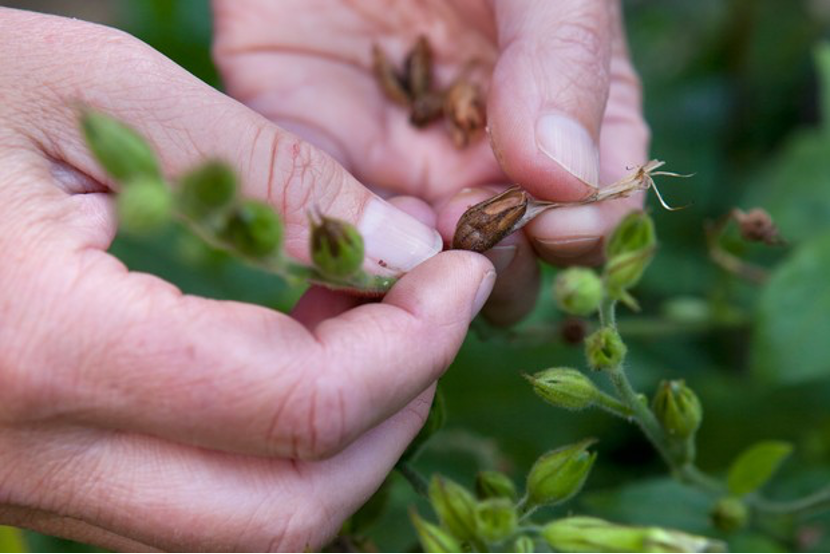
At this time, plants and crops are bursting into flower everywhere. Children can have a lot of fun collecting seeds in the garden for sowing next year. Show them how to burst seedpods and shake seeds from ripe seedheads. They can design and make paper seed packets to store them in.
2.Grow micro-greens
Micro-leaves are all the rage and kids will love growing them. You can just use seeds of any veg with edible leaves, such as basil, broccoli or spinach. Plastic cups, yoghurt pots or biodegradable pots are great containers, and you can draw a smiley face on them. Fill your pots almost to the top with compost – just leave a little gap to make watering easier. Scatter the veg or herb seeds thinly across the surface, then cover with a little compost. Water the compost, and make sure it doesn’t dry out. Then simply place the pots on an indoor windowsill to grow.

3.Fairy garden
Help children create an enchanted garden at the base of a tree or in a hollow in the ground. Kids will love collecting stones for paths and twigs for fences, and add ferns and other small plants around the trunk. Help little ones to tie ribbons to branches and make a fairy door for a tree or wall by decorating a piece of cardboard or the lid of an ice-cream tub.

4.Pond in a pot
Kids will love getting wet and muddy, especially on a hot summer’s day. It’s easy to make Container ponds which will attract birds and insects, so you could speed some time watching wildlife peacefully. Use a large, shallow container with no drainage holes, and add a selection of pond and marginal plants, plus an oxygenator to help keep the water clear. Site it in a little shade, rather than in full sun, and keep the water topped up.
5.Create a glass jar terrarium
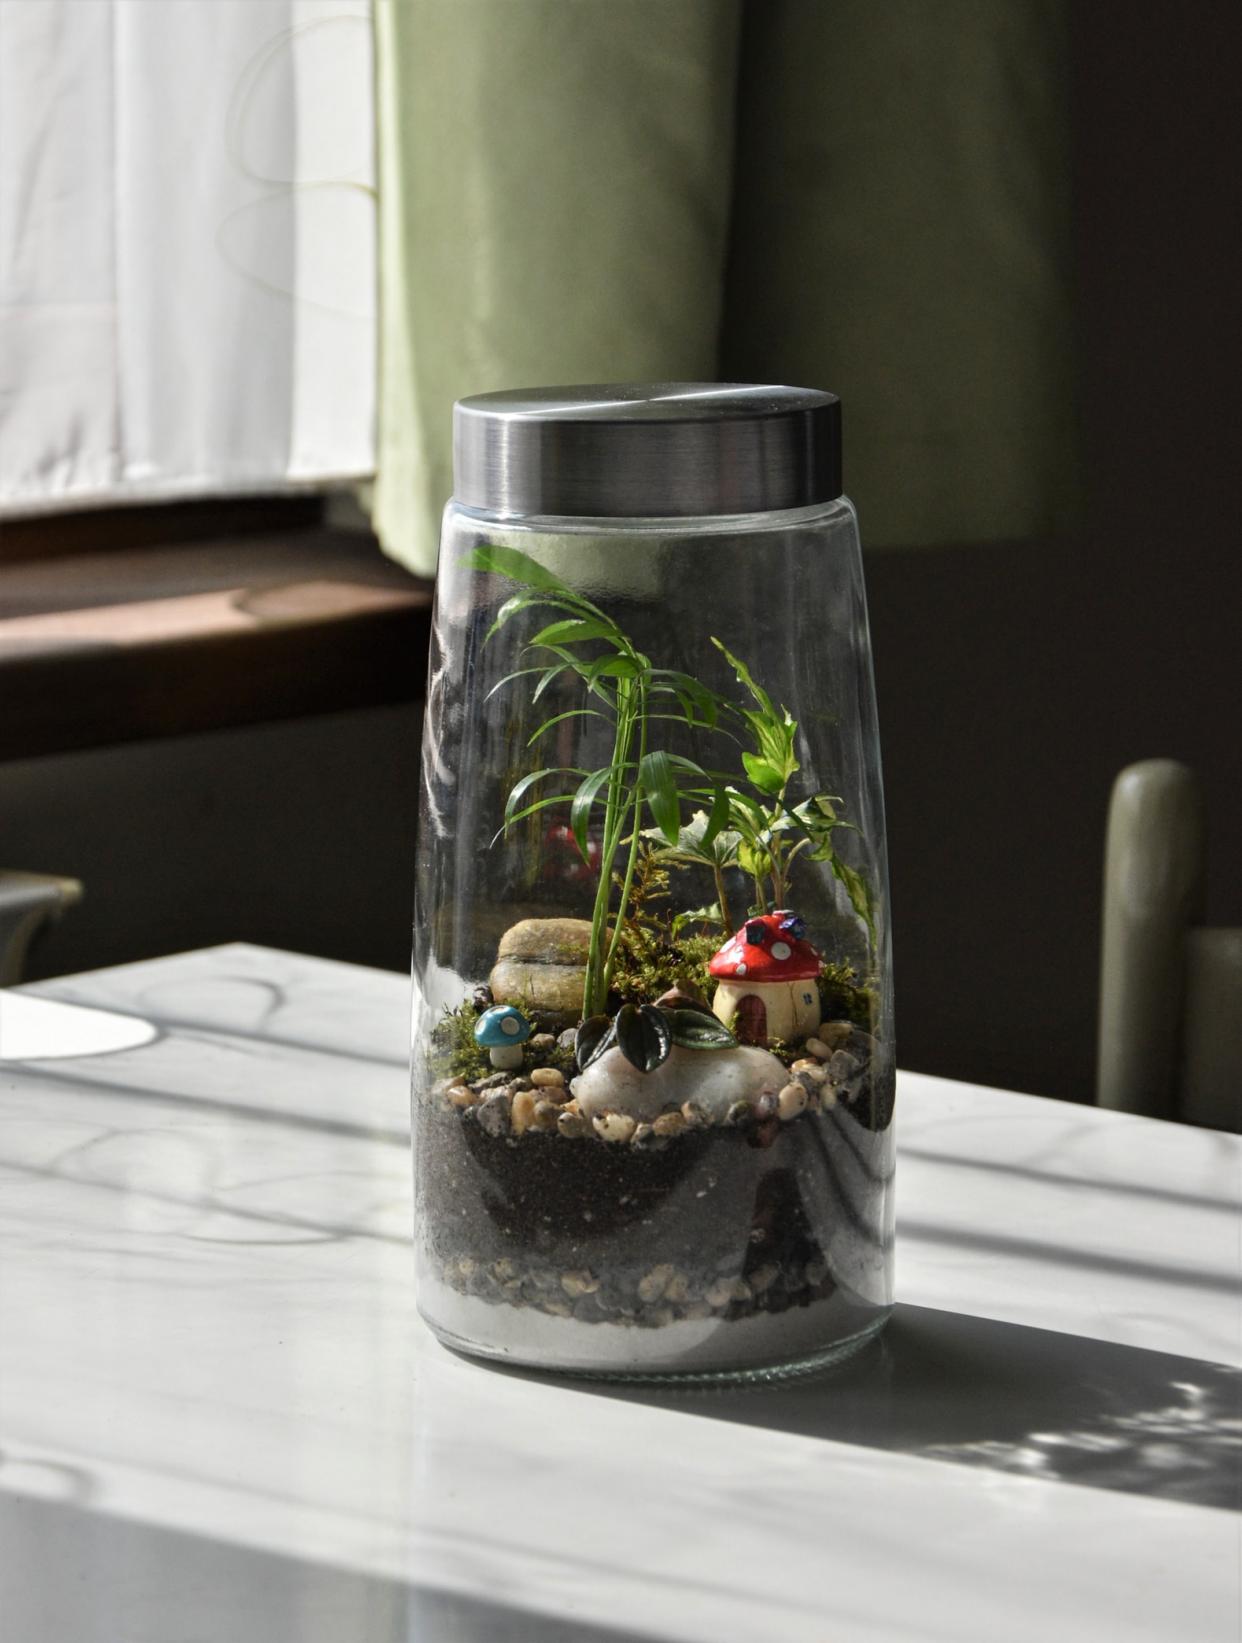
Glass jar gardens are the perfect size for little hands. Let your children select an array of succulents from the garden centre. Place gravel in the base of a large jar, top with a layer of compost, and then lower in the plants and arrange into a display. Firm in with fingers or a pencil. Add a little water, plus a layer of gravel to hold in the moisture. Stand the jar on a bright indoor windowsill.
6.Make a bug box
You just require an open-fronted box – the kids can run around the garden for the materials to fill it with. A drilled log may provide a home for solitary bees, while stacks of pine cones, stones, broken pots, twigs and dried grass can be added to attract ladybirds, woodlice or toad.

7.Pot up colourful containers
These instant container displays are easy to plant. Let your kids choose plants from the seasonal displays at the garden, then use a cheerful pot to match. Choose either a coloured plastic pot or paint a terracotta pot with a brightly coloured paint. Ensure there are drainage holes in the base, then add multi-purpose compost until it’s two-thirds full. Remove the plants from their pots and place them on the compost – arrange into an attractive display. Fill in around the roots with more compost and firm in well. Water the plants in and place the pot in a sheltered, sunny spot. Continue to water regularly over summer and pinch off faded flowers to encourage more to grow.

8.Twig teepee
Encourage your kids to build an adult-free space, using branches stacked against a wall, fence or tree. Help them arrange the branches to make walls that are dense so they provide privacy and with an opening that’s just wide enough for them to crawl through. Older children will enjoy designing the den and could try building a freestanding one too.

9.Make a grass bucket seat
This grass seat will last all summer and beyond, and older children will enjoy keeping it in trim with shears or scissors. Choose an old metal bucket or bin and add drainage holes in the bottom. Fill it to the brim with compost, firm down and then sprinkle lawn seed over the top. Water it well and leave to germinate, which in summer should only take about a week. Don’t let it dry out and, when it’s nice and thick, encourage one of your older children to cut it, using shears.

10.Create a succulent plant display
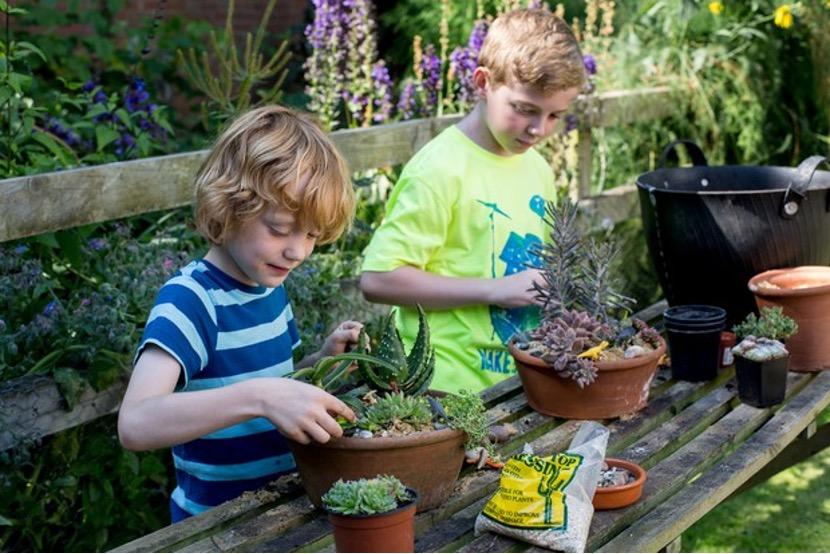
Succulents planted in a pot look good for months on end and require very little maintenance. Let them choose the plants they want to grow from the garden centre. Arrange the plants so they’re evenly distributed around the pot and fill around them with cactus compost. Top-dress with horticultural gravel to complete the look. The kids can add their own accessories – in this case toy dinosaurs – to make the display more individual to them. This display can stay outside over summer and then can be transferred to a bedroom windowsill in autumn, providing interest for many more months.
1.Collect seeds
At this time, plants and crops are bursting into flower everywhere. Children can have a lot of fun collecting seeds in the garden for sowing next year. Show them how to burst seedpods and shake seeds from ripe seedheads. They can design and make paper seed packets to store them in.

2.Grow micro-greens
Micro-leaves are all the rage and kids will love growing them. You can just use seeds of any veg with edible leaves, such as basil, broccoli or spinach. Plastic cups, yoghurt pots or biodegradable pots are great containers, and you can draw a smiley face on them. Fill your pots almost to the top with compost – just leave a little gap to make watering easier. Scatter the veg or herb seeds thinly across the surface, then cover with a little compost. Water the compost, and make sure it doesn’t dry out. Then simply place the pots on an indoor windowsill to grow.

3.Fairy garden
Help children create an enchanted garden at the base of a tree or in a hollow in the ground. Kids will love collecting stones for paths and twigs for fences, and add ferns and other small plants around the trunk. Help little ones to tie ribbons to branches and make a fairy door for a tree or wall by decorating a piece of cardboard or the lid of an ice-cream tub.

4.Pond in a pot
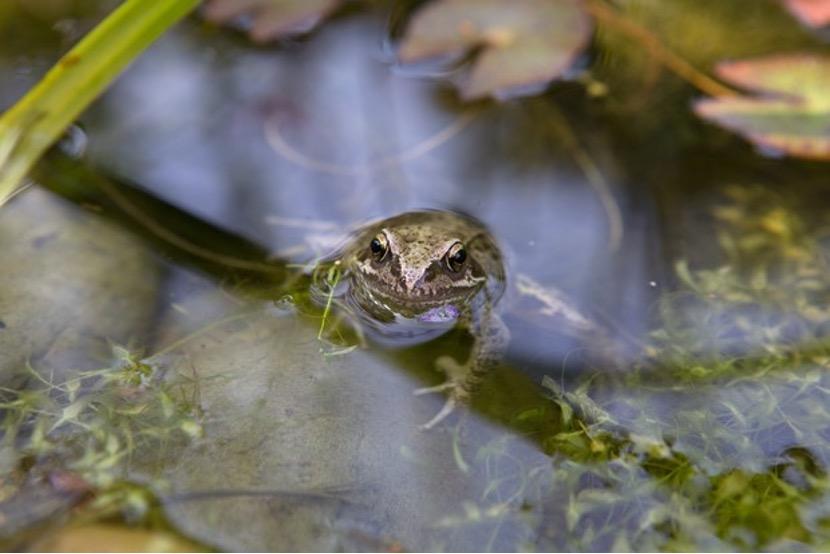
Kids will love getting wet and muddy, especially on a hot summer’s day. It’s easy to make Container ponds which will attract birds and insects, so you could speed some time watching wildlife peacefully. Use a large, shallow container with no drainage holes, and add a selection of pond and marginal plants, plus an oxygenator to help keep the water clear. Site it in a little shade, rather than in full sun, and keep the water topped up.

5.Create a glass jar terrarium
Glass jar gardens are the perfect size for little hands. Let your children select an array of succulents from the garden centre. Place gravel in the base of a large jar, top with a layer of compost, and then lower in the plants and arrange into a display. Firm in with fingers or a pencil. Add a little water, plus a layer of gravel to hold in the moisture. Stand the jar on a bright indoor windowsill.

6.Make a bug box
You just require an open-fronted box – the kids can run around the garden for the materials to fill it with. A drilled log may provide a home for solitary bees, while stacks of pine cones, stones, broken pots, twigs and dried grass can be added to attract ladybirds, woodlice or toad.

7.Pot up colourful containers
These instant container displays are easy to plant. Let your kids choose plants from the seasonal displays at the garden, then use a cheerful pot to match. Choose either a coloured plastic pot or paint a terracotta pot with a brightly coloured paint. Ensure there are drainage holes in the base, then add multi-purpose compost until it’s two-thirds full. Remove the plants from their pots and place them on the compost – arrange into an attractive display. Fill in around the roots with more compost and firm in well. Water the plants in and place the pot in a sheltered, sunny spot. Continue to water regularly over summer and pinch off faded flowers to encourage more to grow.

8.Twig teepee
Encourage your kids to build an adult-free space, using branches stacked against a wall, fence or tree. Help them arrange the branches to make walls that are dense so they provide privacy and with an opening that’s just wide enough for them to crawl through. Older children will enjoy designing the den and could try building a freestanding one too.

9.Make a grass bucket seat
This grass seat will last all summer and beyond, and older children will enjoy keeping it in trim with shears or scissors. Choose an old metal bucket or bin and add drainage holes in the bottom. Fill it to the brim with compost, firm down and then sprinkle lawn seed over the top. Water it well and leave to germinate, which in summer should only take about a week. Don’t let it dry out and, when it’s nice and thick, encourage one of your older children to cut it, using shears.

10.Create a succulent plant display
Succulents planted in a pot look good for months on end and require very little maintenance. Let them choose the plants they want to grow from the garden centre. Arrange the plants so they’re evenly distributed around the pot and fill around them with cactus compost. Top-dress with horticultural gravel to complete the look. The kids can add their own accessories – in this case toy dinosaurs – to make the display more individual to them. This display can stay outside over summer and then can be transferred to a bedroom windowsill in autumn, providing interest for many more months.

0
0
文章
莹723
2020年09月28日

Have you ever thought about using rusty milk cans, chicken feeders, or galvanized mop buckets to grow plants?
Blogger Carlene Blair has created quite the oasis for herself right outside her door. This gorgeous garden is anything but "junky."She insisted in repurposing old junk into planters! It's a great hobby combining love of flower gardening with junking.

Let’s find out how she's going to top this!
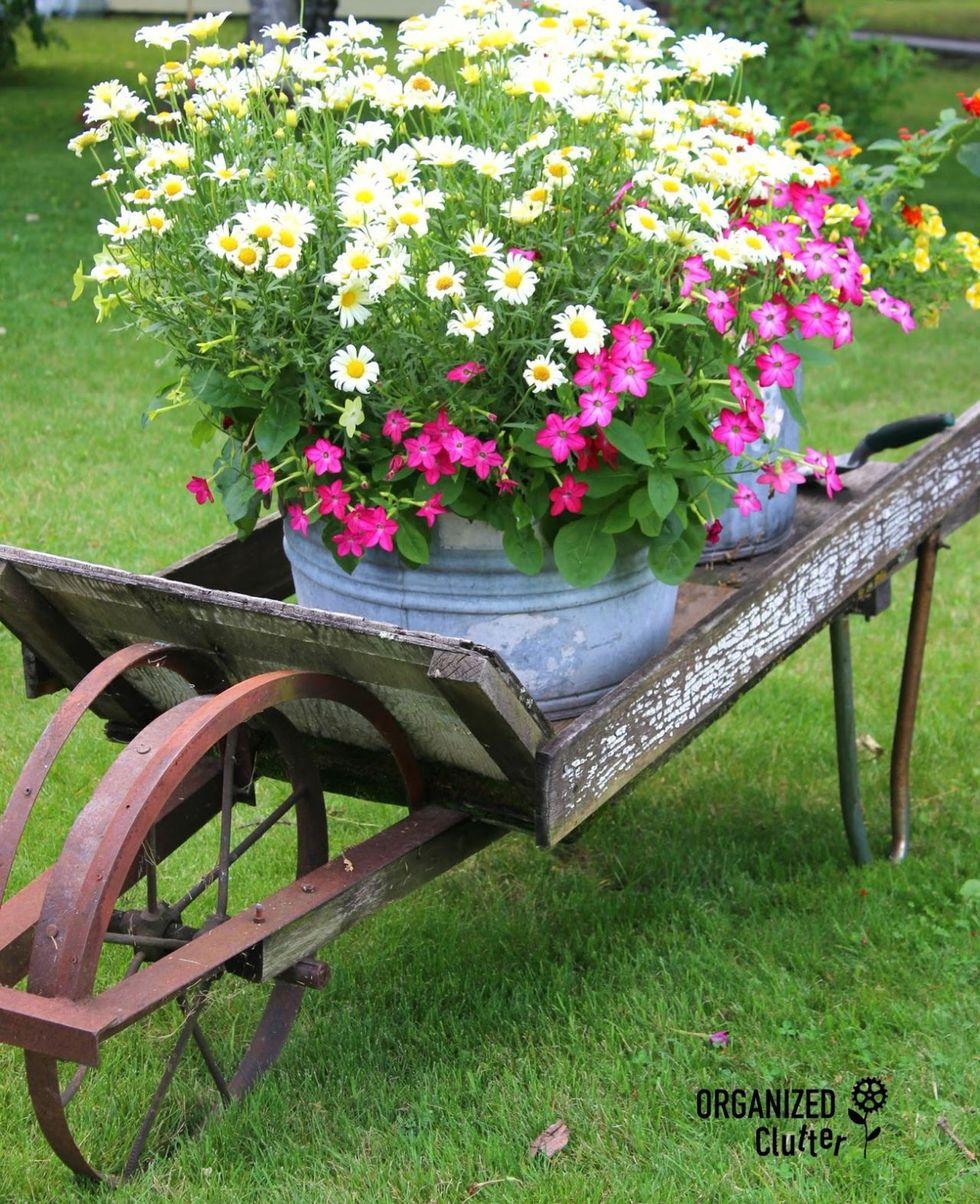
Blair's very first junk garden piece is this old wheelbarrow bursting with Marguerite daisies and nicotiana.
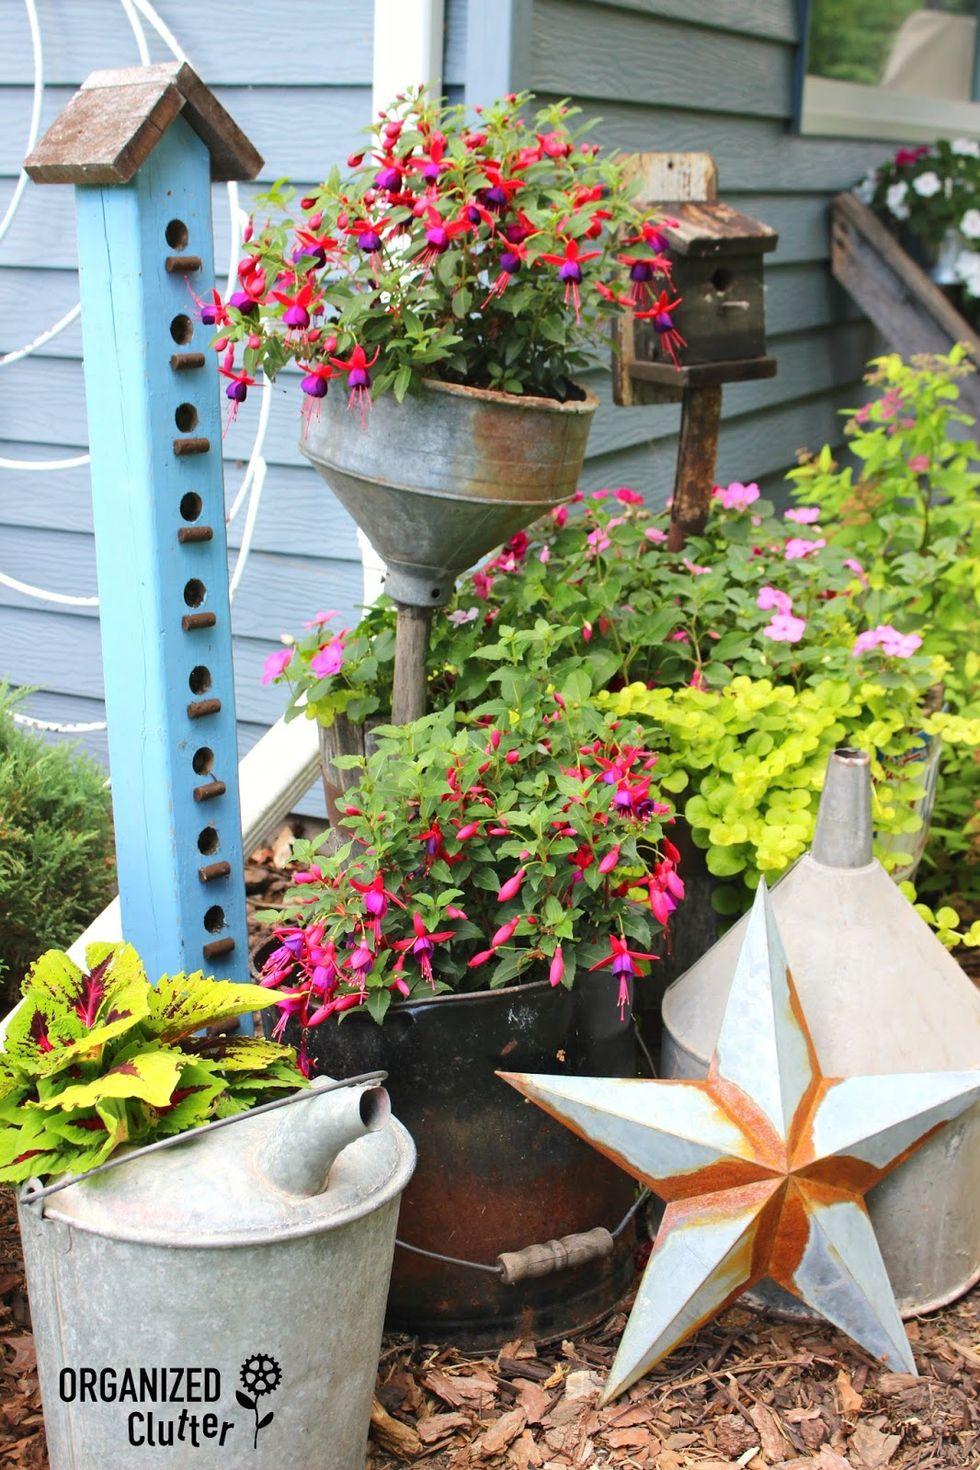
Have you ever seen such an assortment of trash-to-treasure planters?

The wild, abandoned look of this old typewriter in the bed of succulents is amazing.
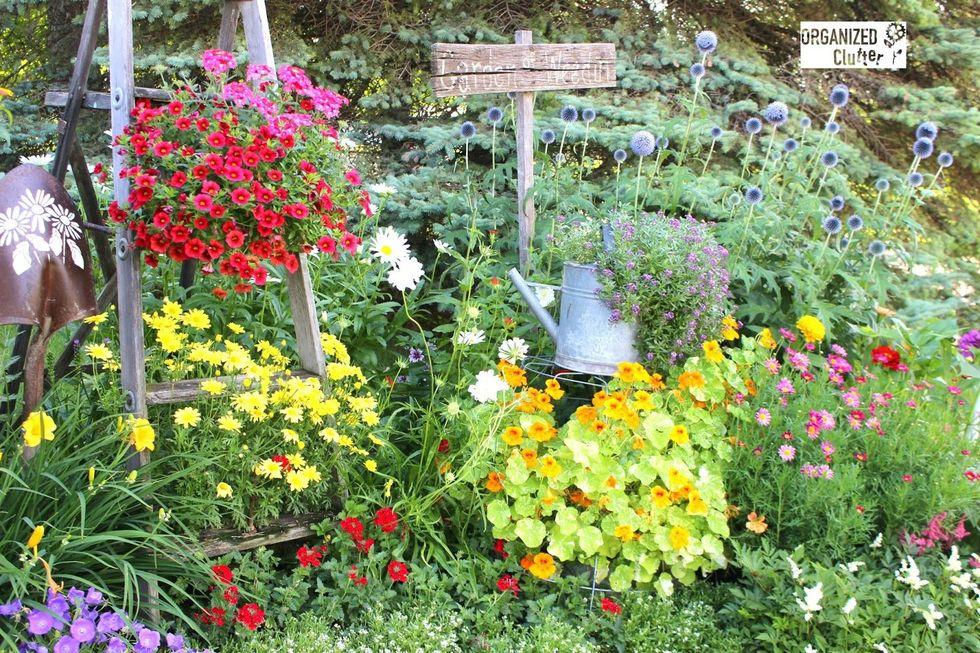
In her front yard, perennials and annuals spill out of watering cans and funnels and off the steps of a ladder.
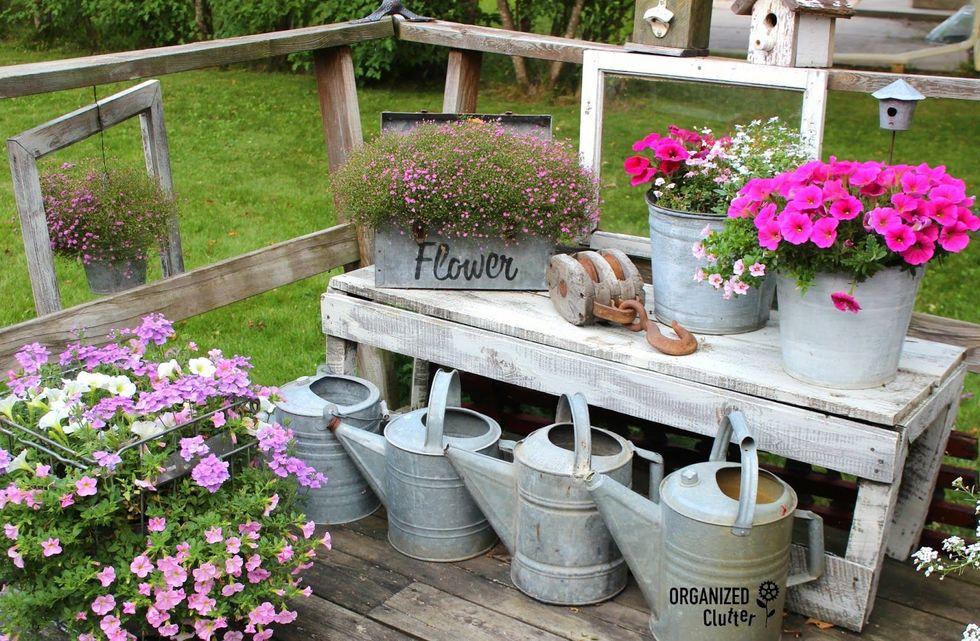
A whitewashed bench holds galvanized buckets and a toolbox, which are adorably stenciled.

What was once a gun rack is now attached to an old barn door and used to hold vintage garden tools.

Even a bike can be a beautiful planter.

This "Flower Market" sign is made of two spindle legs and a weathered piece of barn siding.
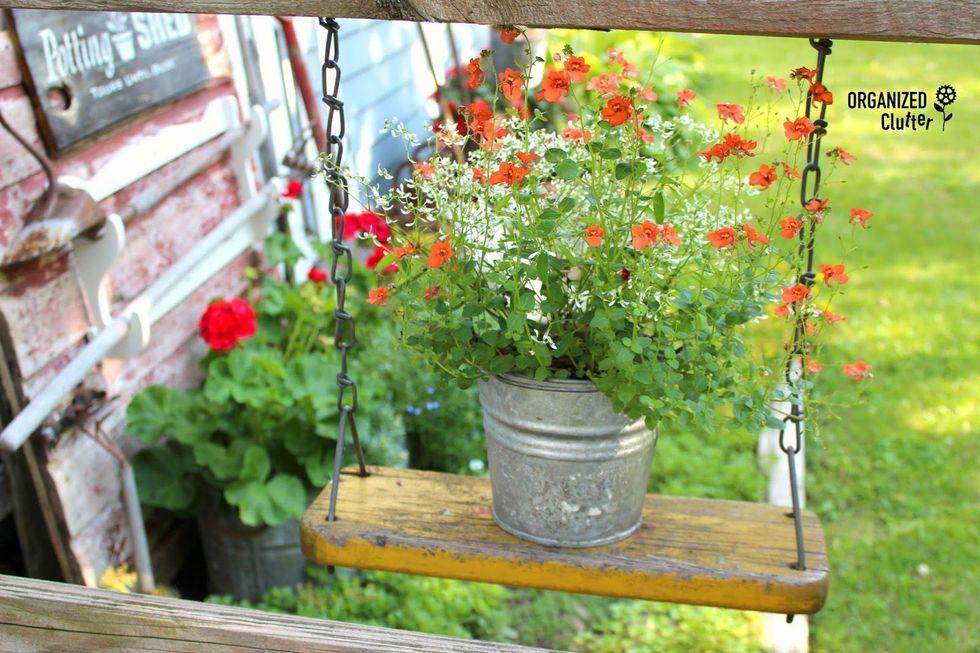
Last year, Blair tackled this project: repurposing a children's swing into a flower pot holder.

Rusty milk cans, chicken feeders, and galvanized mop buckets were given new life as planters.
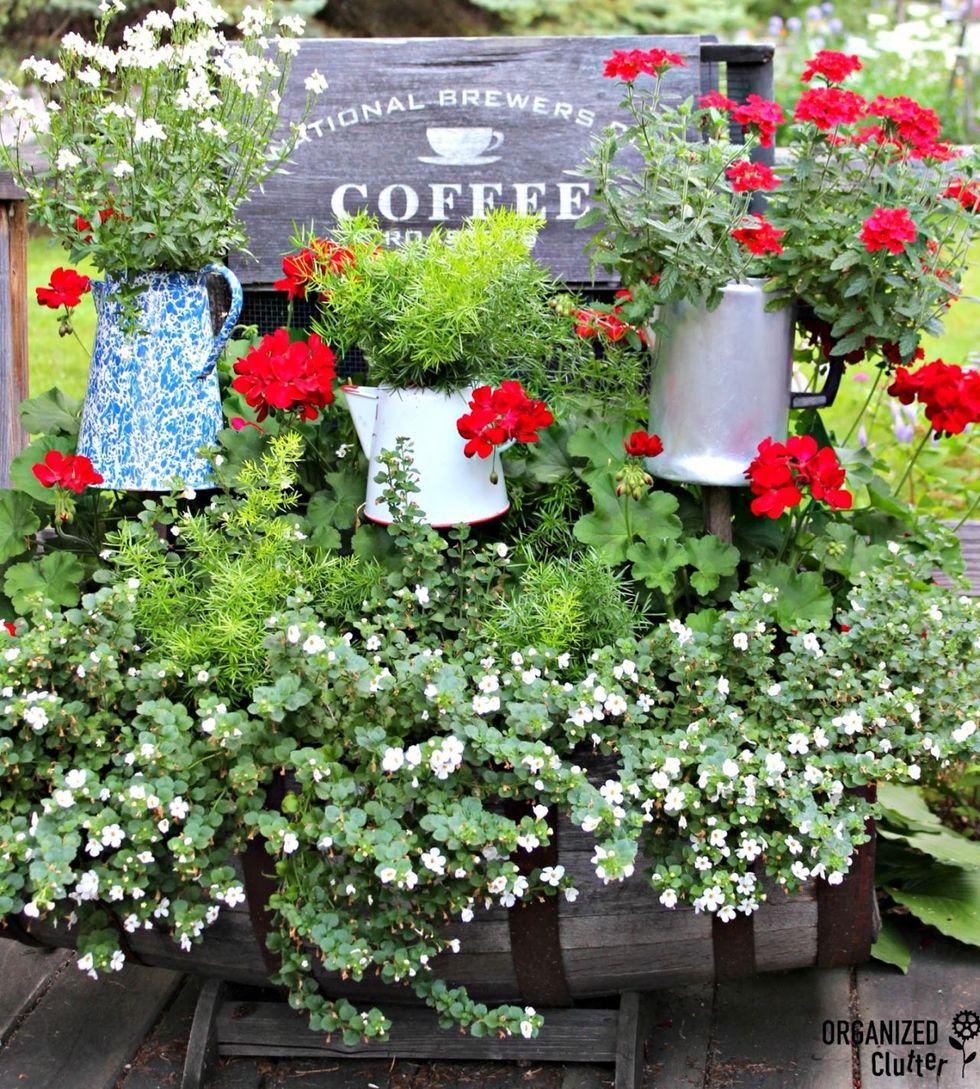
As were these scavenged coffee pots, which are mounted on stakes.
Blogger Carlene Blair has created quite the oasis for herself right outside her door. This gorgeous garden is anything but "junky."She insisted in repurposing old junk into planters! It's a great hobby combining love of flower gardening with junking.

Let’s find out how she's going to top this!

Blair's very first junk garden piece is this old wheelbarrow bursting with Marguerite daisies and nicotiana.

Have you ever seen such an assortment of trash-to-treasure planters?

The wild, abandoned look of this old typewriter in the bed of succulents is amazing.

In her front yard, perennials and annuals spill out of watering cans and funnels and off the steps of a ladder.

A whitewashed bench holds galvanized buckets and a toolbox, which are adorably stenciled.

What was once a gun rack is now attached to an old barn door and used to hold vintage garden tools.

Even a bike can be a beautiful planter.

This "Flower Market" sign is made of two spindle legs and a weathered piece of barn siding.

Last year, Blair tackled this project: repurposing a children's swing into a flower pot holder.

Rusty milk cans, chicken feeders, and galvanized mop buckets were given new life as planters.

As were these scavenged coffee pots, which are mounted on stakes.
0
0
文章
莹723
2020年09月11日

Do you want to step outside and close your eyes enjoying your garden?
On those days when the sun is shining, the breeze blows, birds are chirping, bees are humming, we just want to get away from gardening business. Take a moment to sit back and smell all those different roses.
If you want to enjoy the success of well-designed garden plans, it's important to plan a low-maintenance garden. Today, I will teach you how to choose the right plants which you can't kill. You don't need to worry about when to prune and to dig your plants up and bring them in after blooming season.
Here are the low-maintenance flowers you are looking for.
1- Peonies
They’re very, very long-lived—peonies will bloom in the same spot for decades. Peonies attract ants, but they're not harmful—simply dunk the budding flower heads in mild soapy water after you've cut them to get rid of the critters.
Zones: 3-8

2-Anemone
These ground cover florals, which resemble daisies, can spread underneath your shrubs. Plus, when they're done blooming, you don't have to worry about any messy foliage leftovers that flowers like tulips tend to leave behind.
Zones: 5-8

3- Dwarf Daffodils
Gardeners will love these short bulbs because they're poisonous to moles and mice. After they return yearly, they're also able to multiply.
Zones: 3-8

4- Hydrangeas
They are very adapted to growing in containers, and wonderful for a container garden if you want more of a country look.
Zones: 3-9

5-Coneflower
Coneflowers are hardy, drought-tolerant, long-blooming, and they are being cultivated in an ever-widening range of pinks and purples. The most common is purple coneflower.
Zones: 3-9

On those days when the sun is shining, the breeze blows, birds are chirping, bees are humming, we just want to get away from gardening business. Take a moment to sit back and smell all those different roses.
If you want to enjoy the success of well-designed garden plans, it's important to plan a low-maintenance garden. Today, I will teach you how to choose the right plants which you can't kill. You don't need to worry about when to prune and to dig your plants up and bring them in after blooming season.
Here are the low-maintenance flowers you are looking for.
1- Peonies
They’re very, very long-lived—peonies will bloom in the same spot for decades. Peonies attract ants, but they're not harmful—simply dunk the budding flower heads in mild soapy water after you've cut them to get rid of the critters.
Zones: 3-8

2-Anemone
These ground cover florals, which resemble daisies, can spread underneath your shrubs. Plus, when they're done blooming, you don't have to worry about any messy foliage leftovers that flowers like tulips tend to leave behind.
Zones: 5-8

3- Dwarf Daffodils
Gardeners will love these short bulbs because they're poisonous to moles and mice. After they return yearly, they're also able to multiply.
Zones: 3-8

4- Hydrangeas
They are very adapted to growing in containers, and wonderful for a container garden if you want more of a country look.
Zones: 3-9

5-Coneflower
Coneflowers are hardy, drought-tolerant, long-blooming, and they are being cultivated in an ever-widening range of pinks and purples. The most common is purple coneflower.
Zones: 3-9

0
0
文章
ritau
2020年06月04日

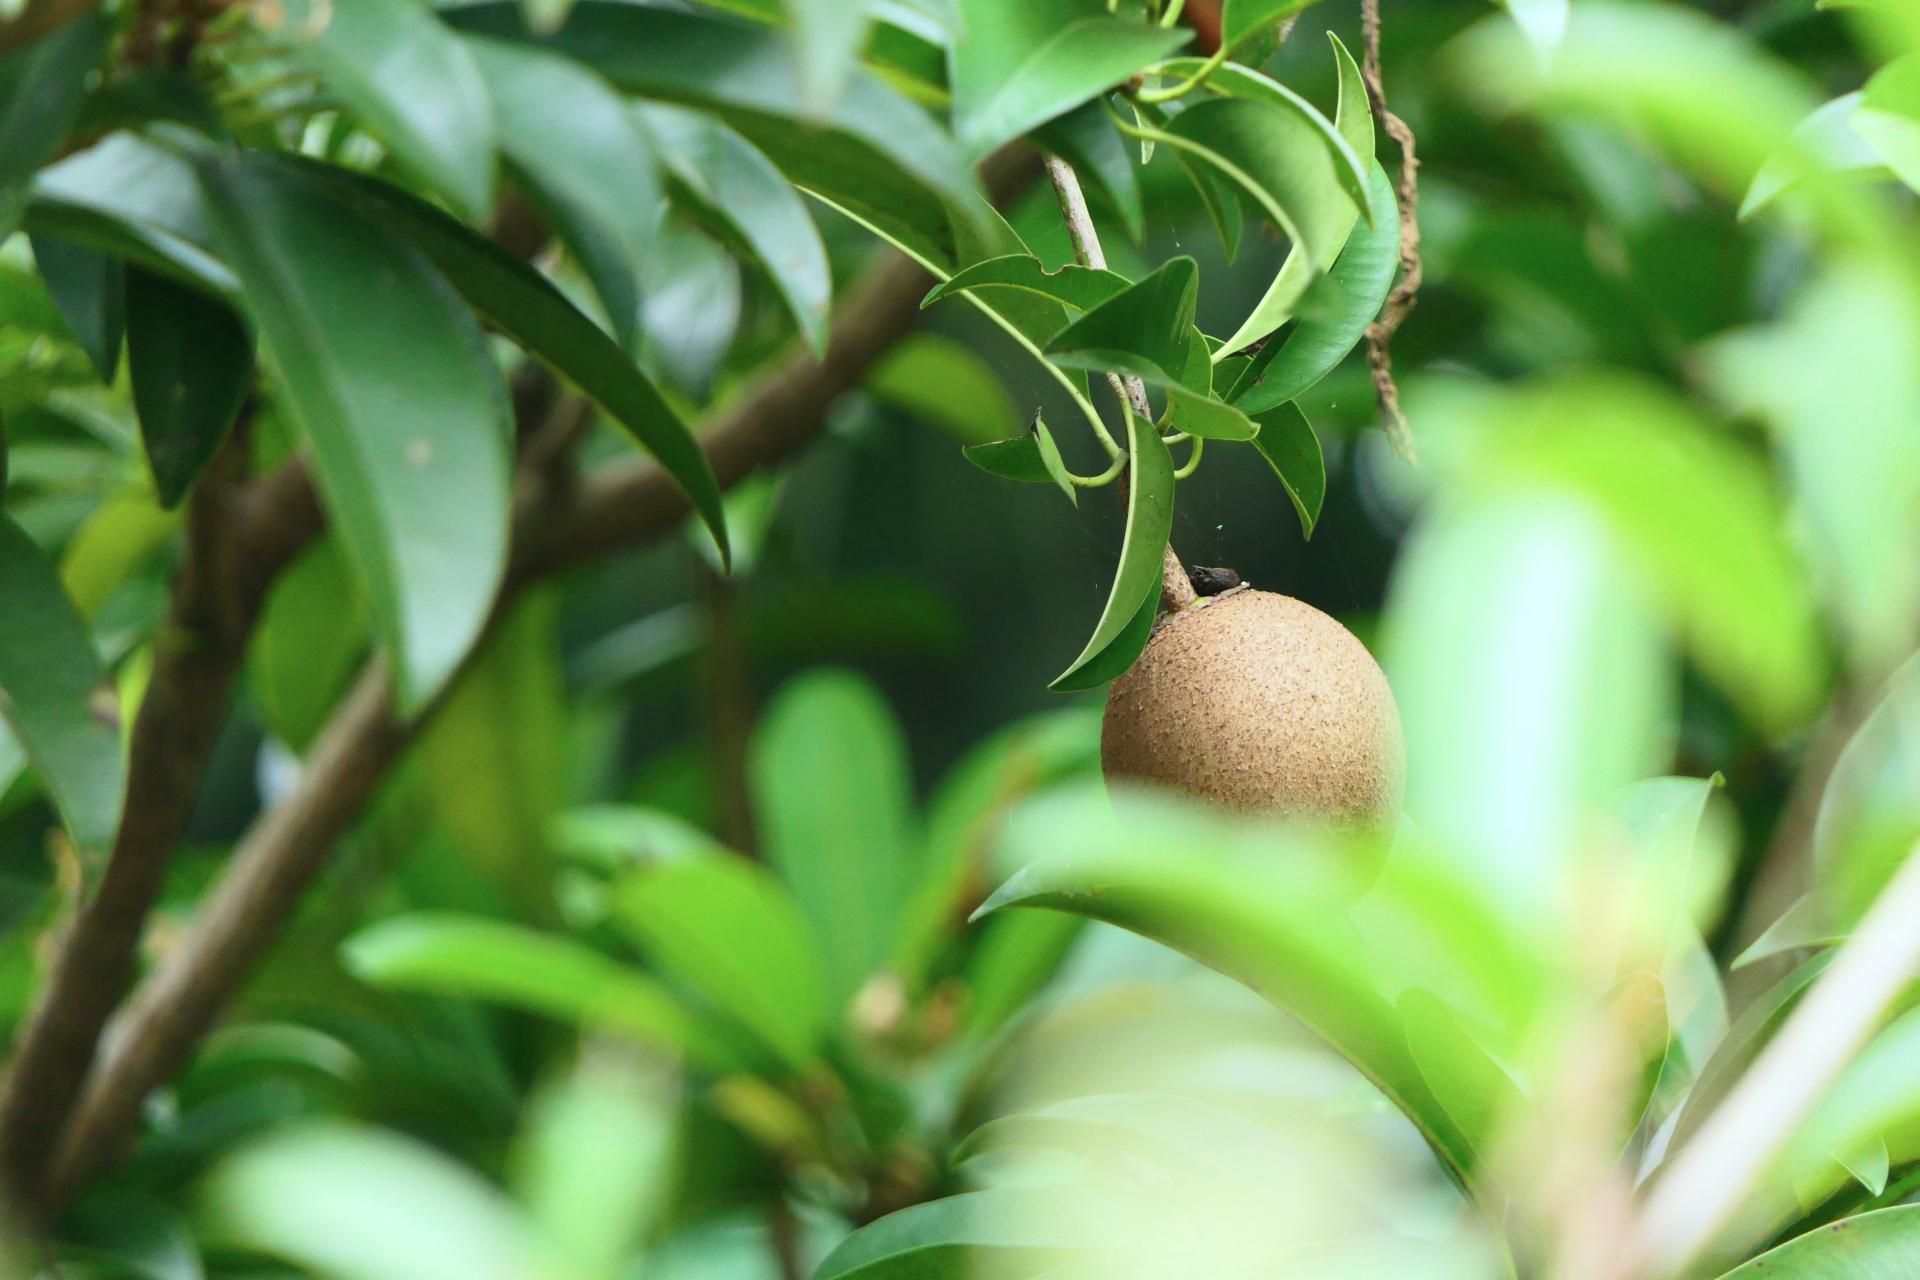
Kiwifruit (often shortened to kiwi outside Australia and New Zealand), or Chinese gooseberry, is the edible berry of several species of woody vines in the genus Actinidia. The most common cultivar group of kiwifruit (Actinidia deliciosa 'Hayward') is oval, about the size of a large hen's egg: 5–8 centimetres (2–3 inches) in length and 4.5–5.5 cm (1 3⁄4–2 1⁄4 in) in diameter. It has a thin, hair-like, fibrous, sour-but-edible light brown skin and light green or golden flesh with rows of tiny, black, edible seeds. The fruit has a soft texture with a sweet and unique flavour. In 2017, China produced 50% of the world total of kiwifruit.
Kiwifruit is native to central and eastern China. The first recorded description of the kiwifruit dates to the 12th century during the Song dynasty. In the early 20th century, cultivation of kiwifruit spread from China to New Zealand, where the first commercial plantings occurred. The fruit became popular with British and American servicemen stationed in New Zealand during World War II, and later became commonly exported, first to Great Britain and then to California in the 1960s.
Kiwifruit can be grown in most temperate climates with adequate summer heat. Where fuzzy kiwifruit is not hardy, other species can be grown as substitutes.
*Breeding
Often in commercial farming, different breeds are used for rootstock, fruit bearing plants and pollinators. Therefore, the seeds produced are crossbreeds of their parents. Even if the same breeds are used for pollinators and fruit bearing plants, there is no guarantee that the fruit will have the same quality as the parent. Additionally, seedlings take seven years before they flower, so determining whether the kiwi is fruit bearing or a pollinator is time-consuming. Therefore, most kiwifruits, with the exception of rootstock and new cultivars, are propagated asexually. This is done by grafting the fruit producing plant onto rootstock grown from seedlings or, if the plant is desired to be a true cultivar, rootstock grown from cuttings of a mature plant.
*Pollination
Kiwifruit flowering
Kiwifruit plants generally are dioecious, meaning a plant is either male or female. The male plants have flowers that produce pollen, the females receive the pollen to fertilise their ovules and grow fruit; most kiwifruit requires a male plant to pollinate the female plant. For a good yield of fruit, one male vine for every three to eight female vines is considered adequate. Some varieties can self pollinate, but even they produce a greater and more reliable yield when pollinated by male kiwifruit.Cross-species pollination is often (but not always) successful as long as bloom times are synchronised.
In nature, the species are pollinated by birds and native bumblebees, which visit the flowers for pollen, not nectar. The female flowers produce fake anthers with what appears to be pollen on the tips in order to attract the pollinators, although these fake anthers lack the DNA and food value of the male anthers.
Kiwifruit growers rely on honey bees, the principal ‘for-hire’ pollinator. But commercially grown kiwifruit is notoriously difficult to pollinate. The flowers are not very attractive to honey bees, in part because the flowers do not produce nectar and bees quickly learn to prefer flowers with nectar.
And for kiwifruit, honey bees are inefficient cross-pollinators because they practice “floral fidelity”. Each honey bee visits only a single type of flower in any foray and maybe only a few branches of a single plant. The pollen needed from a different plant (such as a male for a female kiwifruit) might never reach it were it not for the cross-pollination that principally occurs in the crowded colony. It is in the colonies where bees laden with different pollen literally cross paths.
To deal with these pollination challenges, some producers blow collected pollen over the female flowers. Most common, though, is saturation pollination, where the honey bee populations are made so large (by placing hives in the orchards at a concentration of about 8 hives per hectare) that bees are forced to use this flower because of intense competition for all flowers within flight distance.
Maturation and harvest
Kiwifruit is picked by hand and commercially grown on sturdy support structures, as it can produce several tonnes per hectare, more than the rather weak vines can support. These are generally equipped with a watering system for irrigation and frost protection in the spring.
Kiwifruit vines require vigorous pruning, similar to that of grapevines. Fruit is borne on one-year-old and older canes, but production declines as each cane ages. Canes should be pruned off and replaced after their third year. In the northern hemisphere the fruit ripens in November, while in the southern it ripens in May. Four year-old plants can produce up to 14,000 lbs per acre while eight year-old plants can produce 18,000 lbs per acre. The plants produce their maximum at 8 to 10 years old. The seasonal yields are variable, a heavy crop on a vine one season generally comes with a light crop the following season.

*Nutrition
In a 100-gram amount, green kiwifruit provides 61 calories, is 83% water and 15% carbohydrates, with negligible protein and fat. It is particularly rich (20% or more of the Daily Value, DV) in vitamin C (112% DV) and vitamin K (38% DV), has a moderate content of vitamin E (10% DV), with no other micronutrients in significant content. Gold kiwifruit has similar nutritional value, although only vitamin C has high content in a 100 gram amount (194% DV).
Kiwifruit seed oil contains on average 62% alpha-linolenic acid, an omega-3 fatty acid. Kiwifruit pulp contains carotenoids, such as provitamin A beta-carotene, lutein and zeaxanthin.
Kiwifruit is native to central and eastern China. The first recorded description of the kiwifruit dates to the 12th century during the Song dynasty. In the early 20th century, cultivation of kiwifruit spread from China to New Zealand, where the first commercial plantings occurred. The fruit became popular with British and American servicemen stationed in New Zealand during World War II, and later became commonly exported, first to Great Britain and then to California in the 1960s.
Kiwifruit can be grown in most temperate climates with adequate summer heat. Where fuzzy kiwifruit is not hardy, other species can be grown as substitutes.

*Breeding
Often in commercial farming, different breeds are used for rootstock, fruit bearing plants and pollinators. Therefore, the seeds produced are crossbreeds of their parents. Even if the same breeds are used for pollinators and fruit bearing plants, there is no guarantee that the fruit will have the same quality as the parent. Additionally, seedlings take seven years before they flower, so determining whether the kiwi is fruit bearing or a pollinator is time-consuming. Therefore, most kiwifruits, with the exception of rootstock and new cultivars, are propagated asexually. This is done by grafting the fruit producing plant onto rootstock grown from seedlings or, if the plant is desired to be a true cultivar, rootstock grown from cuttings of a mature plant.
*Pollination
Kiwifruit flowering
Kiwifruit plants generally are dioecious, meaning a plant is either male or female. The male plants have flowers that produce pollen, the females receive the pollen to fertilise their ovules and grow fruit; most kiwifruit requires a male plant to pollinate the female plant. For a good yield of fruit, one male vine for every three to eight female vines is considered adequate. Some varieties can self pollinate, but even they produce a greater and more reliable yield when pollinated by male kiwifruit.Cross-species pollination is often (but not always) successful as long as bloom times are synchronised.
In nature, the species are pollinated by birds and native bumblebees, which visit the flowers for pollen, not nectar. The female flowers produce fake anthers with what appears to be pollen on the tips in order to attract the pollinators, although these fake anthers lack the DNA and food value of the male anthers.
Kiwifruit growers rely on honey bees, the principal ‘for-hire’ pollinator. But commercially grown kiwifruit is notoriously difficult to pollinate. The flowers are not very attractive to honey bees, in part because the flowers do not produce nectar and bees quickly learn to prefer flowers with nectar.
And for kiwifruit, honey bees are inefficient cross-pollinators because they practice “floral fidelity”. Each honey bee visits only a single type of flower in any foray and maybe only a few branches of a single plant. The pollen needed from a different plant (such as a male for a female kiwifruit) might never reach it were it not for the cross-pollination that principally occurs in the crowded colony. It is in the colonies where bees laden with different pollen literally cross paths.
To deal with these pollination challenges, some producers blow collected pollen over the female flowers. Most common, though, is saturation pollination, where the honey bee populations are made so large (by placing hives in the orchards at a concentration of about 8 hives per hectare) that bees are forced to use this flower because of intense competition for all flowers within flight distance.
Maturation and harvest
Kiwifruit is picked by hand and commercially grown on sturdy support structures, as it can produce several tonnes per hectare, more than the rather weak vines can support. These are generally equipped with a watering system for irrigation and frost protection in the spring.
Kiwifruit vines require vigorous pruning, similar to that of grapevines. Fruit is borne on one-year-old and older canes, but production declines as each cane ages. Canes should be pruned off and replaced after their third year. In the northern hemisphere the fruit ripens in November, while in the southern it ripens in May. Four year-old plants can produce up to 14,000 lbs per acre while eight year-old plants can produce 18,000 lbs per acre. The plants produce their maximum at 8 to 10 years old. The seasonal yields are variable, a heavy crop on a vine one season generally comes with a light crop the following season.

*Nutrition
In a 100-gram amount, green kiwifruit provides 61 calories, is 83% water and 15% carbohydrates, with negligible protein and fat. It is particularly rich (20% or more of the Daily Value, DV) in vitamin C (112% DV) and vitamin K (38% DV), has a moderate content of vitamin E (10% DV), with no other micronutrients in significant content. Gold kiwifruit has similar nutritional value, although only vitamin C has high content in a 100 gram amount (194% DV).
Kiwifruit seed oil contains on average 62% alpha-linolenic acid, an omega-3 fatty acid. Kiwifruit pulp contains carotenoids, such as provitamin A beta-carotene, lutein and zeaxanthin.
0
0
文章
A🎌王木木💮
2019年11月18日

After entering the winter,the outside world is getting more and more depressed.If you’re a florist,you can raise some flowers and plants at home,let the space that belongs to you be full of spring.What flowers and plants are suitable for raising in winter?Today we introduce hyacinth.
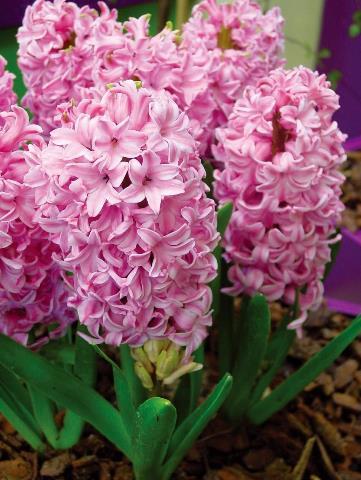
Other common names:hyacinth 'Woodstock'
Family:Asparagaceae
Genus:Hyacinthus are bulbous perennial with glossy, broadly strap-shaped leaves and fragrant, bell-shaped flowers with recurved petals, borne in loose or dense racemes in spring
Details:'Woodstock' is a perennial bulb, growing to 30cm tall, with rich green, glossy, upright foliage and spikes of plum-purple, scented flowers on black-purple stems in mid-spring
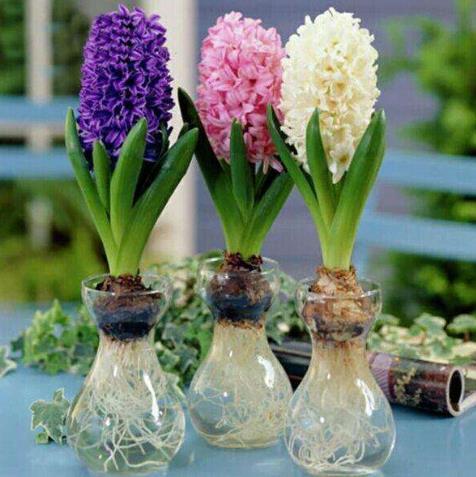
How to grow
Cultivation Plant 10cm deep in autumn in any moderately fertile, humus-rich, well-drained soil. Protect container-grown bulbs from excessive winter wet. See hyacinth cultivation
Propagation Propagate by removing offsets when dormant in summer
Suggested planting locations and garden types Flower borders and beds City & Courtyard Gardens Cottage & Informal Garden Mediterranean Climate Plants Patio & Container Plants

How to care
Pruning No pruning required
Pests Can be damaged by slugs
Diseases Generally disease free

Other common names:hyacinth 'Woodstock'
Family:Asparagaceae
Genus:Hyacinthus are bulbous perennial with glossy, broadly strap-shaped leaves and fragrant, bell-shaped flowers with recurved petals, borne in loose or dense racemes in spring
Details:'Woodstock' is a perennial bulb, growing to 30cm tall, with rich green, glossy, upright foliage and spikes of plum-purple, scented flowers on black-purple stems in mid-spring

How to grow
Cultivation Plant 10cm deep in autumn in any moderately fertile, humus-rich, well-drained soil. Protect container-grown bulbs from excessive winter wet. See hyacinth cultivation
Propagation Propagate by removing offsets when dormant in summer
Suggested planting locations and garden types Flower borders and beds City & Courtyard Gardens Cottage & Informal Garden Mediterranean Climate Plants Patio & Container Plants

How to care
Pruning No pruning required
Pests Can be damaged by slugs
Diseases Generally disease free
0
0
求助
Tiger Palm
2019年08月29日

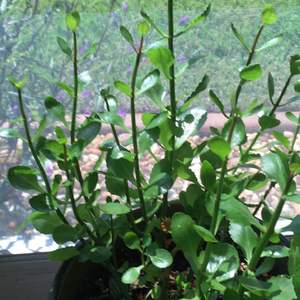
Need help what is this plant Can I plant it outside live in Central Flo rida
Tha nks
Tha nks

0
0
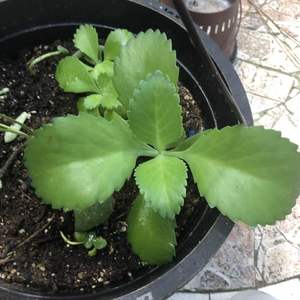
Plantlin:This looks like Kalanchoe blossefeldiana.
成长记
kweenofsuccs
2019年08月08日

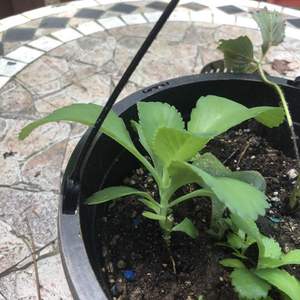
Cut off the leaves, moved it outside, & started over. Grew back twice the size. Seems to be thriving.


0
0
成长记
Plantlin
2019年05月29日

Sitting outside


0
0
Plantlin:@Yolanda Garza wow thats fast! For me it is’nt that fast... takes a couple of weeks before babies are starting I think.
Yolanda Garza:this grow like crazy. i put leaves on a tray and 10 days later they have babies. unbelievable.


