成长记
kensong
2019年02月20日

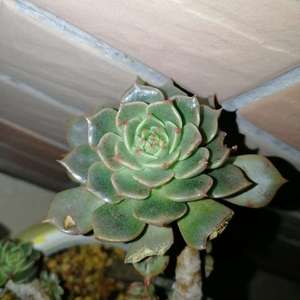
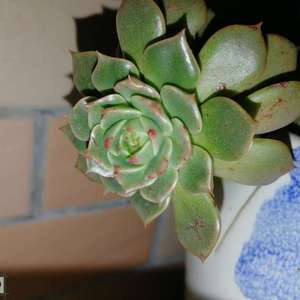
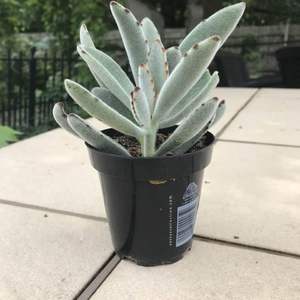
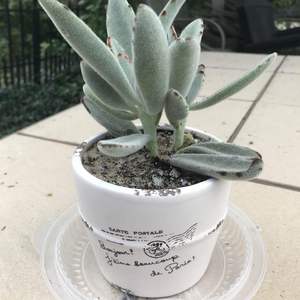
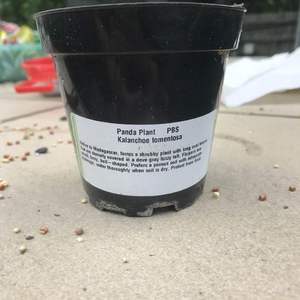
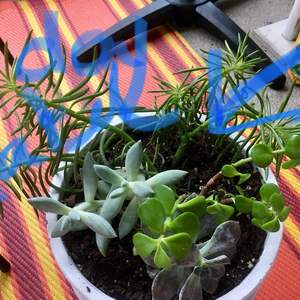
I now added "Kenny Song no, yours looks like Graptopetalum Superbum (Beautiful Graptopetalum)" in my "garden"


0
0
文章
Miss Chen
2018年09月10日

Growing beautiful stargazer lilies seems like a daunting task--how can such a strikingly unique and unusually large flower that seems to defy gravity be easy to grow? It is, however, with a little instruction and a few tips, you too can bring these jaw-dropping beauties into your landscape.Stargazer lilies will last for years with the proper care, and grows easily in zones 4-8.

Determine the location for your stargazer bulbs, and for each bulb, dig a hole three times the bulb's height. Remove any rocks that might impede the growth of the stalk when it emerges. Place the bulb in the hole with the pointy side up–if in doubt, plant the bulb sideways. Cover the bulb with soil and sprinkle with a small amount of fertilizer. Bulbs may be planted in the fall or in the spring.
Step 2
Water the emerging plants regularly, although they don't mind drought periods as long as the roots remain cool. Overwatering may cause the plants to rot, so it's best to err on the side of caution as far as water is concerned.Too much water may also attract slugs, which find lily leaves delicious. If slugs are a problem, place saucers of beer around the plant at night, which attracts them and they drown.
Step 3
Fertilize the plants in June, July and August with a light application of general purpose fertilizer around the base of the plant.
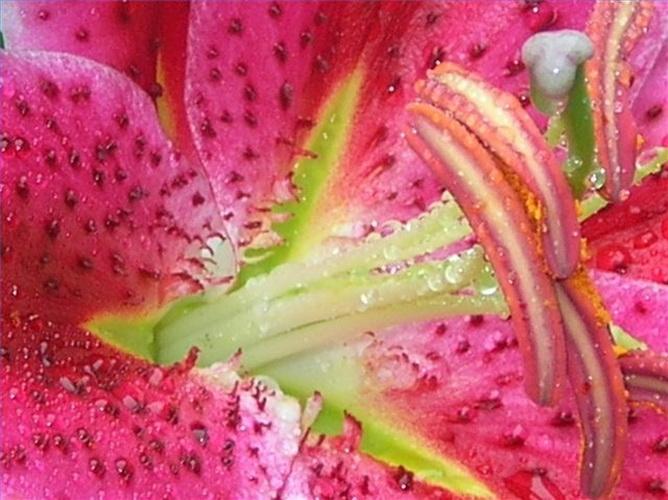
Deadhead the flower after it has finished blooming, which allows the plant to focus on its bulb, not setting seeds. Simply clip off the flower and about 6 inches of the stem below the flower. Leave the rest of the stem until fall, when you can cut back the entire plant to 3 inches.

Determine the location for your stargazer bulbs, and for each bulb, dig a hole three times the bulb's height. Remove any rocks that might impede the growth of the stalk when it emerges. Place the bulb in the hole with the pointy side up–if in doubt, plant the bulb sideways. Cover the bulb with soil and sprinkle with a small amount of fertilizer. Bulbs may be planted in the fall or in the spring.
Step 2
Water the emerging plants regularly, although they don't mind drought periods as long as the roots remain cool. Overwatering may cause the plants to rot, so it's best to err on the side of caution as far as water is concerned.Too much water may also attract slugs, which find lily leaves delicious. If slugs are a problem, place saucers of beer around the plant at night, which attracts them and they drown.
Step 3
Fertilize the plants in June, July and August with a light application of general purpose fertilizer around the base of the plant.

Deadhead the flower after it has finished blooming, which allows the plant to focus on its bulb, not setting seeds. Simply clip off the flower and about 6 inches of the stem below the flower. Leave the rest of the stem until fall, when you can cut back the entire plant to 3 inches.
2
0
文章
Miss Chen
2018年09月10日

There are few flowers that are as beautiful as a simple daisy. They can dress up well manicured flower beds and also look magnificent among roadside weeds. While daisies are a favorite flower of summer no matter where they are growing, what if they are located in a spot that just doesn't support them anymore? Can you move them to a different part of the lawn or bring them home from that roadside roost? Absolutely, if you time it just right and know what you are doing.

Step 1
When selecting a site for daisies, it is important to place them in a location with full sun. The best time of the year to transplant is spring, which will allow the root systems to take before winter. Some choose to transplant daisies right after they bloom in early summer.
Step 2
Prepare the new bed that the daisies will be moving to. Dig a hole twice the size and almost twice as deep as the root ball you are digging up. Fill the hole with water. Even though this will absorb before the new plants come in, it will assure that the new area is moist and will encourage the roots to take.
Step 3
If you are transplanting daisies by moving them from ground they are already planted in, you want to dig an extra 5 inches out from around the roots. If you are moving some daisies from a large clump, this will give you more that are likely to survive any transplant shock. The larger the root ball area is, the less shock damage will be done to the roots.
Step 4
Once you have the root ball dug, do not shake any dirt from it if at all possible. This will help keep the root ball intact and minimize shock. Place the root ball into the new location. Cover with dirt mixed with a third of mulch. Water again and if any dirt seems to have run off the roots, be sure to add more to cover. Tamp the dirt down again.

Keep your plants well watered for 3 weeks until the roots have a chance to become grounded in the new location. Sit back and enjoy the beauty of the daisies.

Step 1
When selecting a site for daisies, it is important to place them in a location with full sun. The best time of the year to transplant is spring, which will allow the root systems to take before winter. Some choose to transplant daisies right after they bloom in early summer.
Step 2
Prepare the new bed that the daisies will be moving to. Dig a hole twice the size and almost twice as deep as the root ball you are digging up. Fill the hole with water. Even though this will absorb before the new plants come in, it will assure that the new area is moist and will encourage the roots to take.
Step 3
If you are transplanting daisies by moving them from ground they are already planted in, you want to dig an extra 5 inches out from around the roots. If you are moving some daisies from a large clump, this will give you more that are likely to survive any transplant shock. The larger the root ball area is, the less shock damage will be done to the roots.
Step 4
Once you have the root ball dug, do not shake any dirt from it if at all possible. This will help keep the root ball intact and minimize shock. Place the root ball into the new location. Cover with dirt mixed with a third of mulch. Water again and if any dirt seems to have run off the roots, be sure to add more to cover. Tamp the dirt down again.

Keep your plants well watered for 3 weeks until the roots have a chance to become grounded in the new location. Sit back and enjoy the beauty of the daisies.
0
0
求助
libbybuie912@yahoo.com
2018年09月09日

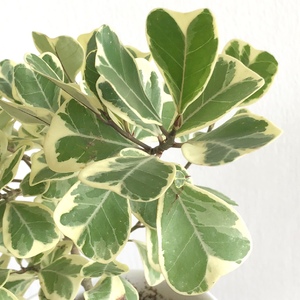
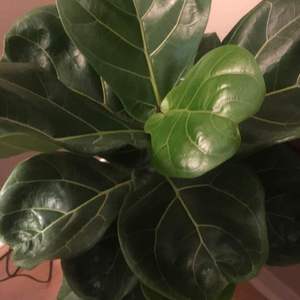
What kind of care does this beautiful plant need

0
0
suculea:Ficus lyrata. It does not need lots of direct sunlight, the bright place works the best. It likes damp compost soil, but still does not like to sit in water
马耳东风:it likes water and sunshine.
成长记
Lucky Coyote
2018年08月30日

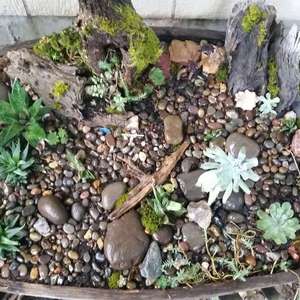
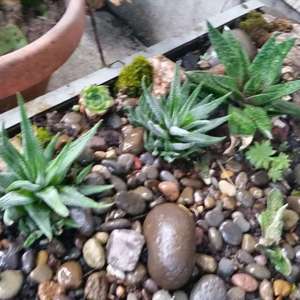
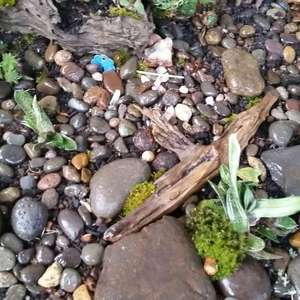
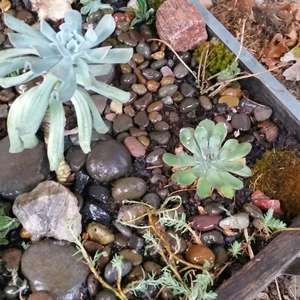
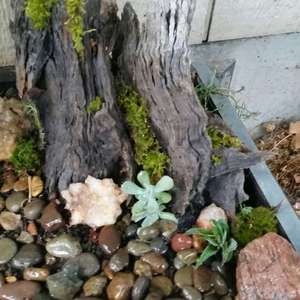
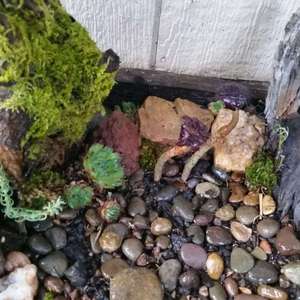
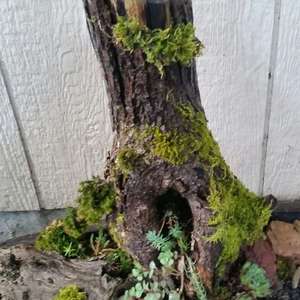
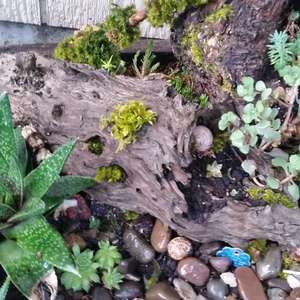
All of my variety pots have been combined into one beautiful garden ❤



2
0
文章
Miss Chen
2018年08月30日

Shasta daisies are an old-fashioned favorite in the garden. Both novice and experienced gardeners will easily grow a beautiful clump of shasta daisies in a sunny growing area that will return year after year to provide lovely summer blooms. As the years go by, shasta daisies will expand and many gardeners like to divide them to create new shasta daisy plants. You can easily divide shasta daisy plants in the spring when they first sprout from the soil.

Step 1
Watch for the first growth of the shasta daisies in the spring. When you see this growth, dig with the shovel to remove the entire shasta daisy clump. Make sure you keep the roots intact as you remove the clump from the soil. Place the clump onto the ground nearby.
Step 2
Use your hands or a utility knife to separate the outer portions of the plant (foliage and entire root systems together). As long as the divided portions of the clump have both foliage and roots, they should grow.
Step 3
Examine the inner portions of the clump to see if there are any parts that appear old and woody. If you find portions like this, cut them out and discard them.
Step 4
Prepare a new growing area by working the soil with the garden spade down to a depth of 8 inches. Add 2 inches of compost to the top of the soil to improve the soil composition and work this in well with the spade.

Step 5
Dig holes for each shasta daisy plant that are 18 inches apart and deep enough to accommodate the root systems with the plants being at the same depth as they were previously growing.
Step 6
Place the newly divided shasta daisy plants into the prepared holes and fill soil in around the roots. Tamp down the soil around the plants with your hands and provide a generous amount of water for each shasta daisy plant.

Step 1
Watch for the first growth of the shasta daisies in the spring. When you see this growth, dig with the shovel to remove the entire shasta daisy clump. Make sure you keep the roots intact as you remove the clump from the soil. Place the clump onto the ground nearby.
Step 2
Use your hands or a utility knife to separate the outer portions of the plant (foliage and entire root systems together). As long as the divided portions of the clump have both foliage and roots, they should grow.
Step 3
Examine the inner portions of the clump to see if there are any parts that appear old and woody. If you find portions like this, cut them out and discard them.
Step 4
Prepare a new growing area by working the soil with the garden spade down to a depth of 8 inches. Add 2 inches of compost to the top of the soil to improve the soil composition and work this in well with the spade.

Step 5
Dig holes for each shasta daisy plant that are 18 inches apart and deep enough to accommodate the root systems with the plants being at the same depth as they were previously growing.
Step 6
Place the newly divided shasta daisy plants into the prepared holes and fill soil in around the roots. Tamp down the soil around the plants with your hands and provide a generous amount of water for each shasta daisy plant.
0
0


