文章
Miss Chen
2018年05月14日

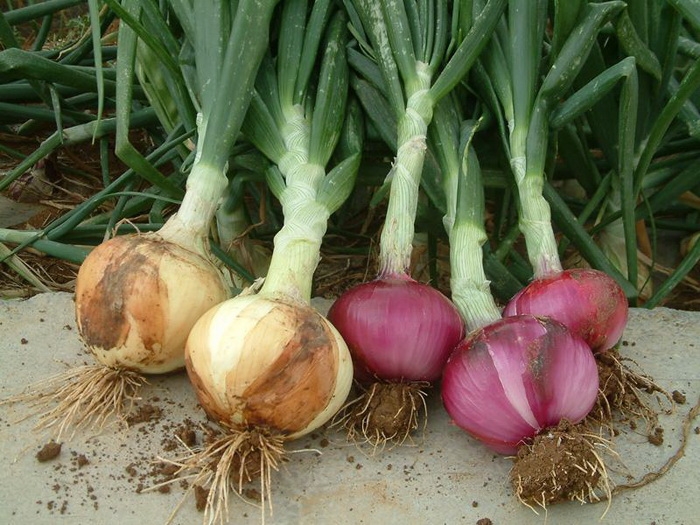
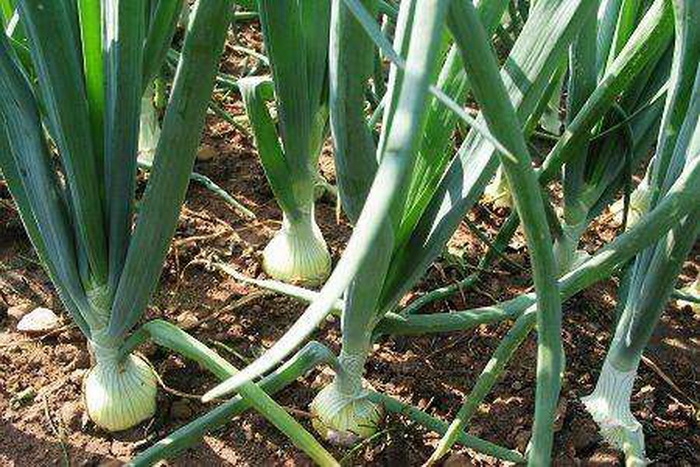
Homegrown vegetables always have more flavor and taste than store-purchased products, including onions. Most homegrown onions start with seeds or what is called seed sets, but Egyptian and potato onion varieties can grow from vegetative parts of the original onion plant. Potato, or multiplier, onions form an underground compound bulb from the mother bulb. This compound bulb is composed of six to 12 individual onion bulbs. Egyptian onions, on the other hand, send up a shoot with tiny bulblets on top for planting. Gardeners primarily grow multipliers and Egyptian onion to harvest as green onions in the spring. They sometimes are known as winter onions.
Step 1
Prepare the soil where you intend to plant the onions by adding organic matter in a ratio of one part organic matter to two parts soil. Work the mixture with a shovel into the plot at a depth of six to eight inches. Onions need a rich, loamy soil that will drain well.
Step 2
Harvest the attached compound bulbs from the mother bulb for either type of onion. Carefully dig the multiplier onion's mother bulb from the ground and separate the attached smaller onion bulbs from it. Cut off the bulblet cluster from the center green stem on the Egyptian onion and separate the bulblets.
Step 3
Plant bulbs or bulblets one to two inches deep and spaced three to five inches apart. Dig a hole for each onion piece, place the onion pointed end up, and cover it with the amended soil. Gently pat down the soil surface to eliminate air pockets and ensure good contact between the piece and the soil.
Step 4
Apply a fertilize formulated to a 1-2-2 ratio, like 5-10-10, following the instructions, every four to six weeks until the first frost. In the spring, apply one more feeding when the temperatures begin to warm. Onions are heavy feeder and require additional supplements of phosphorus and potassium, but overfeeding can produce soft bulbs or burn plants.
Step 5
Apply three to six inches of mulch over the planted onions in colder climates when the temperatures drop to freezing to protect growing onions. Remove the mulch once temperatures warm in the spring.

Step 1
Prepare the soil where you intend to plant the onions by adding organic matter in a ratio of one part organic matter to two parts soil. Work the mixture with a shovel into the plot at a depth of six to eight inches. Onions need a rich, loamy soil that will drain well.
Step 2
Harvest the attached compound bulbs from the mother bulb for either type of onion. Carefully dig the multiplier onion's mother bulb from the ground and separate the attached smaller onion bulbs from it. Cut off the bulblet cluster from the center green stem on the Egyptian onion and separate the bulblets.
Step 3
Plant bulbs or bulblets one to two inches deep and spaced three to five inches apart. Dig a hole for each onion piece, place the onion pointed end up, and cover it with the amended soil. Gently pat down the soil surface to eliminate air pockets and ensure good contact between the piece and the soil.

Step 4
Apply a fertilize formulated to a 1-2-2 ratio, like 5-10-10, following the instructions, every four to six weeks until the first frost. In the spring, apply one more feeding when the temperatures begin to warm. Onions are heavy feeder and require additional supplements of phosphorus and potassium, but overfeeding can produce soft bulbs or burn plants.
Step 5
Apply three to six inches of mulch over the planted onions in colder climates when the temperatures drop to freezing to protect growing onions. Remove the mulch once temperatures warm in the spring.
0
0
文章
Miss Chen
2018年05月14日

You've done all the work to get them in the ground and keep them healthy as they grow. When the harvest comes in, how do you know it's the perfect time to pick your glowing yellow squash from its home in the garden? Knowing when to bring the squash inside so that you can enjoy the fruits of your labor is a matter of knowing color, firmness and length. This information can also help you pick the best vegetables at the grocery store or the farmer's market.

Peak Performance
Picking squash at its peak ensures the highest level of freshness, crispness and flavor. Yellow squash is ready to pick when it is still young and firmly attached to the vine. It should feel firm and rather heavy for its size. The skin should be a bright hue and have a healthy consistency. Soft spots or withered areas could mean you have a watering issue. If caught early, the taste and texture of the vegetable should not be diversely affected. If the stem begins to wilt, again look at your water rates and adjust. Don't pick fruit before they get to at least 4 inches in length. They can grow as large as 8 inches or more, so check the heft to know when it is ready to remove from the vine.
Growing Season
Squash should be ripe 50 to 60 days after a seedling is planted in warm spring soil. It will continue to blossom and provide vegetables throughout the summer. You may want to protect the vines with a shade cloth during the hottest parts of the season. Check the crop regularly so you don't miss out on peak picking time. This can also alert you to birds, pests or animals that have found your yield and are attempting to take some for themselves or damage your growing garden.

Tips and Tricks
Sometimes, it is hard to know when it is too late and the vegetable has gone bad. It can look fresh but taste mealy. Don't let the squash get too long or heavy as it will affect the flavor. A good rule is to harvest vegetables three to four times a week, letting the fruit ripen naturally. Unlike some other crops, such as tomatoes and avocados, squash doesn't ripen as well once it has been picked. If it droops into the dirt, you may want to prop up the ripening vegetable in order to keep it away from pest and rot. If you can't scratch the skin of the squash with your fingernail, it is overripe.

Peak Performance
Picking squash at its peak ensures the highest level of freshness, crispness and flavor. Yellow squash is ready to pick when it is still young and firmly attached to the vine. It should feel firm and rather heavy for its size. The skin should be a bright hue and have a healthy consistency. Soft spots or withered areas could mean you have a watering issue. If caught early, the taste and texture of the vegetable should not be diversely affected. If the stem begins to wilt, again look at your water rates and adjust. Don't pick fruit before they get to at least 4 inches in length. They can grow as large as 8 inches or more, so check the heft to know when it is ready to remove from the vine.
Growing Season
Squash should be ripe 50 to 60 days after a seedling is planted in warm spring soil. It will continue to blossom and provide vegetables throughout the summer. You may want to protect the vines with a shade cloth during the hottest parts of the season. Check the crop regularly so you don't miss out on peak picking time. This can also alert you to birds, pests or animals that have found your yield and are attempting to take some for themselves or damage your growing garden.

Tips and Tricks
Sometimes, it is hard to know when it is too late and the vegetable has gone bad. It can look fresh but taste mealy. Don't let the squash get too long or heavy as it will affect the flavor. A good rule is to harvest vegetables three to four times a week, letting the fruit ripen naturally. Unlike some other crops, such as tomatoes and avocados, squash doesn't ripen as well once it has been picked. If it droops into the dirt, you may want to prop up the ripening vegetable in order to keep it away from pest and rot. If you can't scratch the skin of the squash with your fingernail, it is overripe.
0
0
求助
Lucky Coyote
2018年05月09日

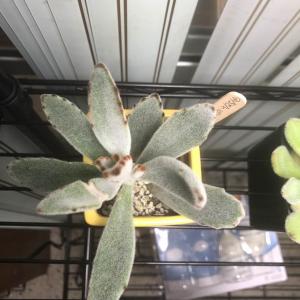
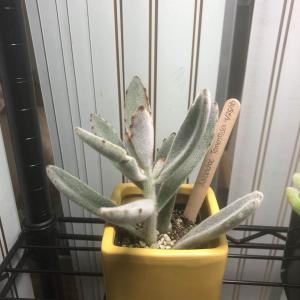
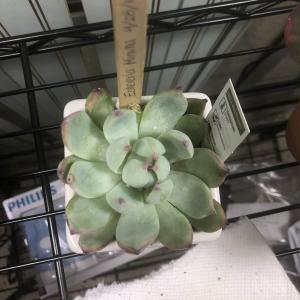
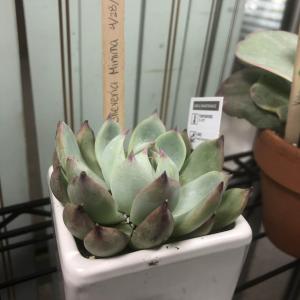
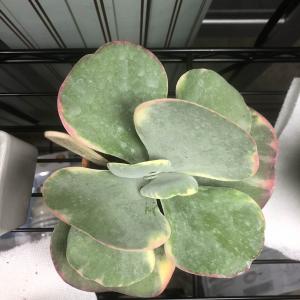
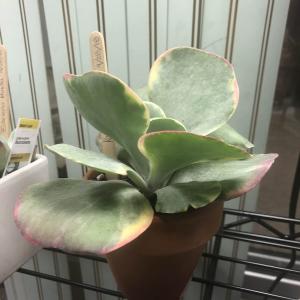
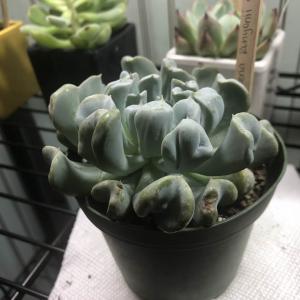
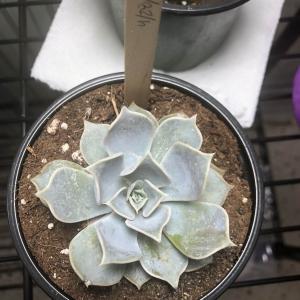
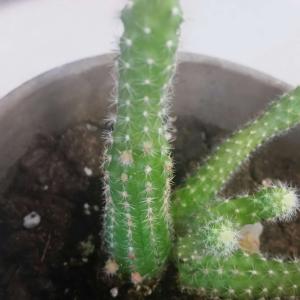
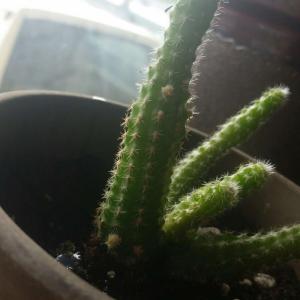
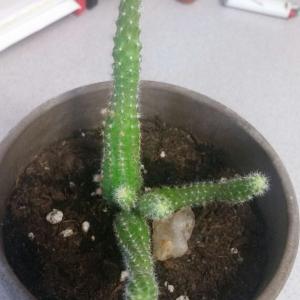
what are these red bulbs forming on my cactus? and is it normal for the babies to grow right behind the parent plant?
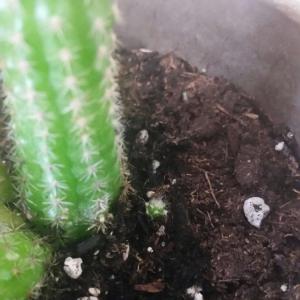


1
0
meriunkat:Hmm maybe it will bloom? And yes babies do grow that way :)


