
关注 12
粉丝 560
Miss Chen
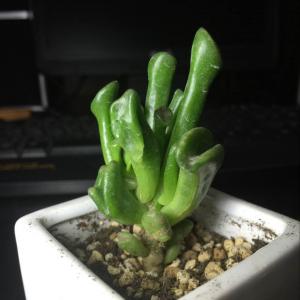
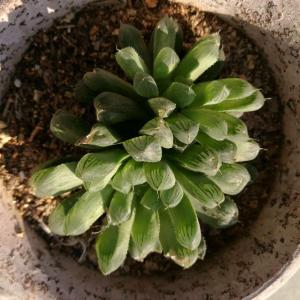
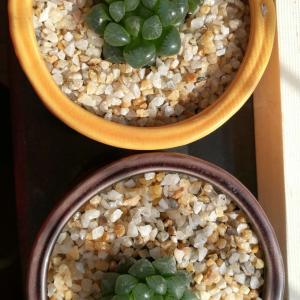
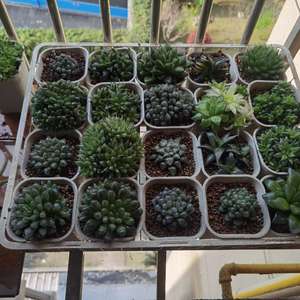
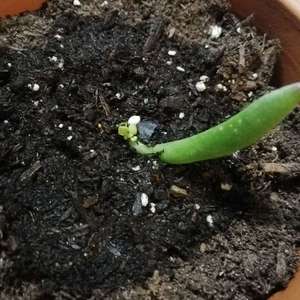
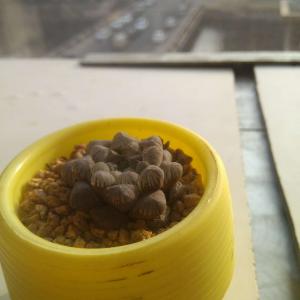
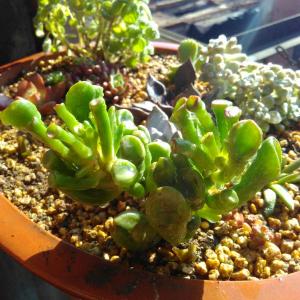
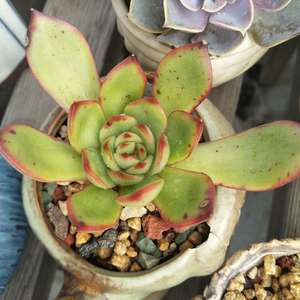
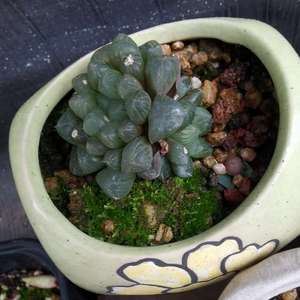
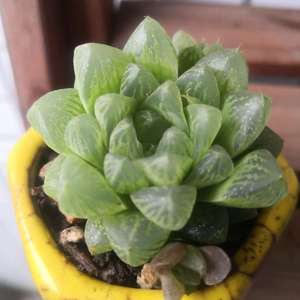
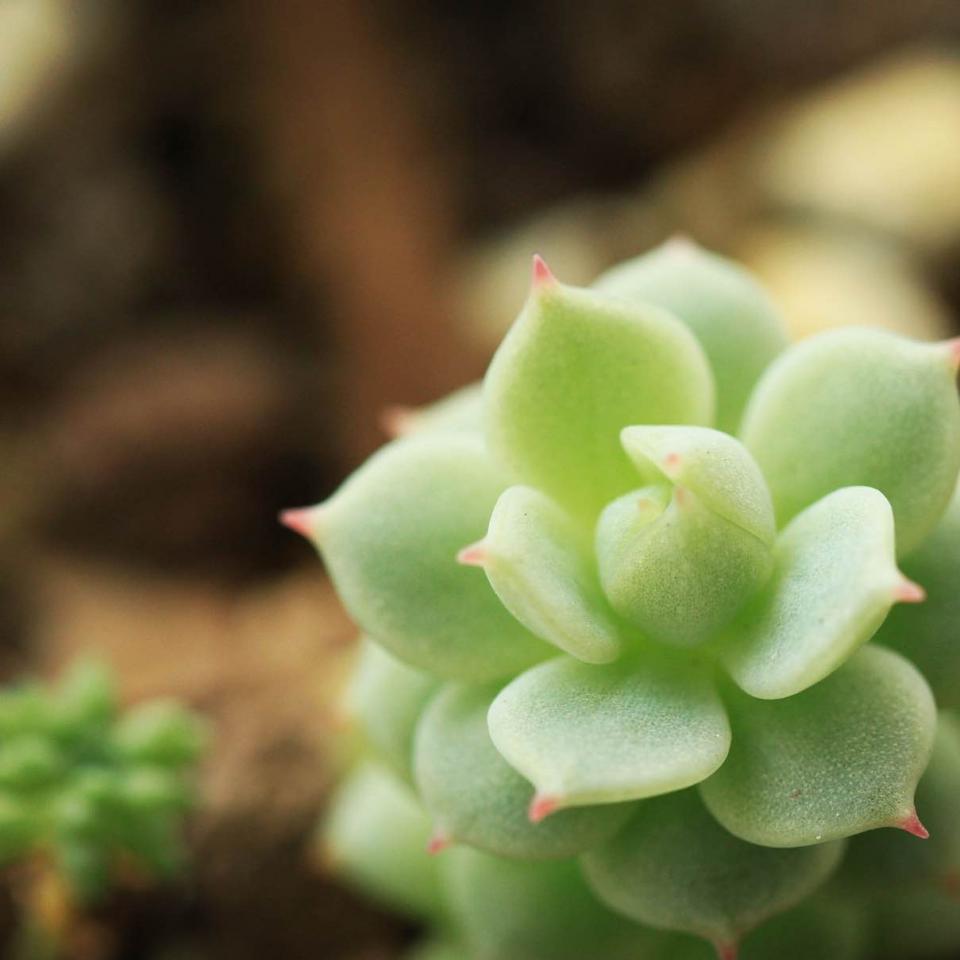
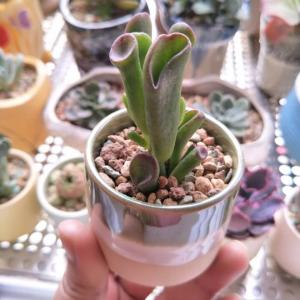
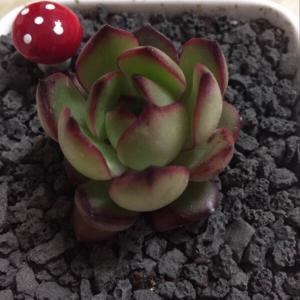
A. Besides raising pets, I also liked to plant green plants.
大连市
+
关注
已关注
+
关注


相关用户